> ## Documentation Index
> Fetch the complete documentation index at: https://docs.runalloy.com/llms.txt
> Use this file to discover all available pages before exploring further.
# Step 1: Setup a Connection with Best Buy
First, please select your implementation method: Theme builder or Headless.
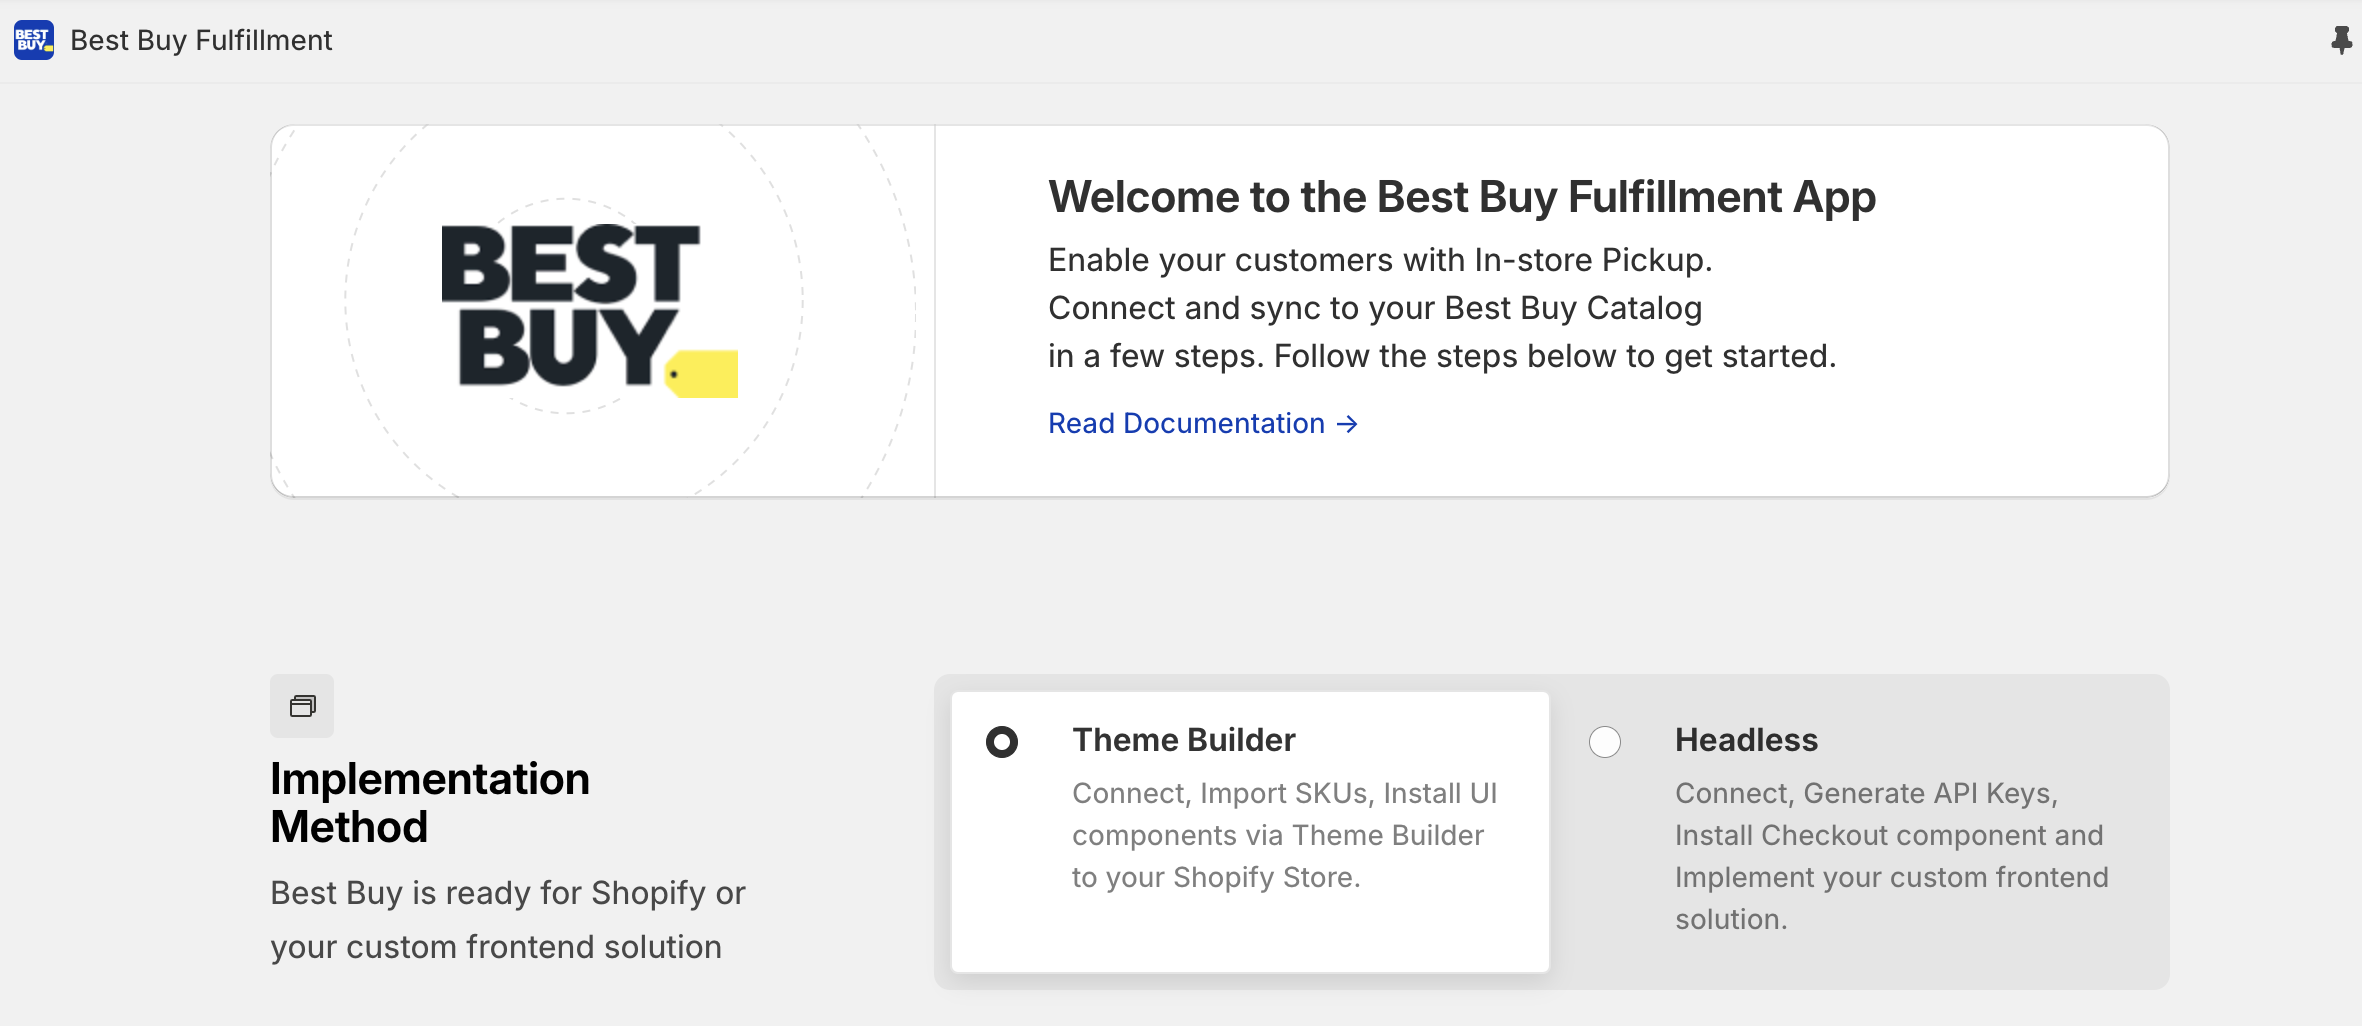
Then you will need to connect your Shopify with Best Buy in order for your storefront to communicate with Best Buy Fulfillment Service provided by Best Partner Plus.
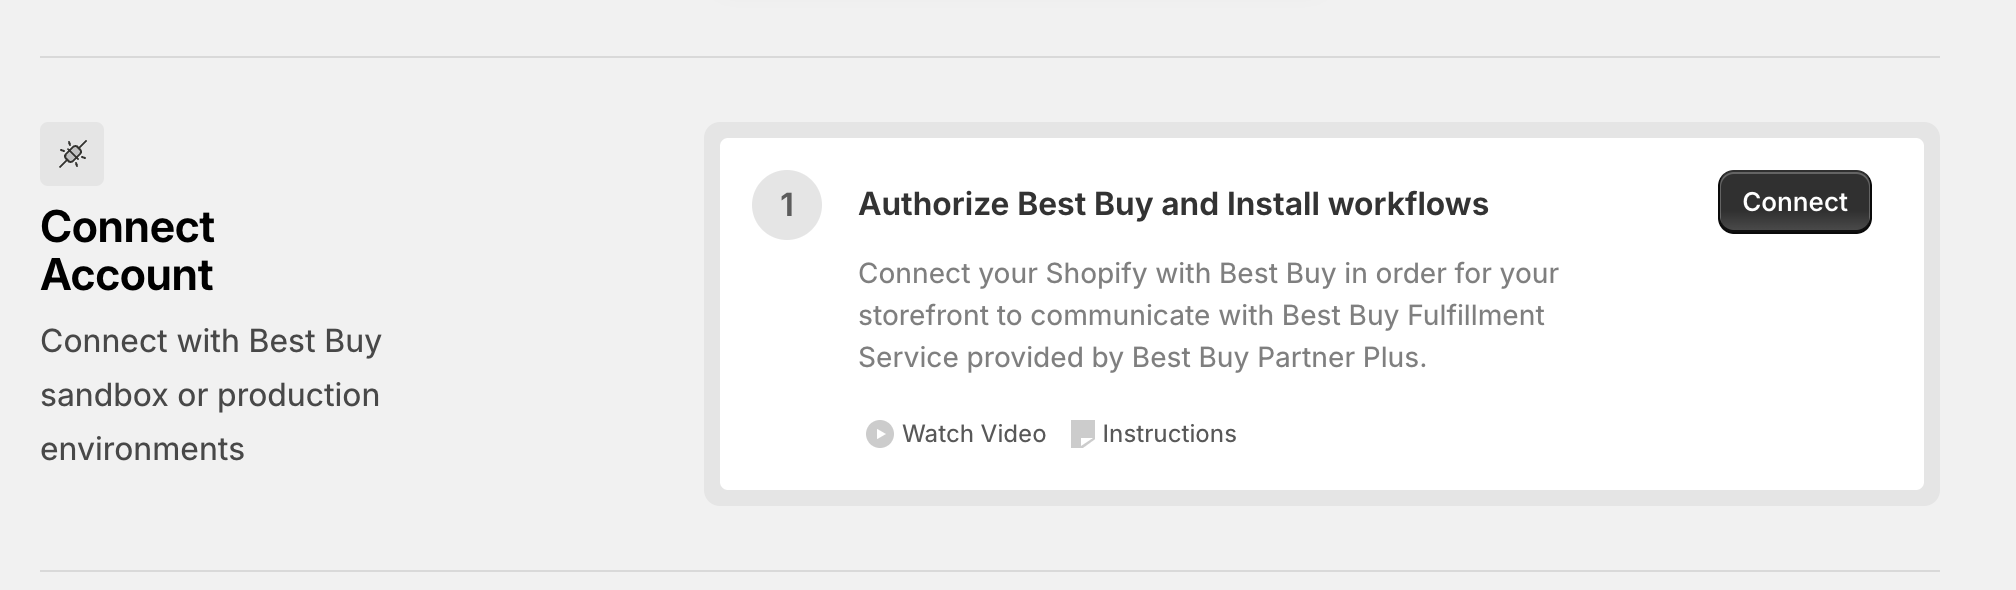
### Click on Connect in Step 1
Click on Connect under Step 1 in the Best Buy Fulfillment App Home Screen in Shopify Admin.
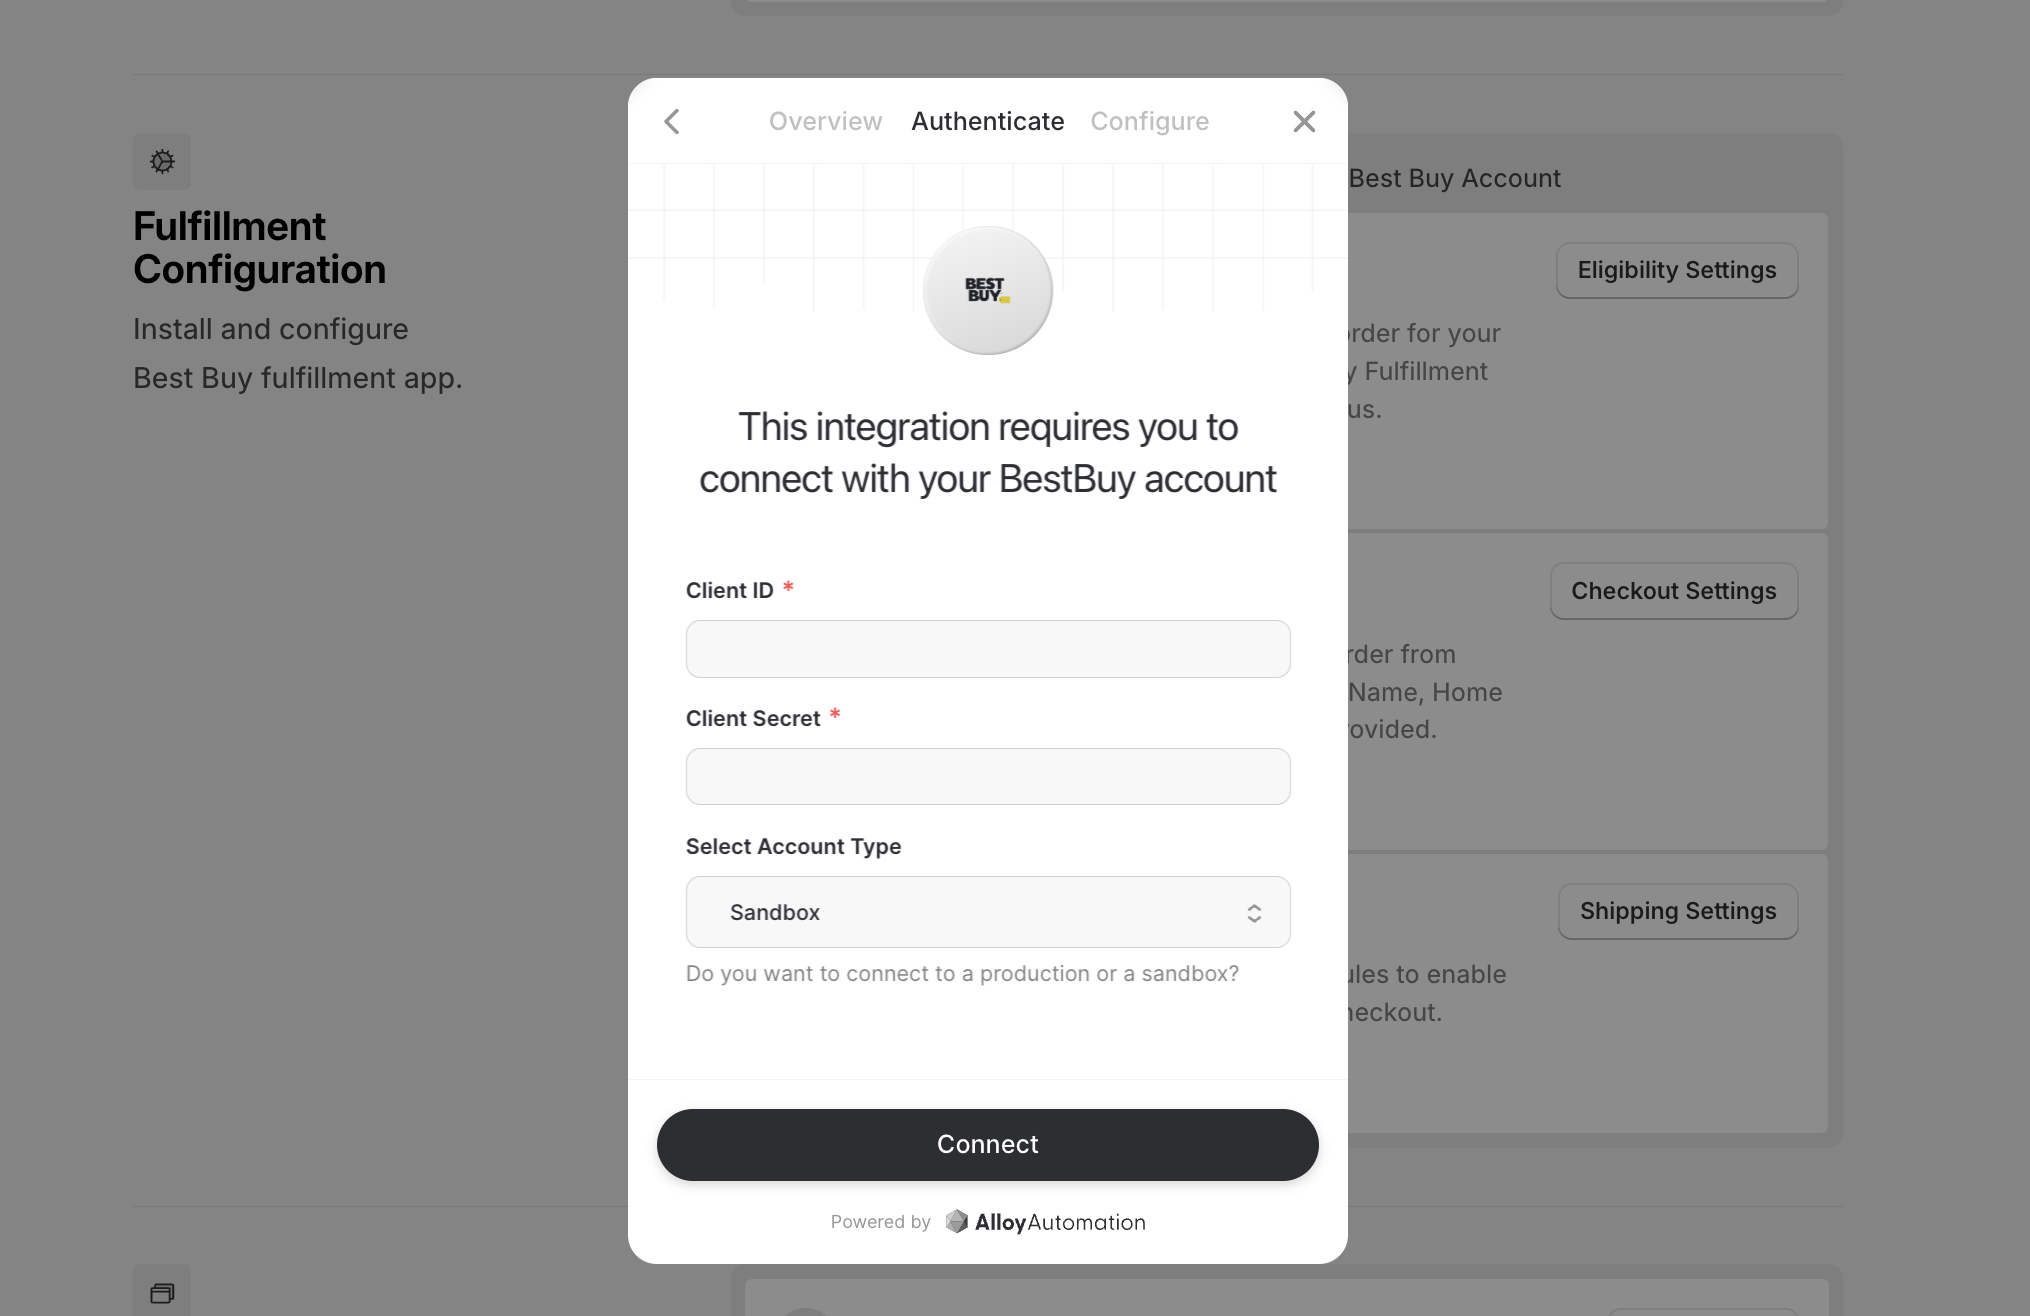
A modal will open on the screen indicating that you are about to install an integration. Click **Install**. In the next screen, you will input your Best Buy Partner Plus credential in order to integrate with Best Buy Fulfillment Service. Click **Connect** next to Best Buy.
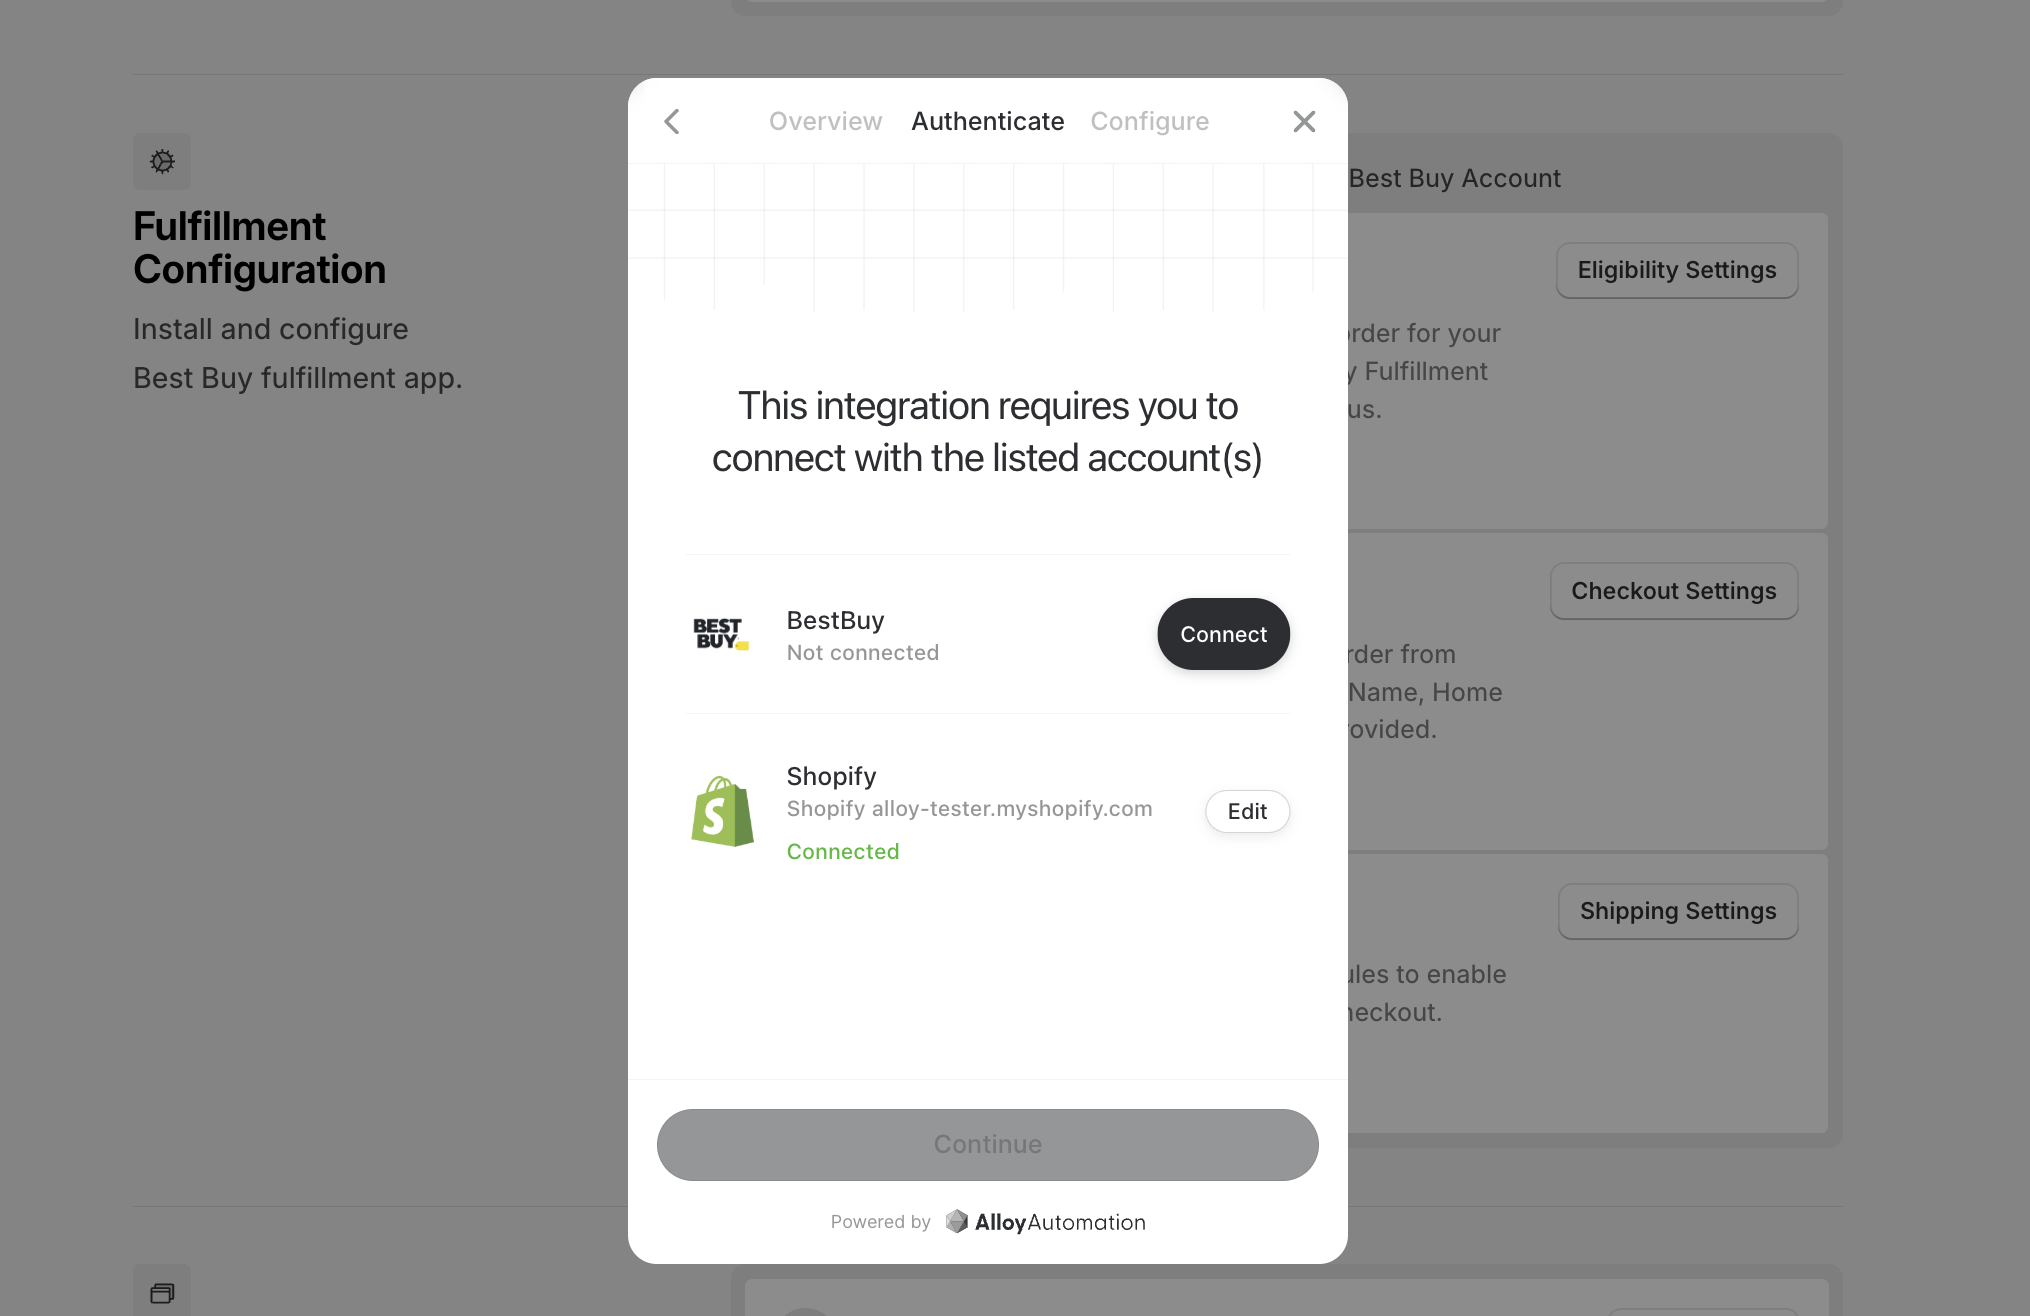
You will input your **Client ID** and **Client Secret** provided by Best Buy Partner Plus.
If you would like to test the app with Best Buy's lower (test) environment, be sure to request the proper credential for this step. You may change this later to the production credential any time. Click **Connect** to proceed.
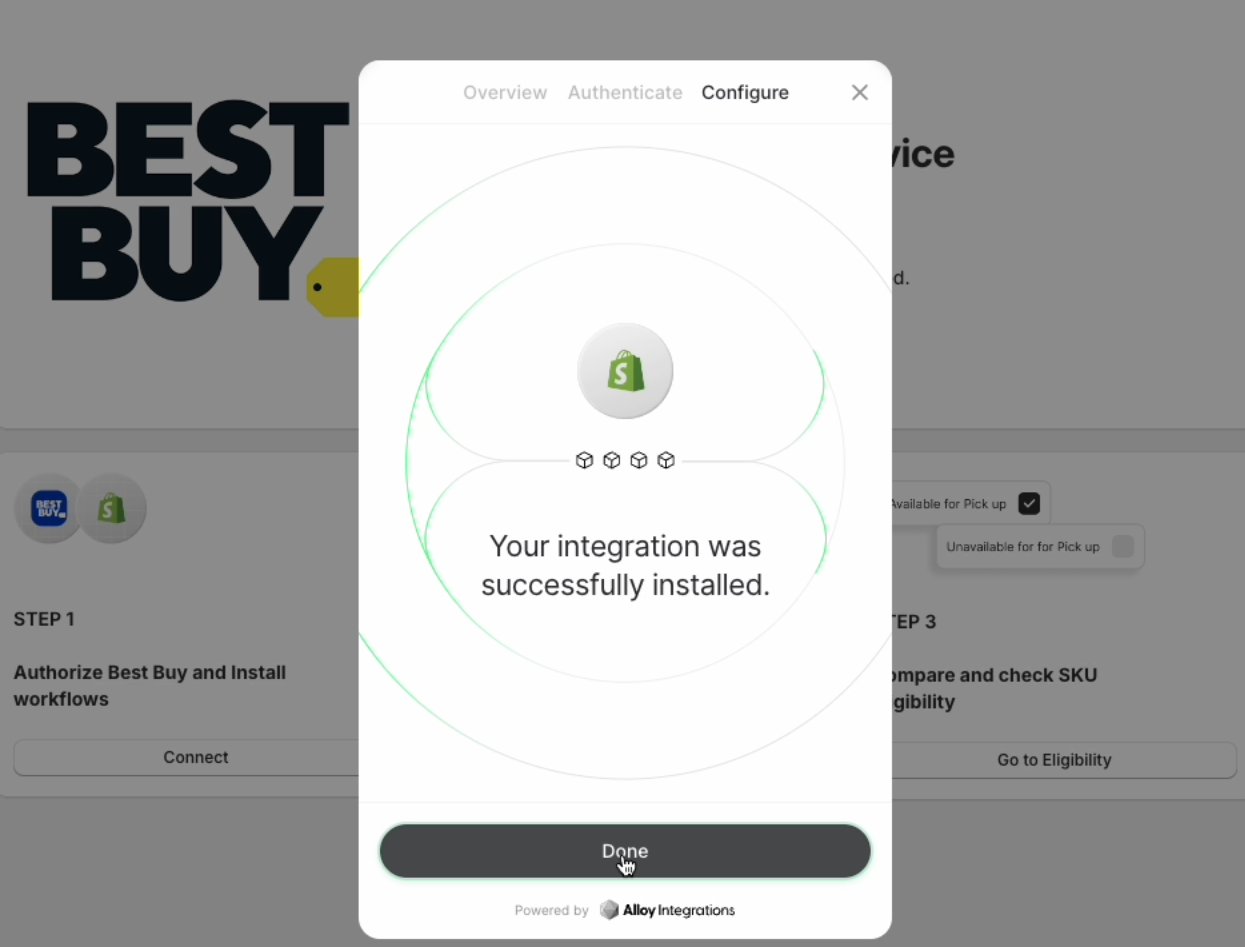
Click **Continue** until you see the "Your integration was successfully installed" screen. Click **Done** to finish this portion of the setup.