> ## Documentation Index
> Fetch the complete documentation index at: https://docs.runalloy.com/llms.txt
> Use this file to discover all available pages before exploring further.
# Brightpearl
> In this article, you'll learn how to integrate Brightpearl with Alloy.
## Example Use Cases
* **Order status updates**: 3PL (third-party logistics) platforms can seamlessly enable data streaming between their platform and the vendor's Brightpearl ERP. When a vendor's customer places an order, your 3PL app is immediately notified and a fulfillment workflow is triggered. When an order is fulfilled, your app will send fulfillment updates back to the Brightpearl ERP to update the order status.
* **Marketing automation**: CRM platforms can use data from Brightpearl to create upselling and cross-selling opportunities by syncing previous order data between the CRM platform and Brightpearl.
## Creating a Brightpearl Workflow in Alloy
Let's get started creating a Brightpearl workflow in Alloy.
Head to the Alloy Embedded workflow editor by navigating to Embedded iPaaS > Integrations. Then, start a new Brightpearl integration.
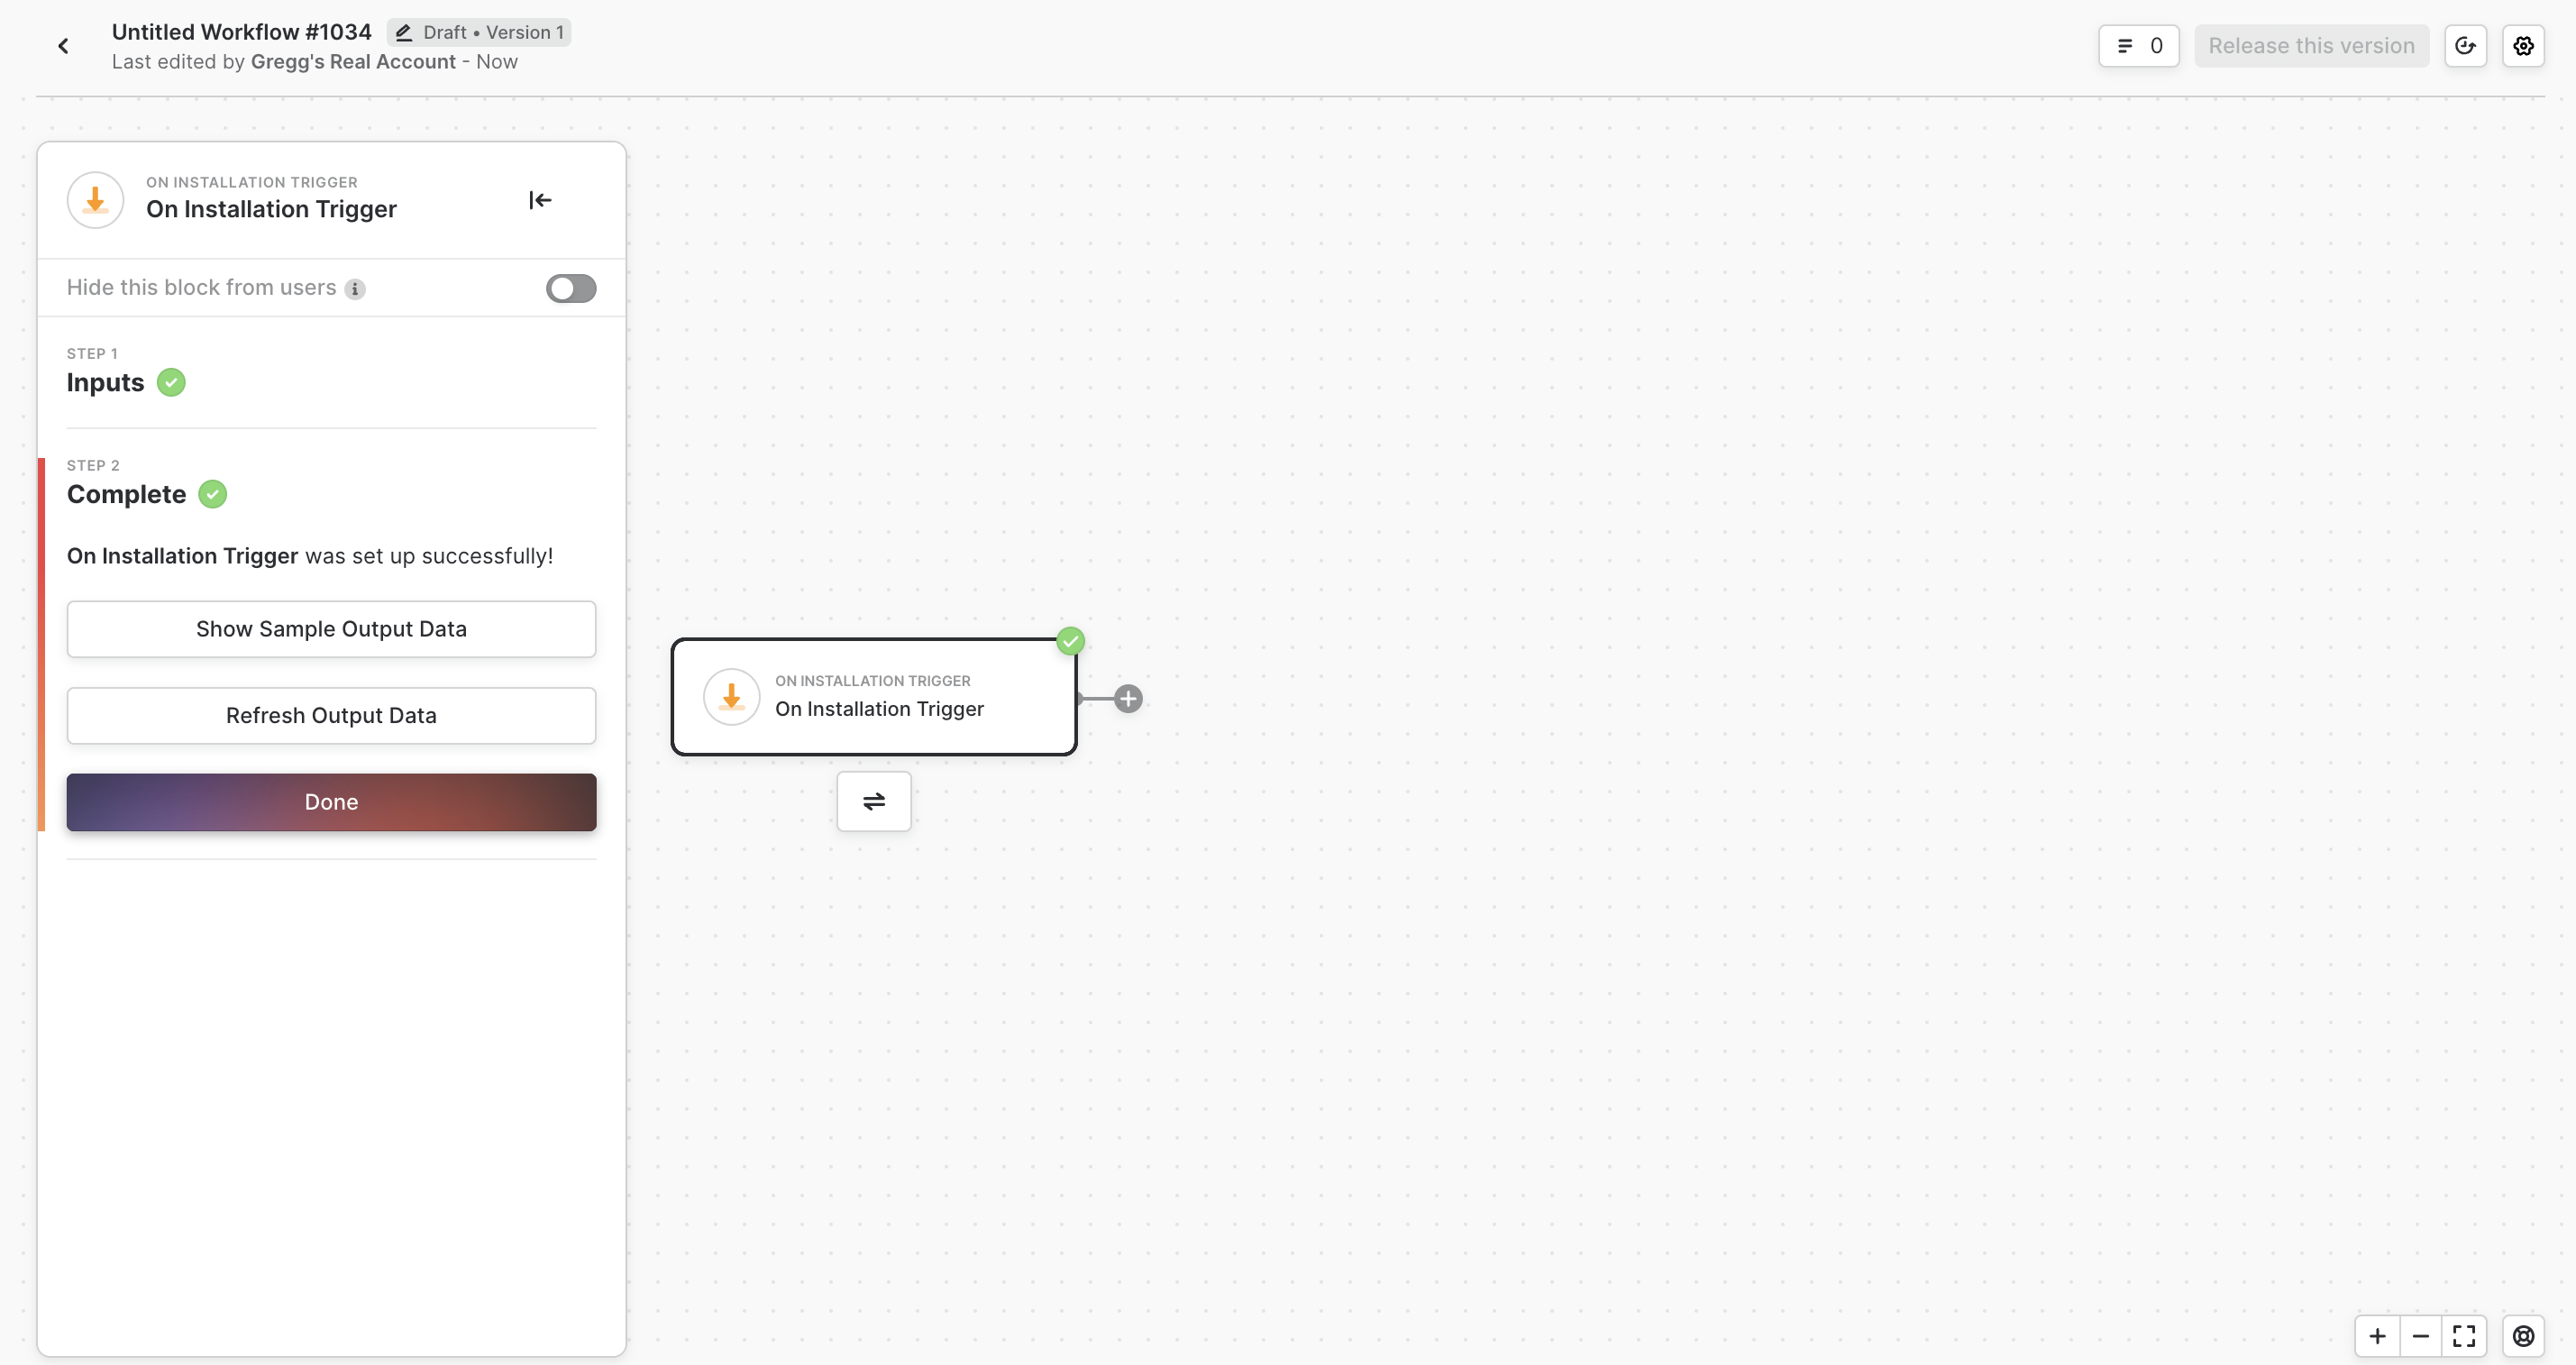
Drag and Drop a trigger into the workflow editor to start building your workflow. You can use any of our 90+ App triggers to get started. In this guide, we're using the installation trigger located under the utilities tab.
Next, drag and drop the Brightpearl block into the workflow editor. Once done, you'll see the option to select a Brightpearl action.
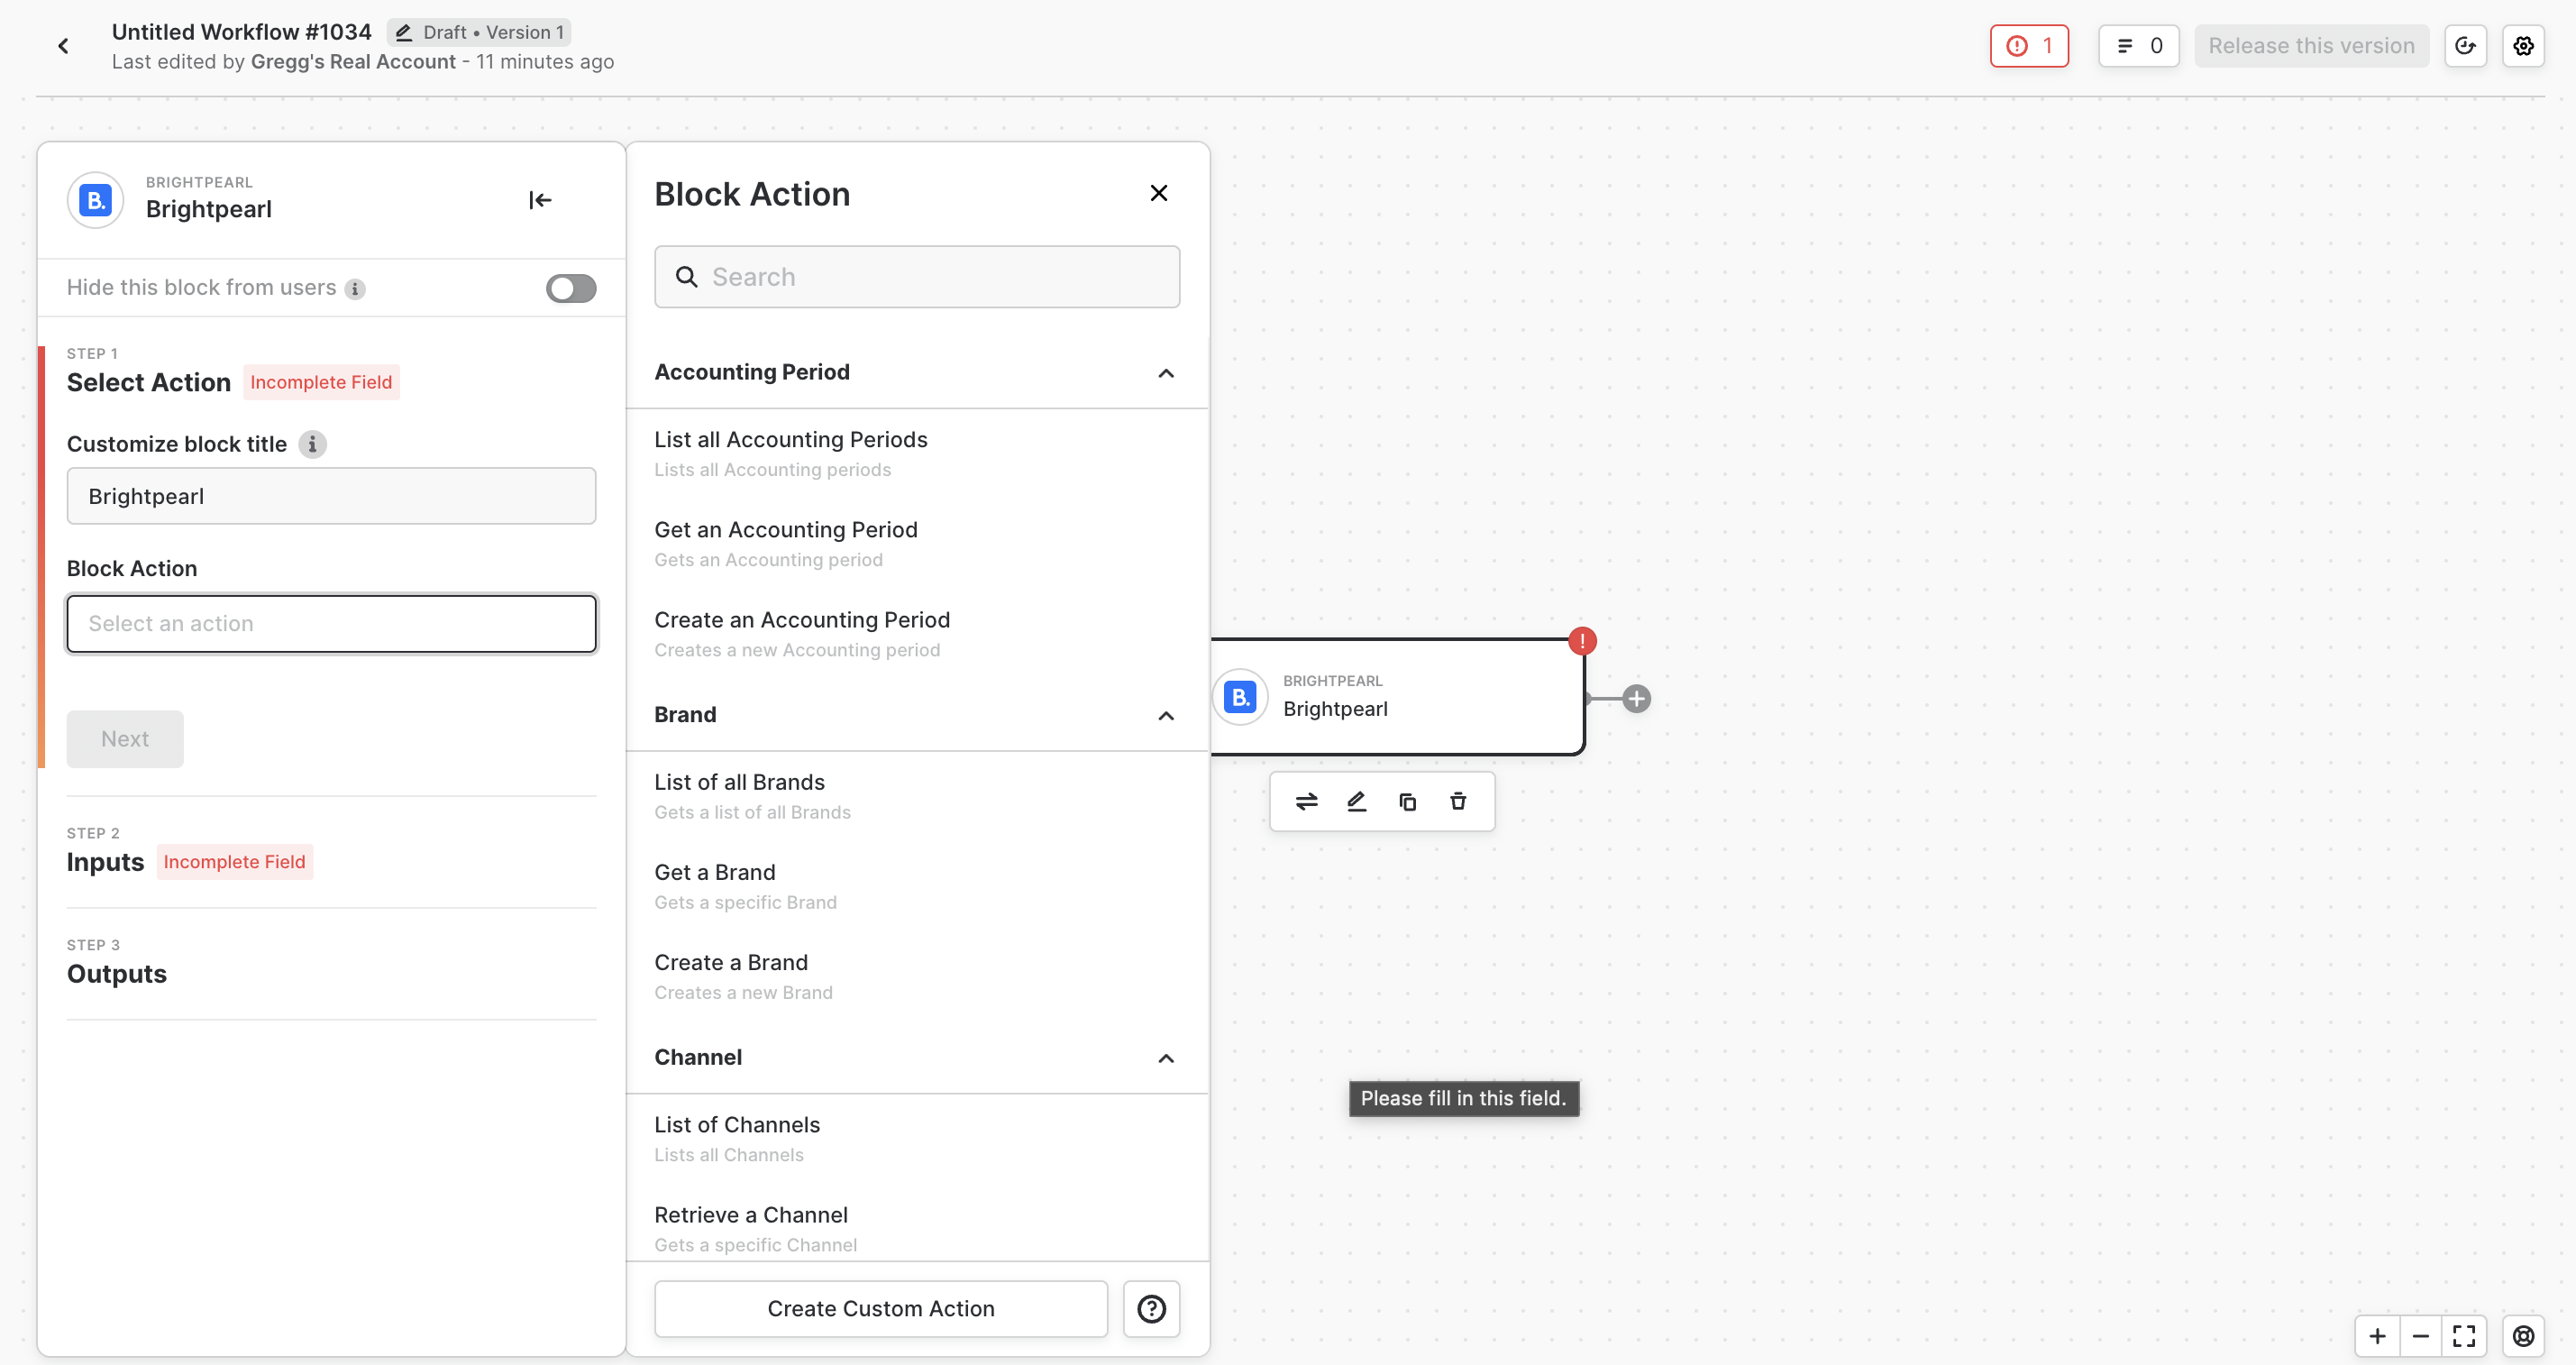
Select your desired workflow action to continue. Once done, click next to complete the setup process.
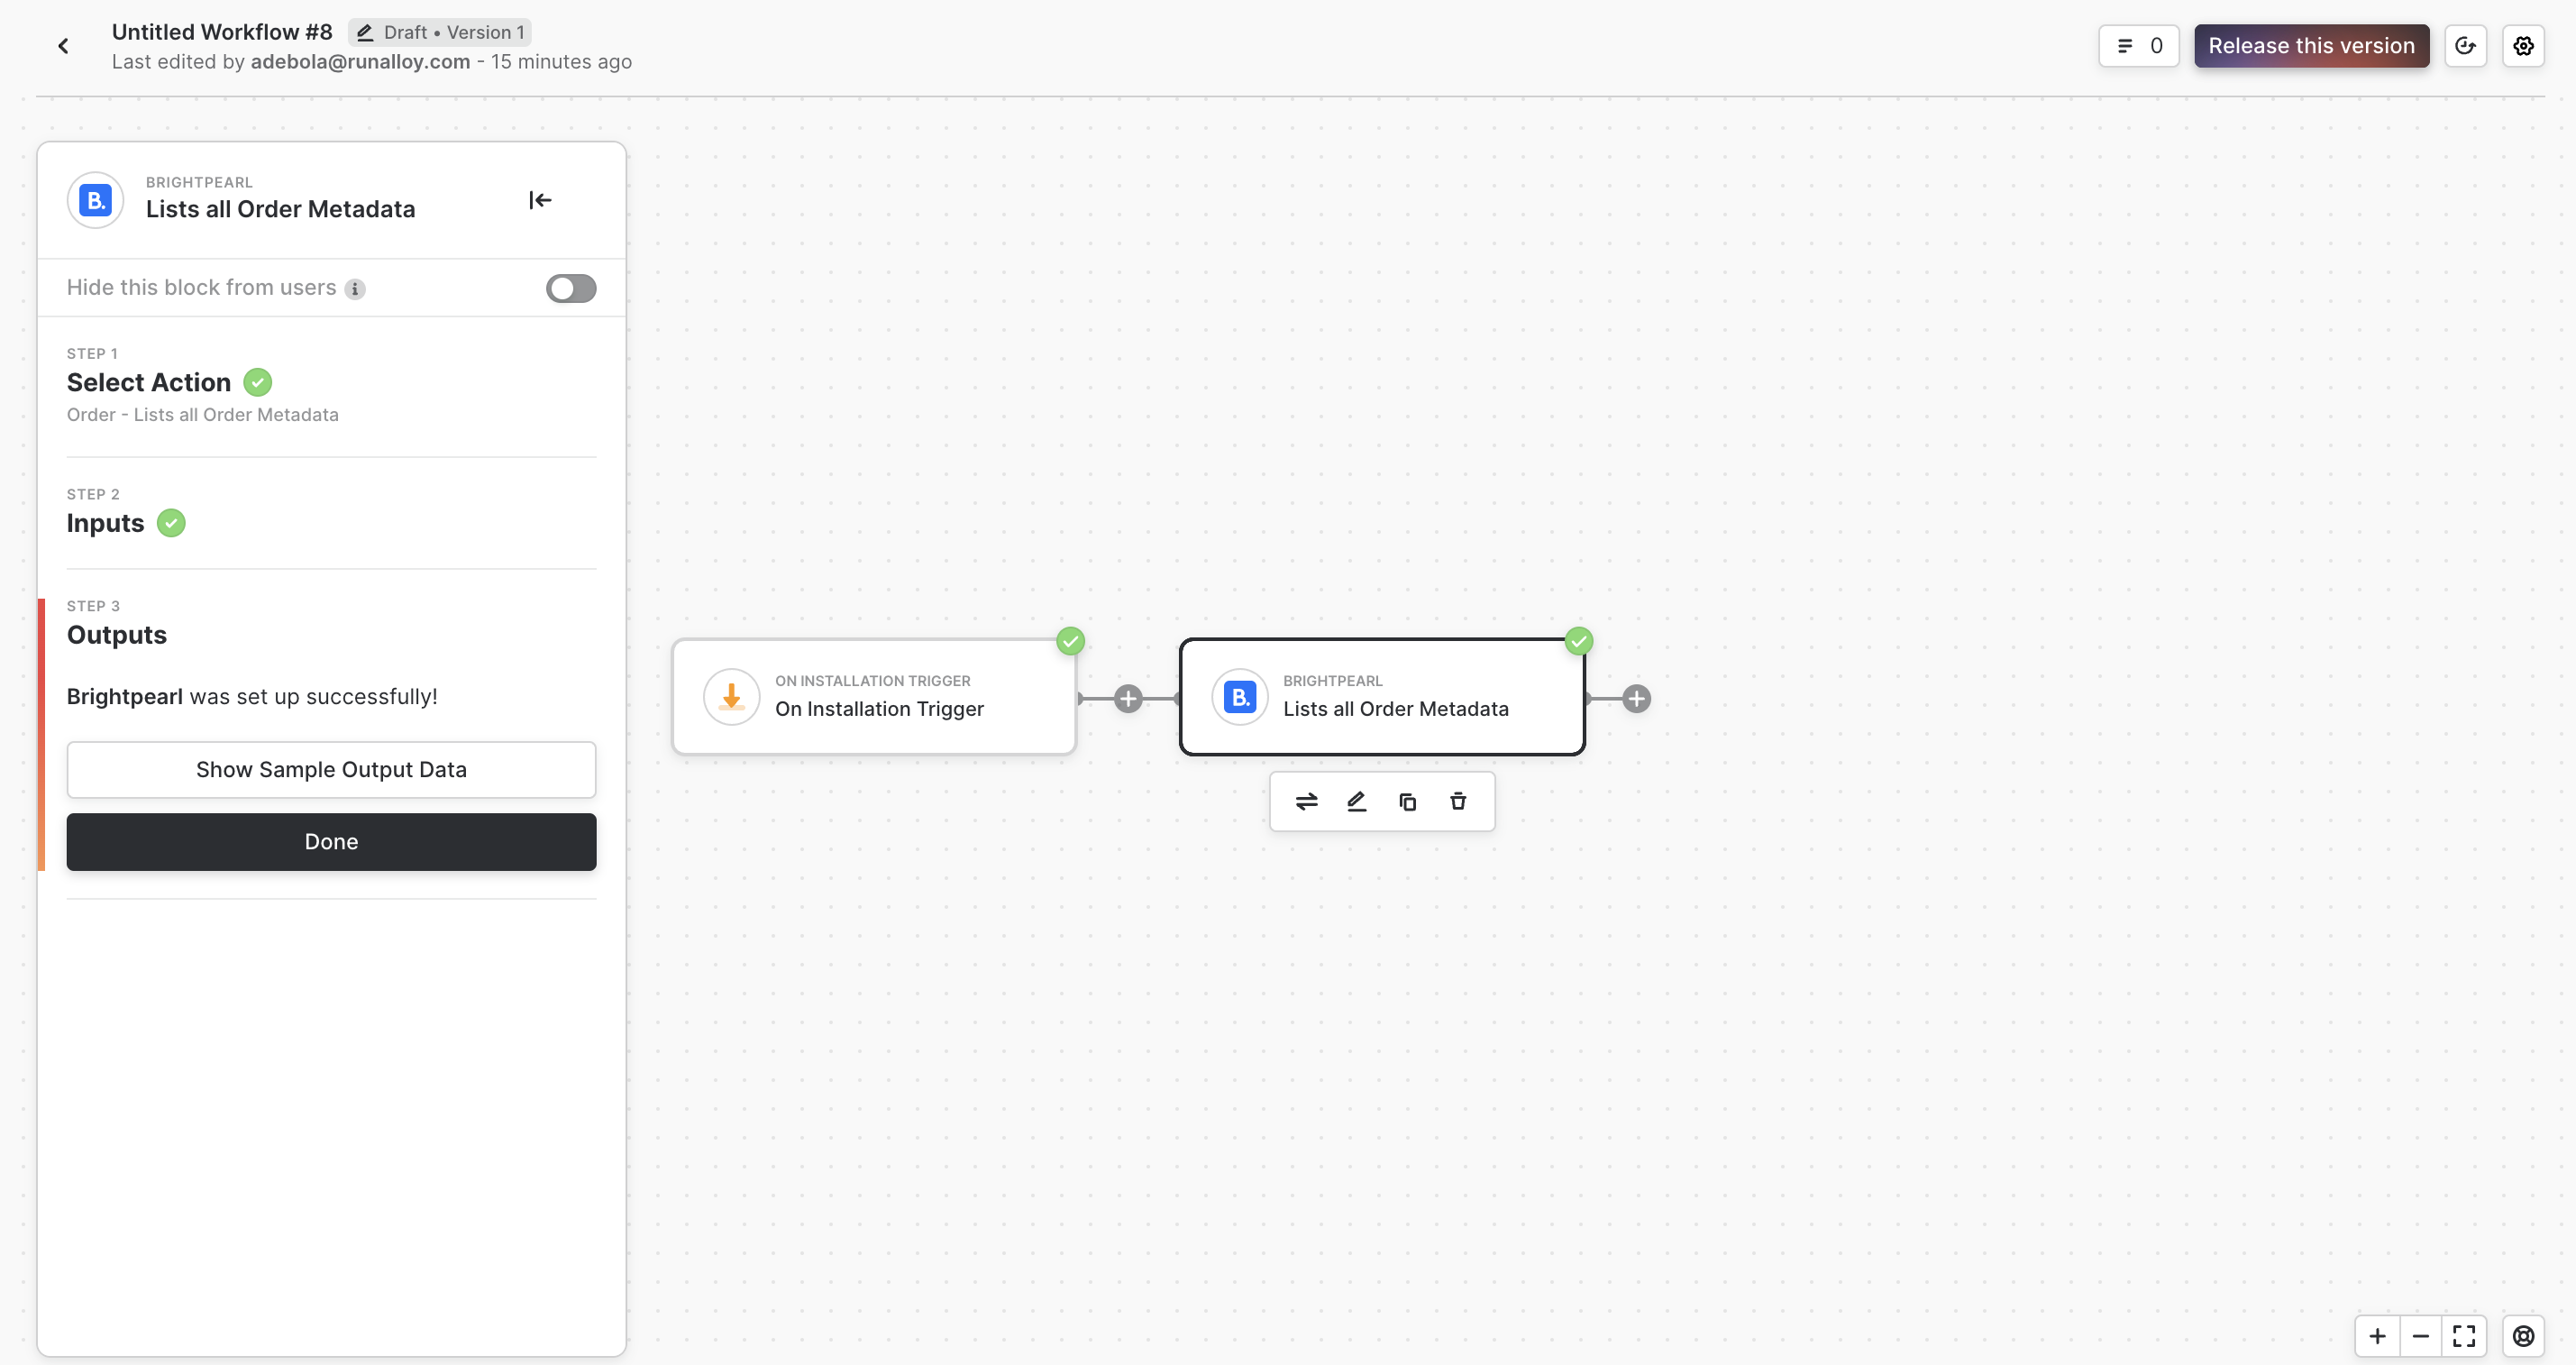
Continue building your workflow as you please. When done, click **Release this version** in the top right to launch your new Brightpearl integration.
## Authentication in Brightpearl
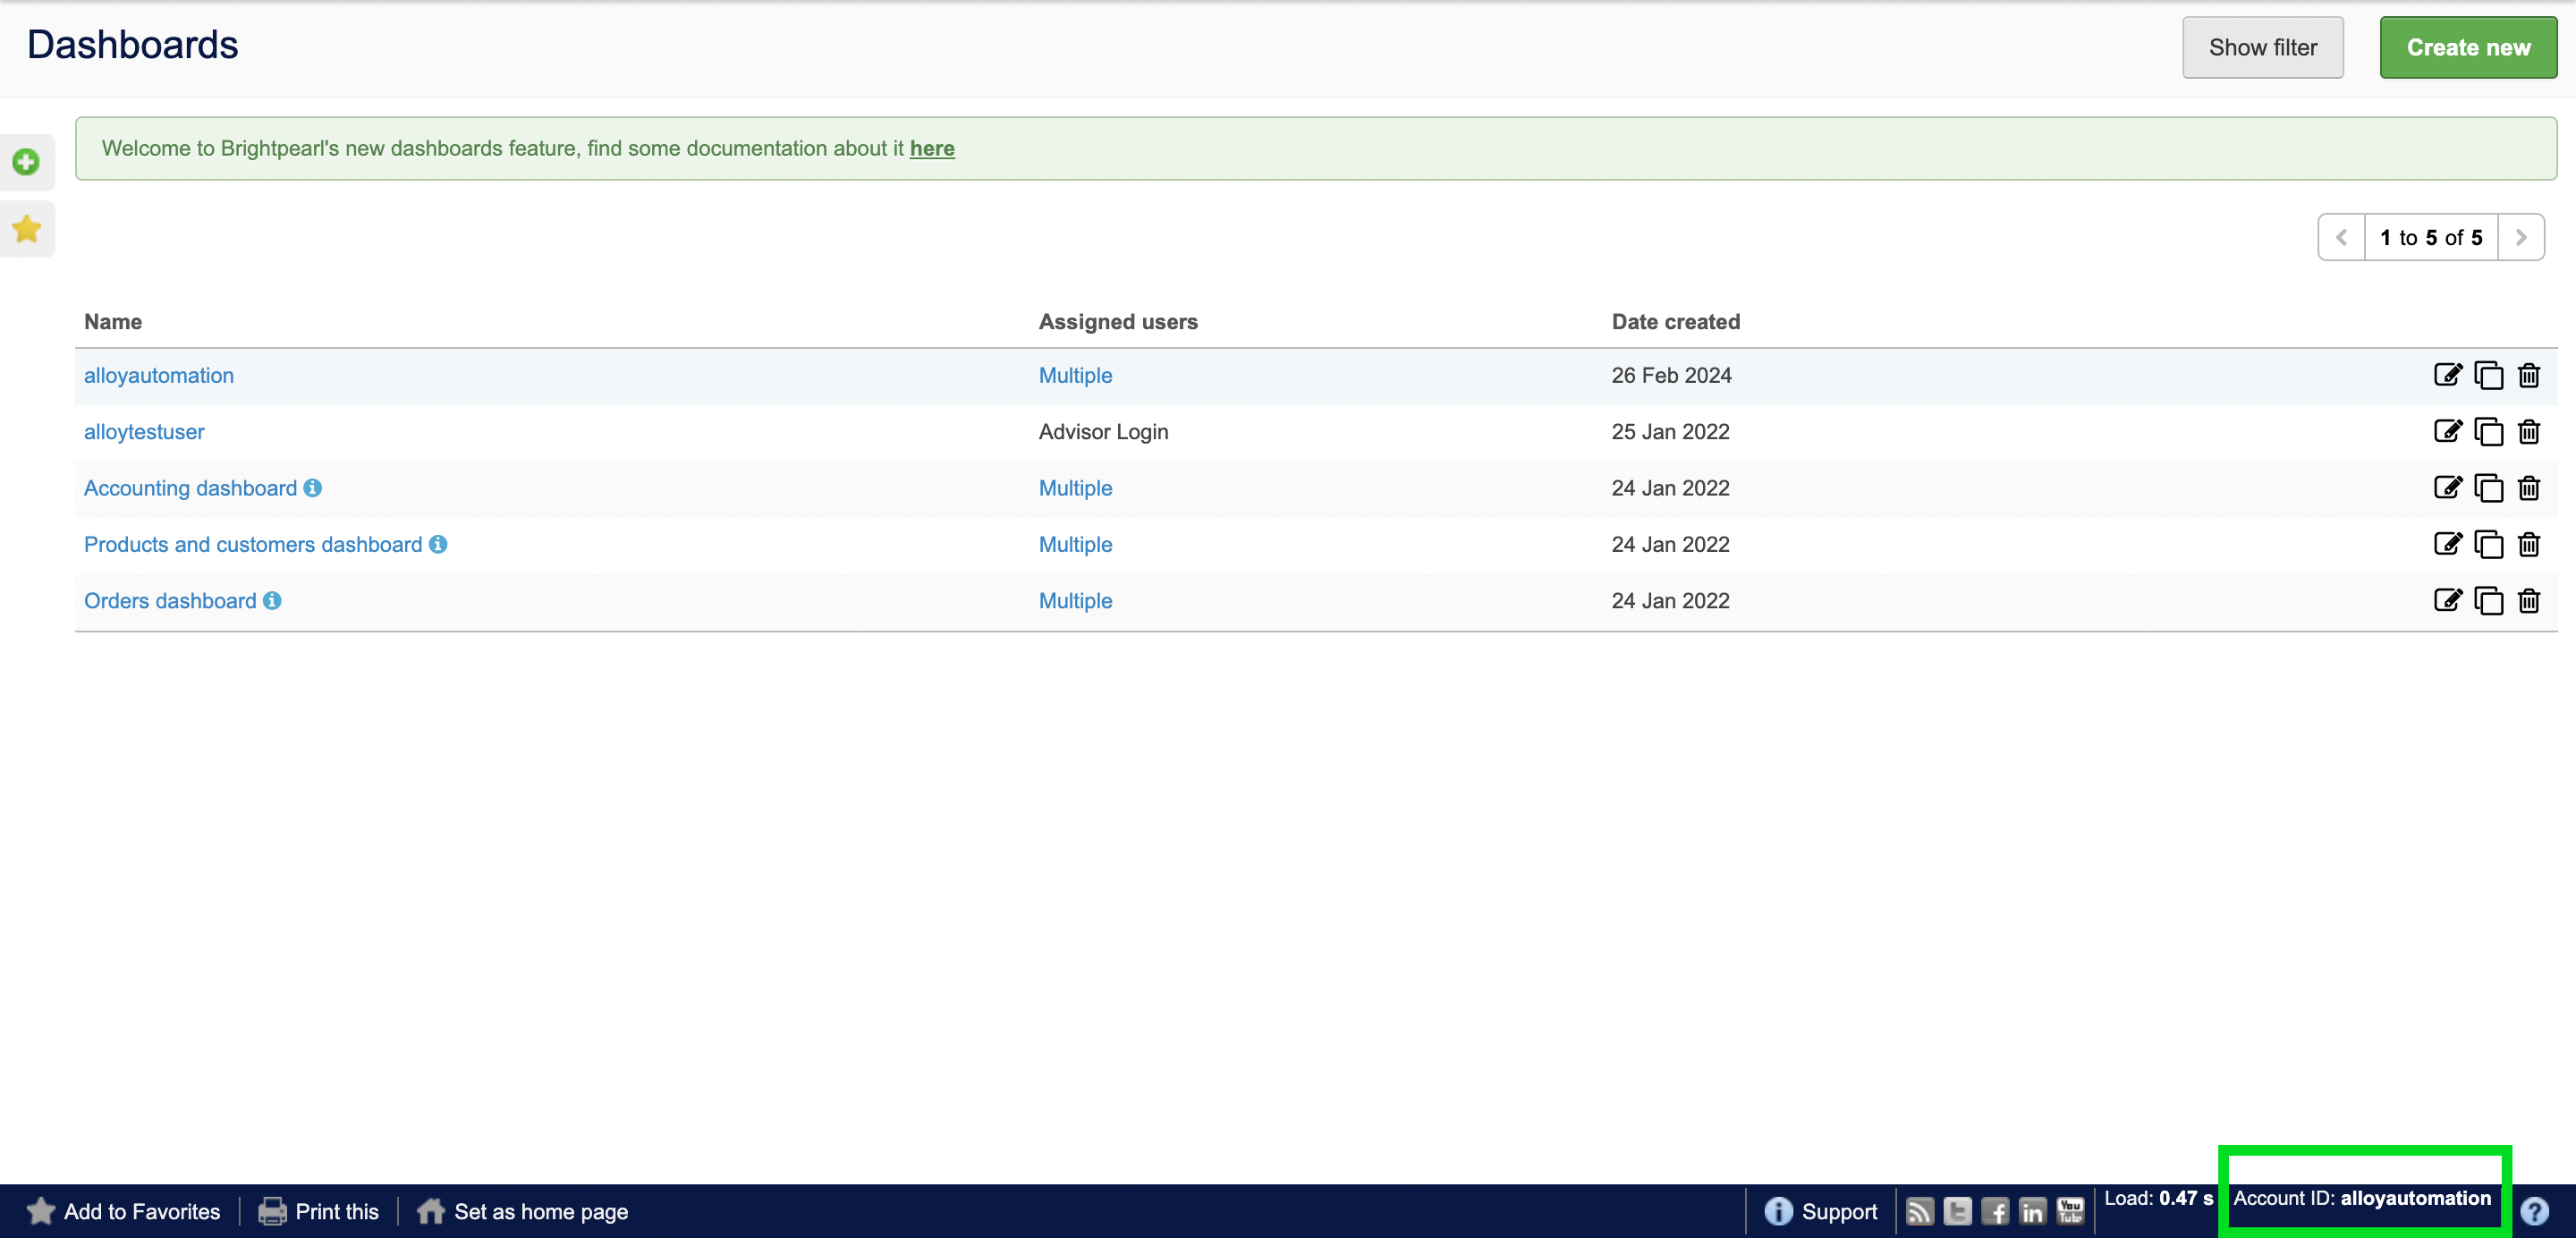
To connect to a customer's Brightpearl account, customers would need to grant permissions to your app. To do so, Customers would require their Brightpearl account ID, and, a username and password. The Brightpearl account ID can be found in the bottom right of the Brightpearl dashboard.