> ## Documentation Index
> Fetch the complete documentation index at: https://docs.runalloy.com/llms.txt
> Use this file to discover all available pages before exploring further.
# Builder.io
## Step 1. Setting up a webhook in Alloy
To use Builder.io with Alloy, you'll need to create a workflow and set up a Webhook trigger block. This will cause the workflow to run every time an event in Builder.io occurs.
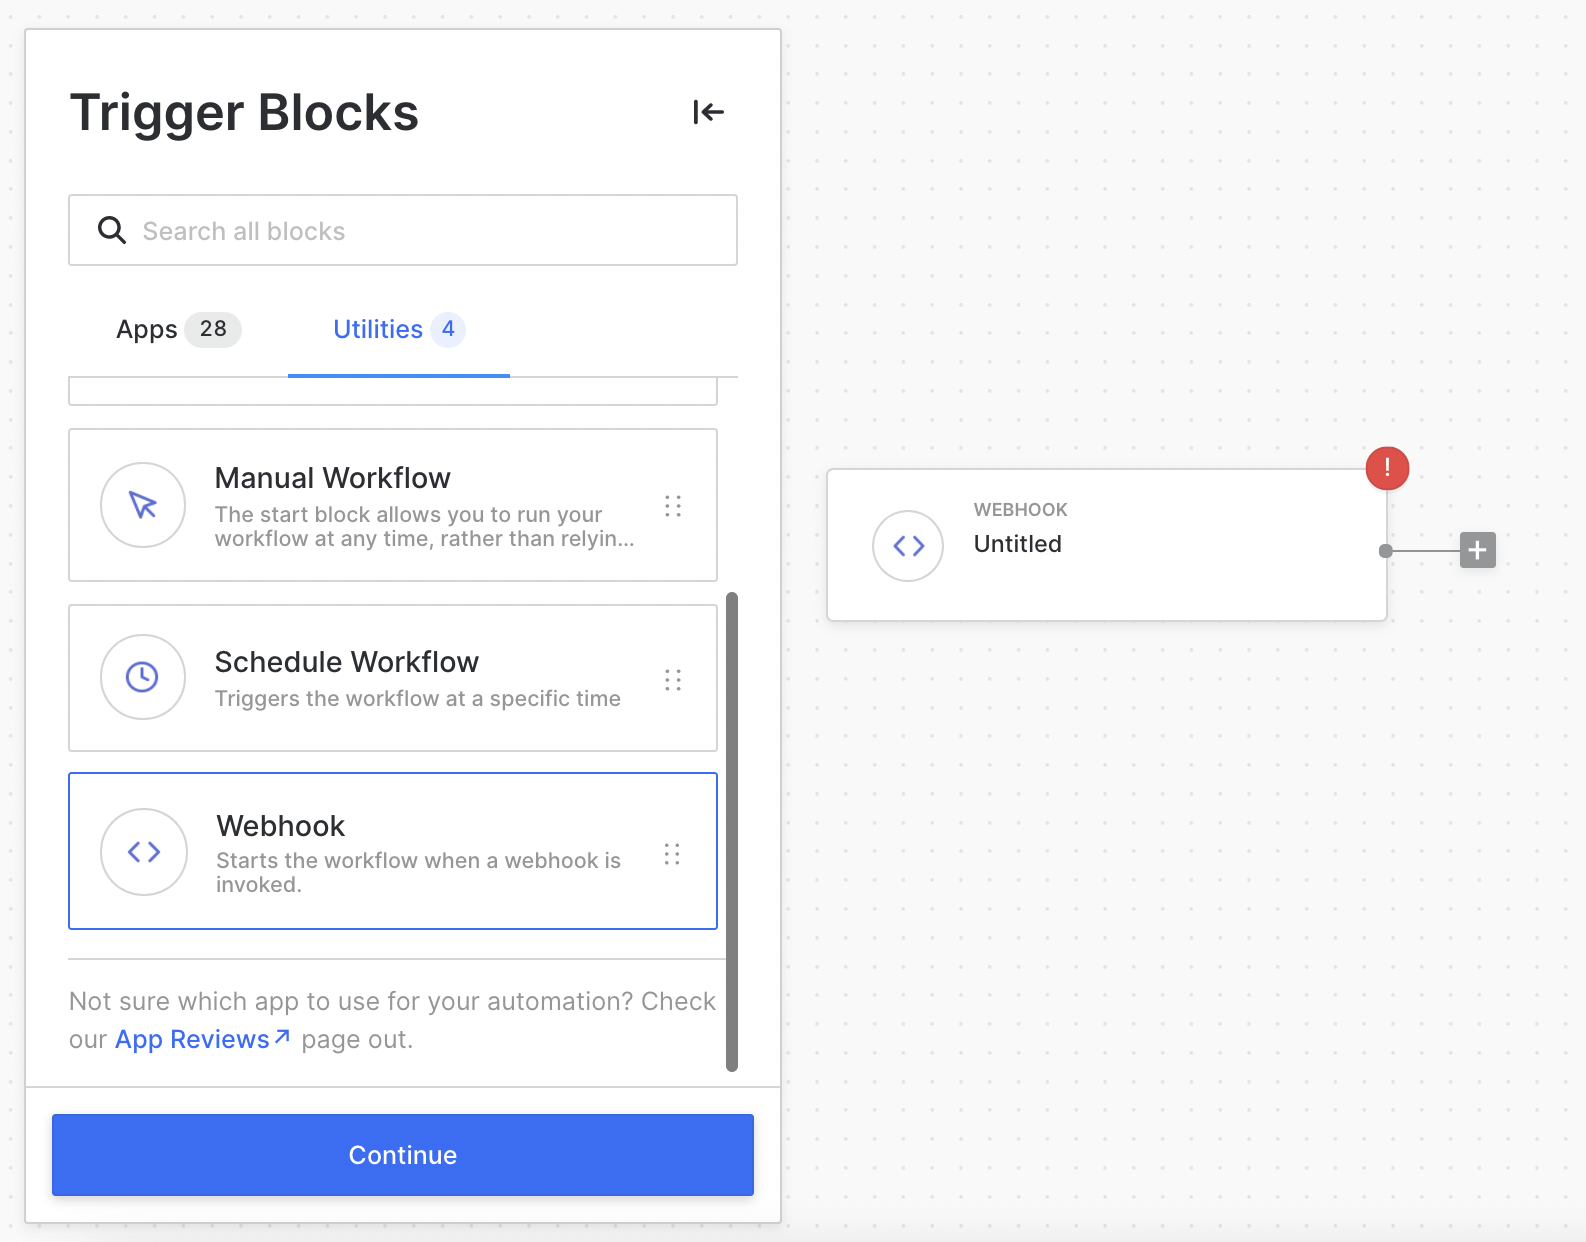
You’ll be prompted to select a form of authentication: Alloy supports basic auth, header authentication, and the option to have no authentication. For security reasons, you should have some form of authentication if you’re planning on accessing sensitive information in your workflow. For the purposes of our tutorial, we’ll select **No Auth.**
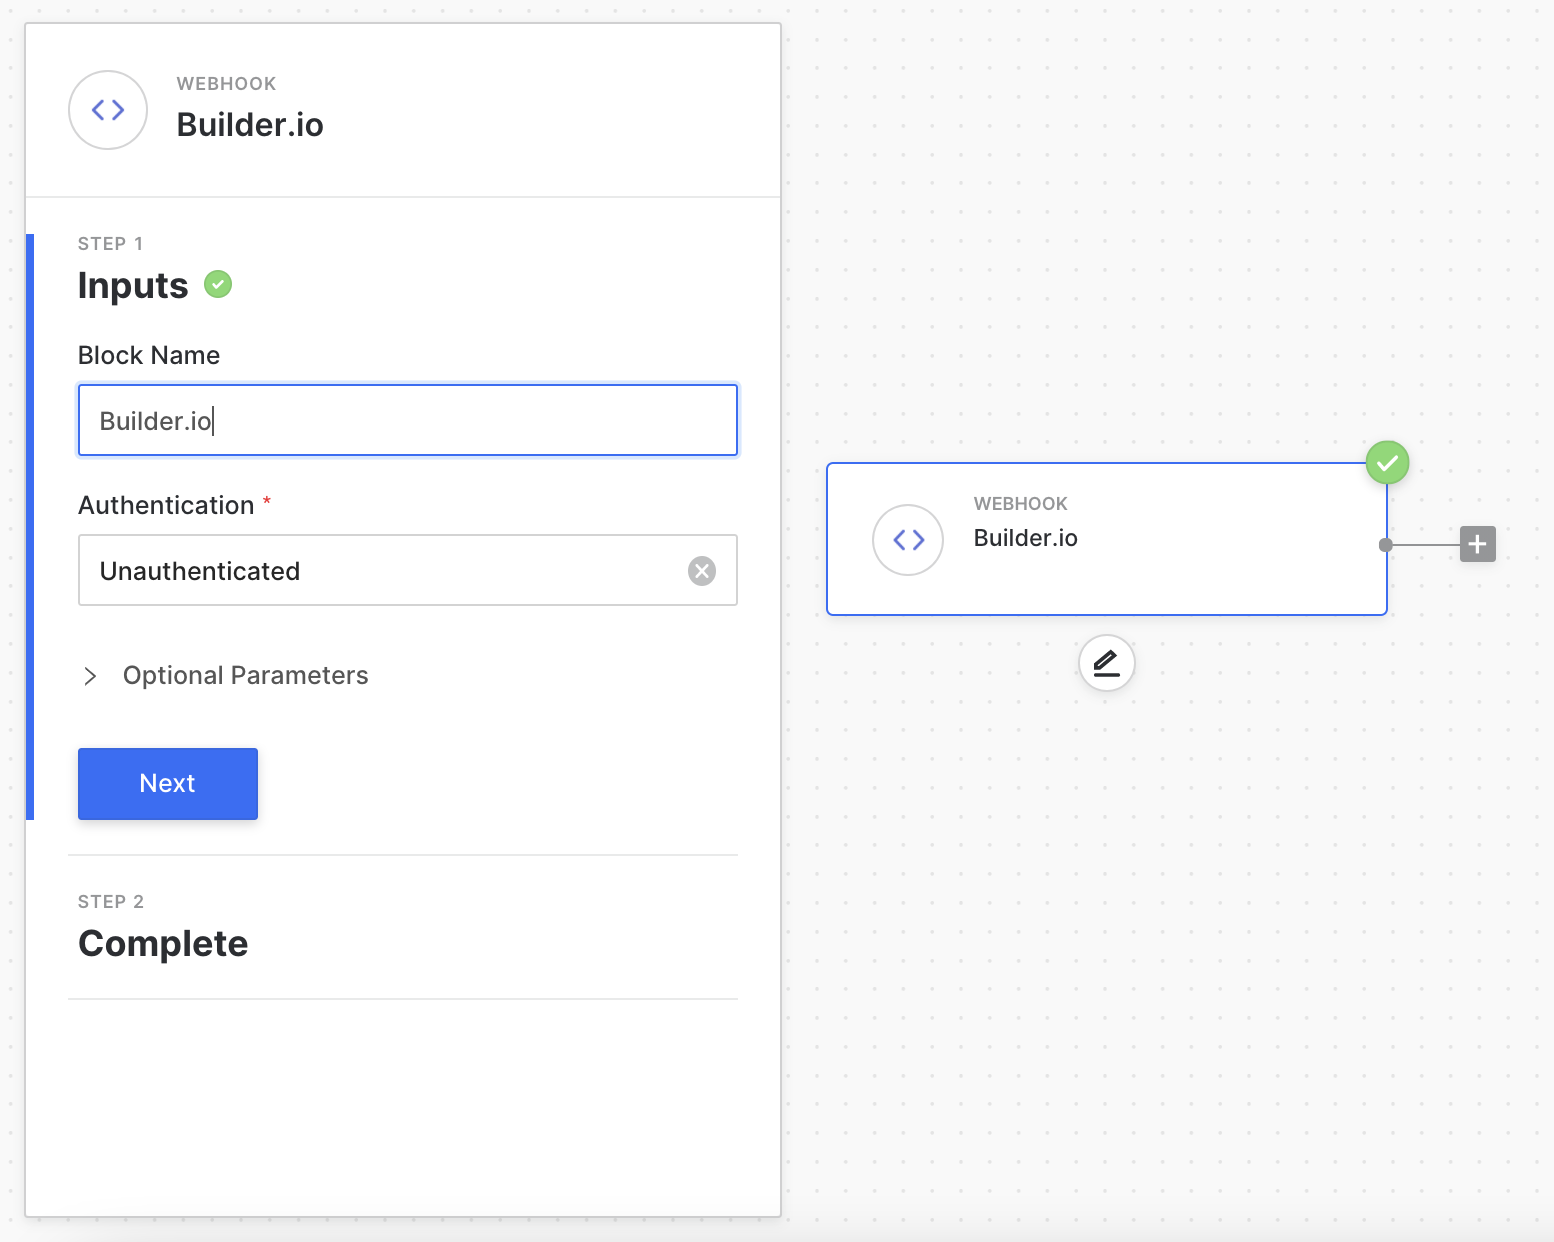
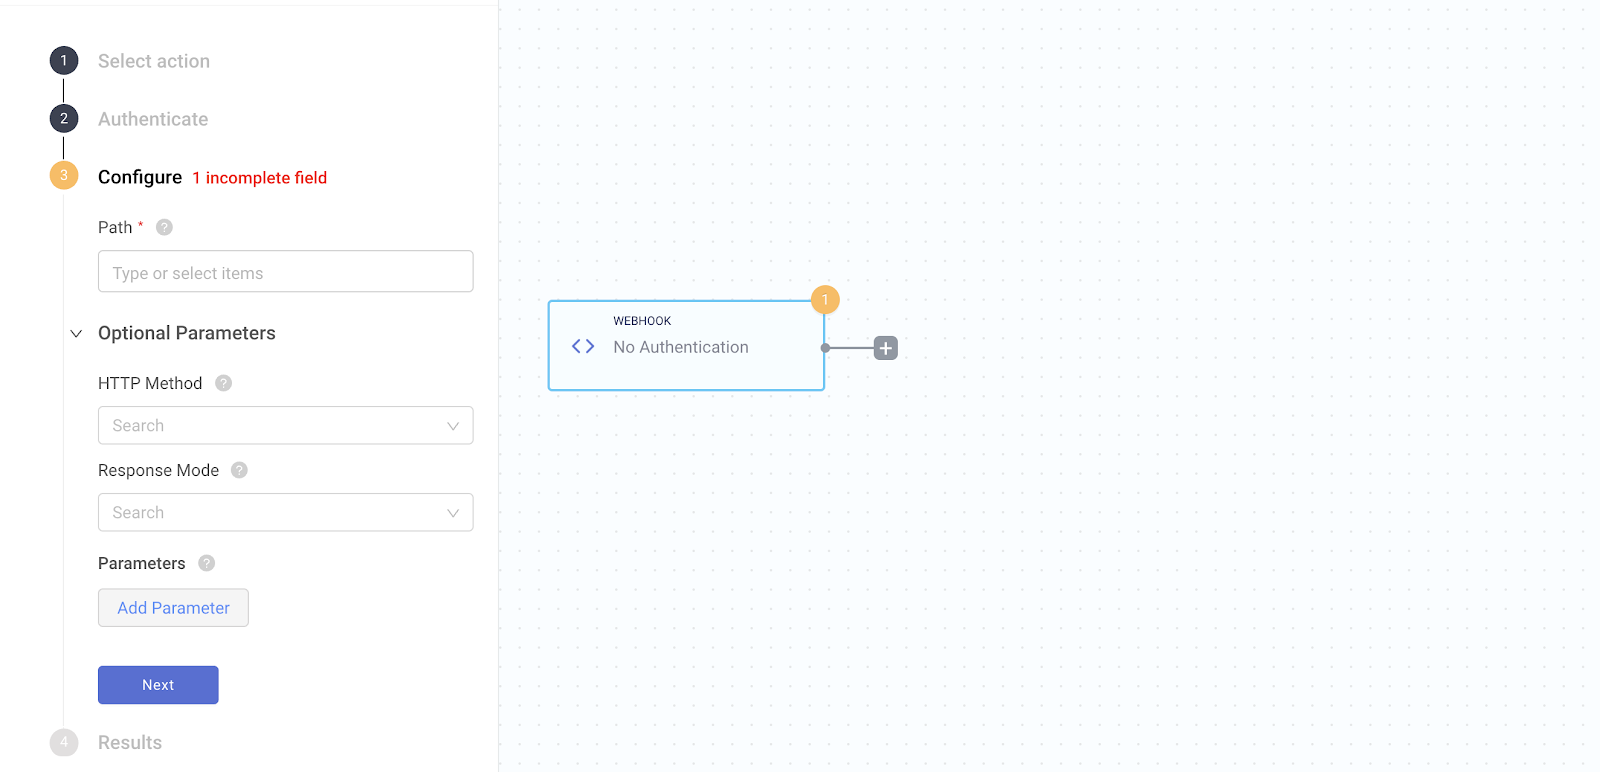
Next, you’ll be asked to configure the webhook path, response mode, and method.
The **path** is the specific route you want to hit each time you invoke the webhook. For example, if your webhook is `https://api.runalloy.com/webhook/path` the **path** is the path you specify.
Next, you’ll want to define the HTTP method. Alloy supports both GET and POST requests. Lastly, select the Response Model which is typically “On received”.
If you’re making a **POST** request, chances are you’ll want to send over **body** data which can subsequently be passed over to other parts of the workflow. Similar to how response data from other triggers (think the Shopify trigger) works, you can use any parameters you define in the webhook in future blocks in the workflow.
Let’s create two parameters, one called **state** with a sample value of **Georgia**, and one called **city** with a sample value of **Atlanta**, as seen below.
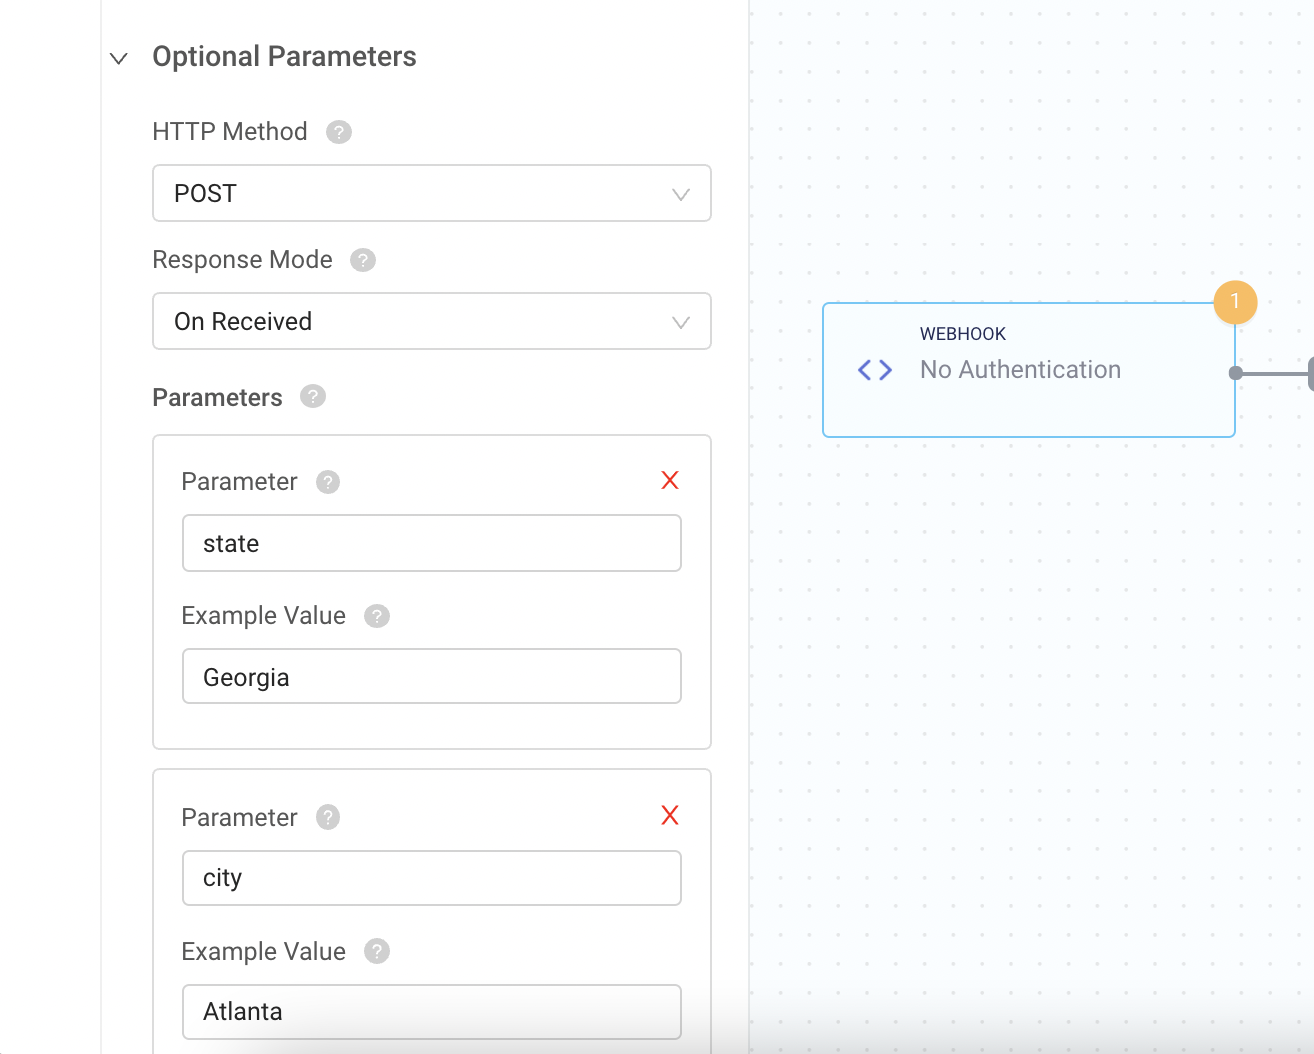
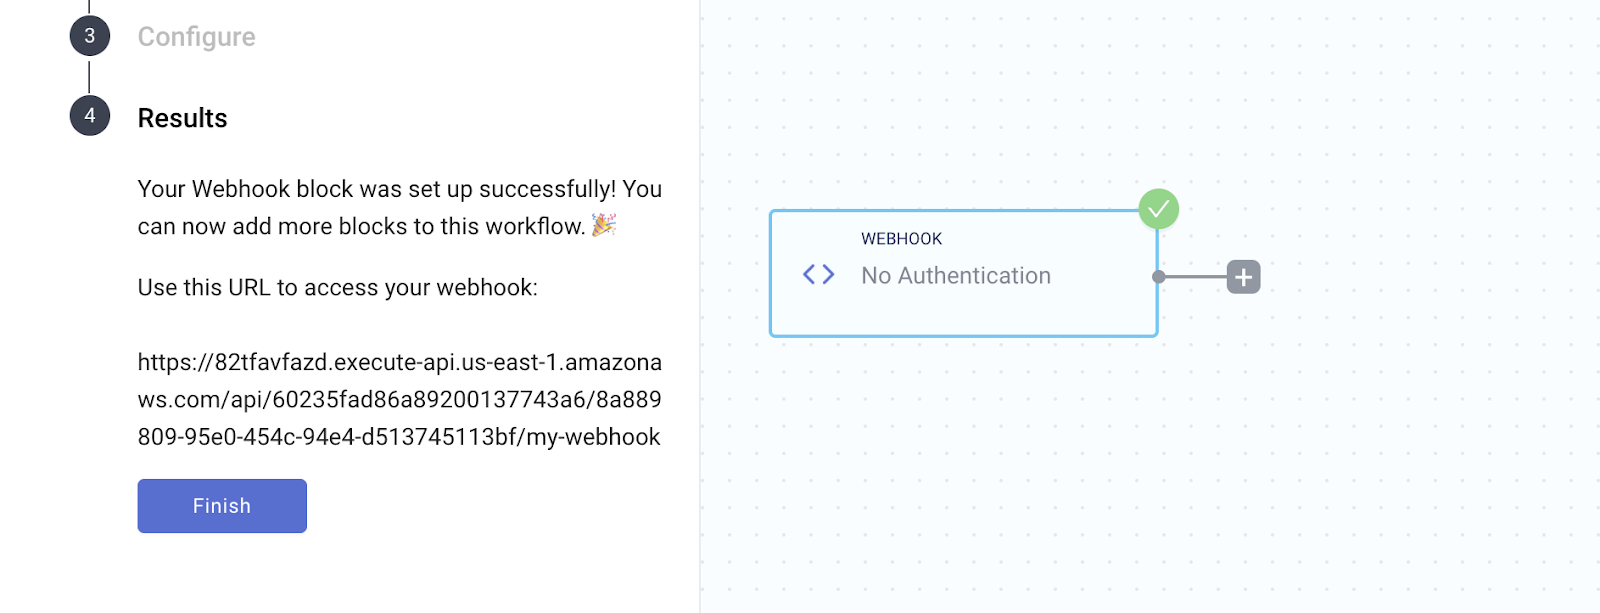
With that, you’ve successfully configured your webhook. You’ll be give a URL below to make requests to and from your webhook. Now you're ready to put this into your Builder.io application.
## Step 2. Creating a Builder.io form that pushes to Alloy
Create a form component and set **Send submissions** to **custom.**
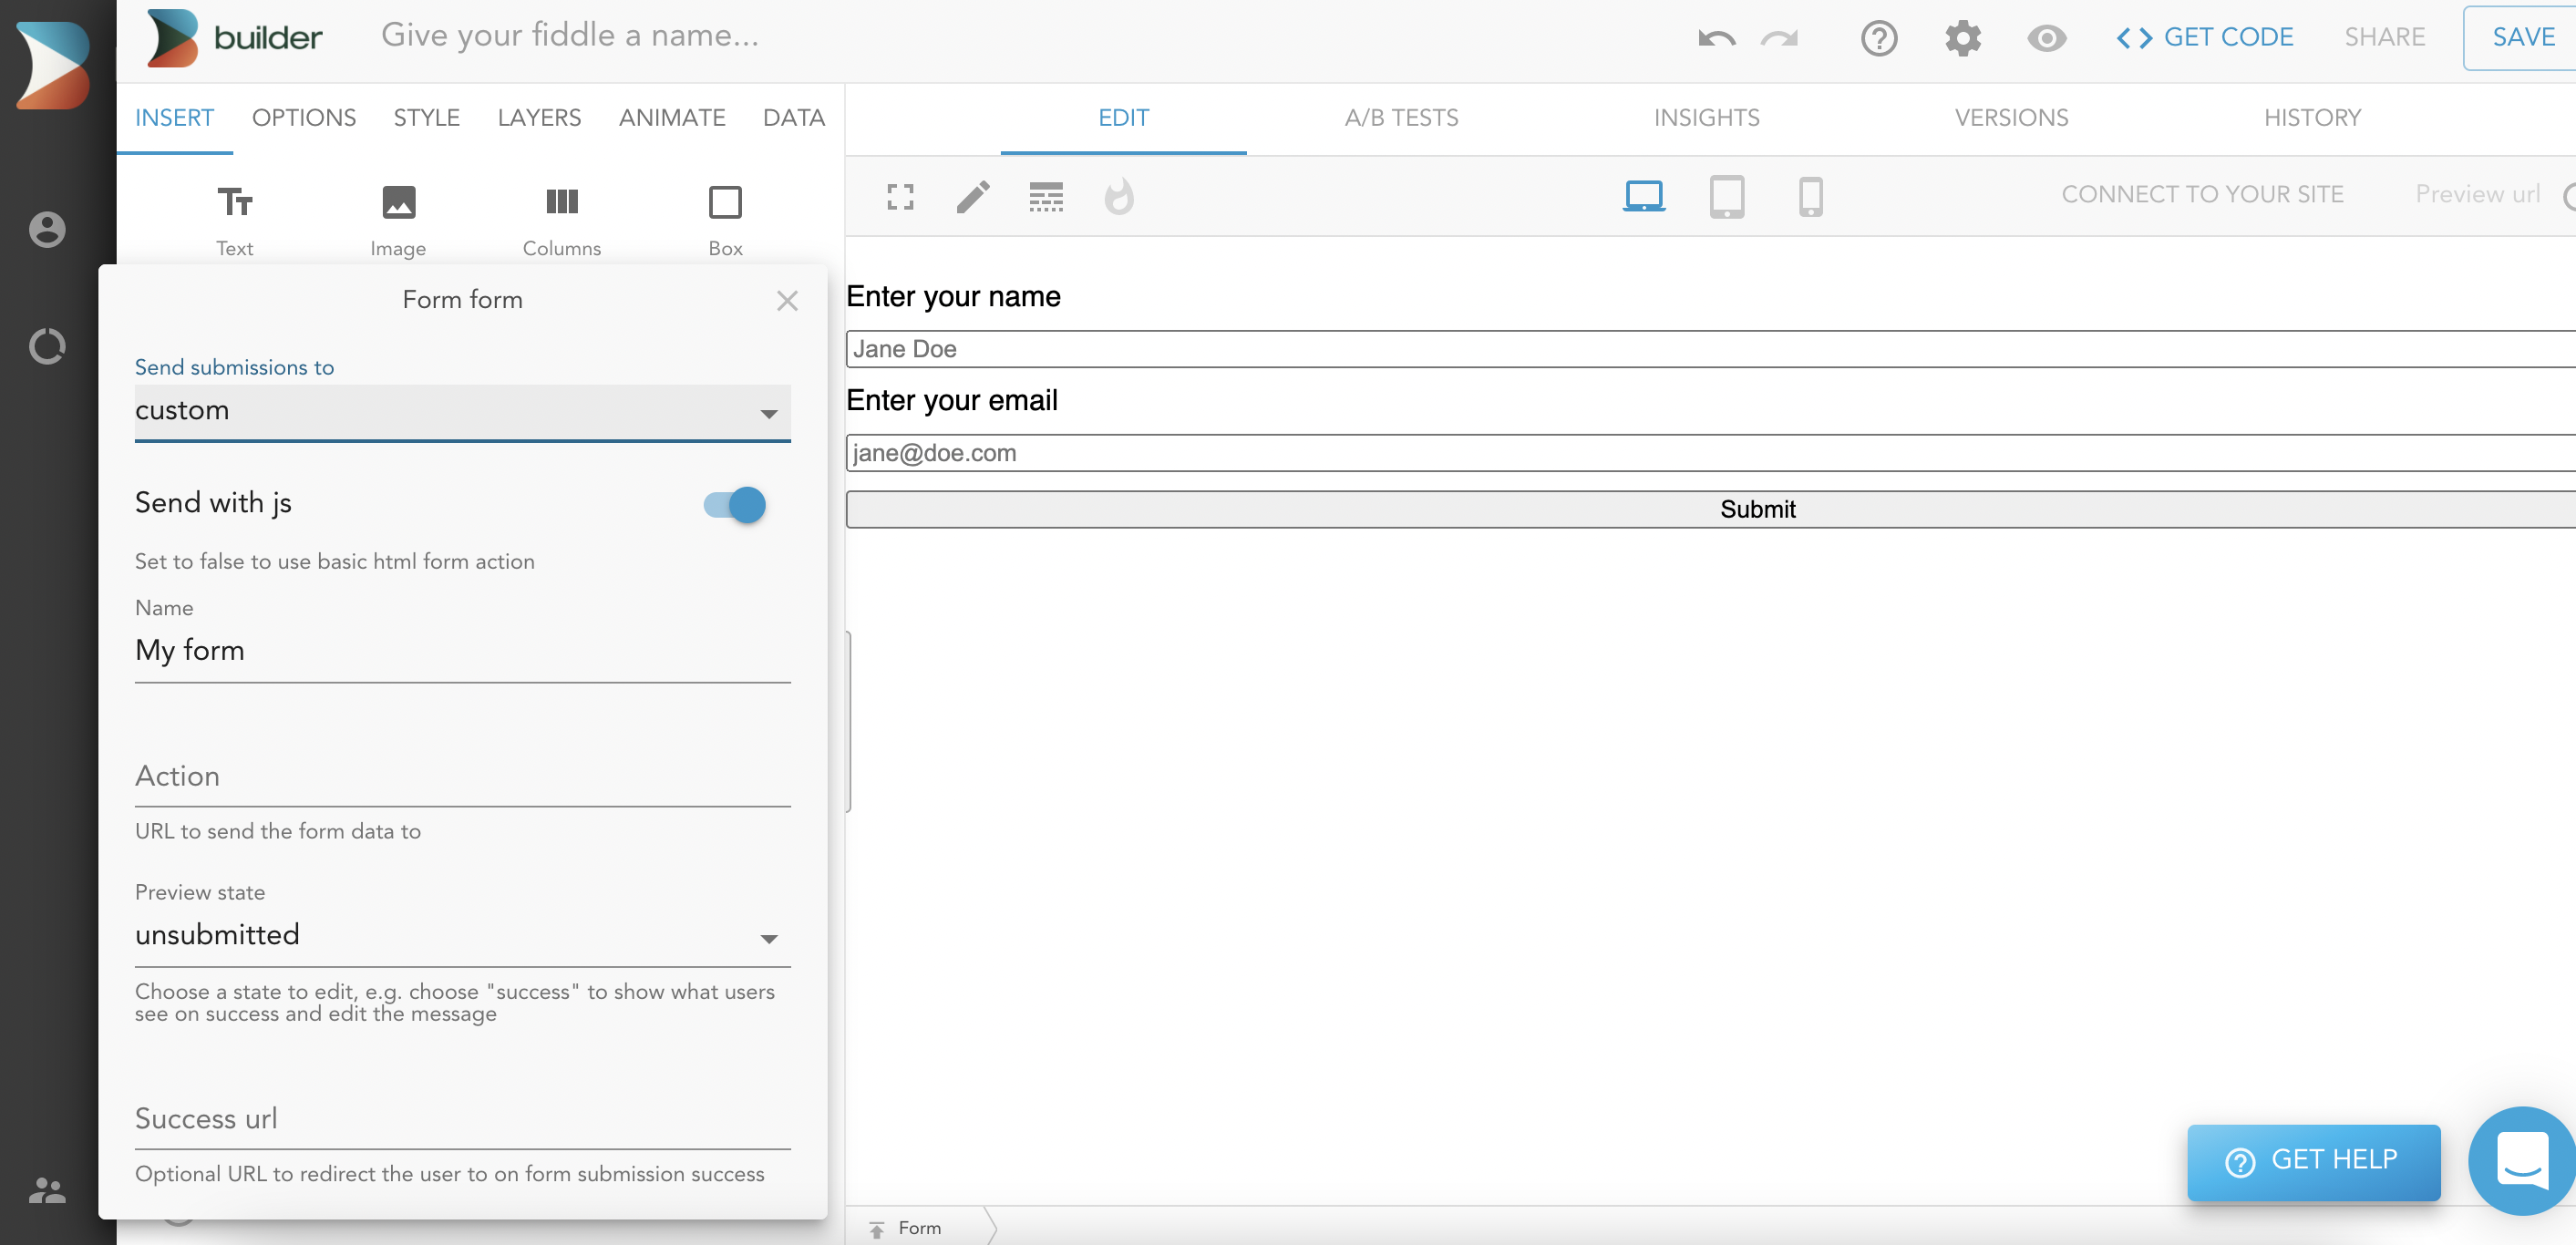
Paste your Alloy webhook URL into the \*\*Action \*\*field.
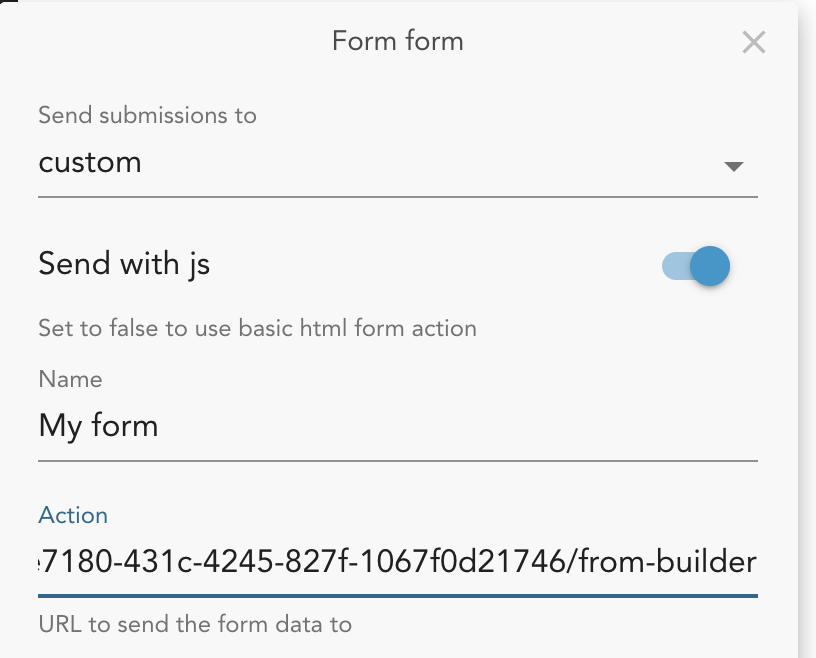
Configure the data you'd like to send Alloy in the fields below.\
You're all set now! For every form submission you make, the Alloy workflow will run and perform the necessary actions :)