> ## Documentation Index
> Fetch the complete documentation index at: https://docs.runalloy.com/llms.txt
> Use this file to discover all available pages before exploring further.
# PushOwl
> In this article, you'll learn how to set up your PushOwl account to work with the Alloy platform. Once you've connected PushOwl, you'll be able to sync data from your Shopify, BigCommerce, Klaviyo, and other apps into PushOwl and vice versa.
## Example Use Cases
1. Sending push notifications for back in stock products
2. Sending push notifications for delivery update
3. Send a push notification to new Shopify customers with a 5% discount
4. Recover abandoned checkouts with push notifications
## Get PushOwl credentials
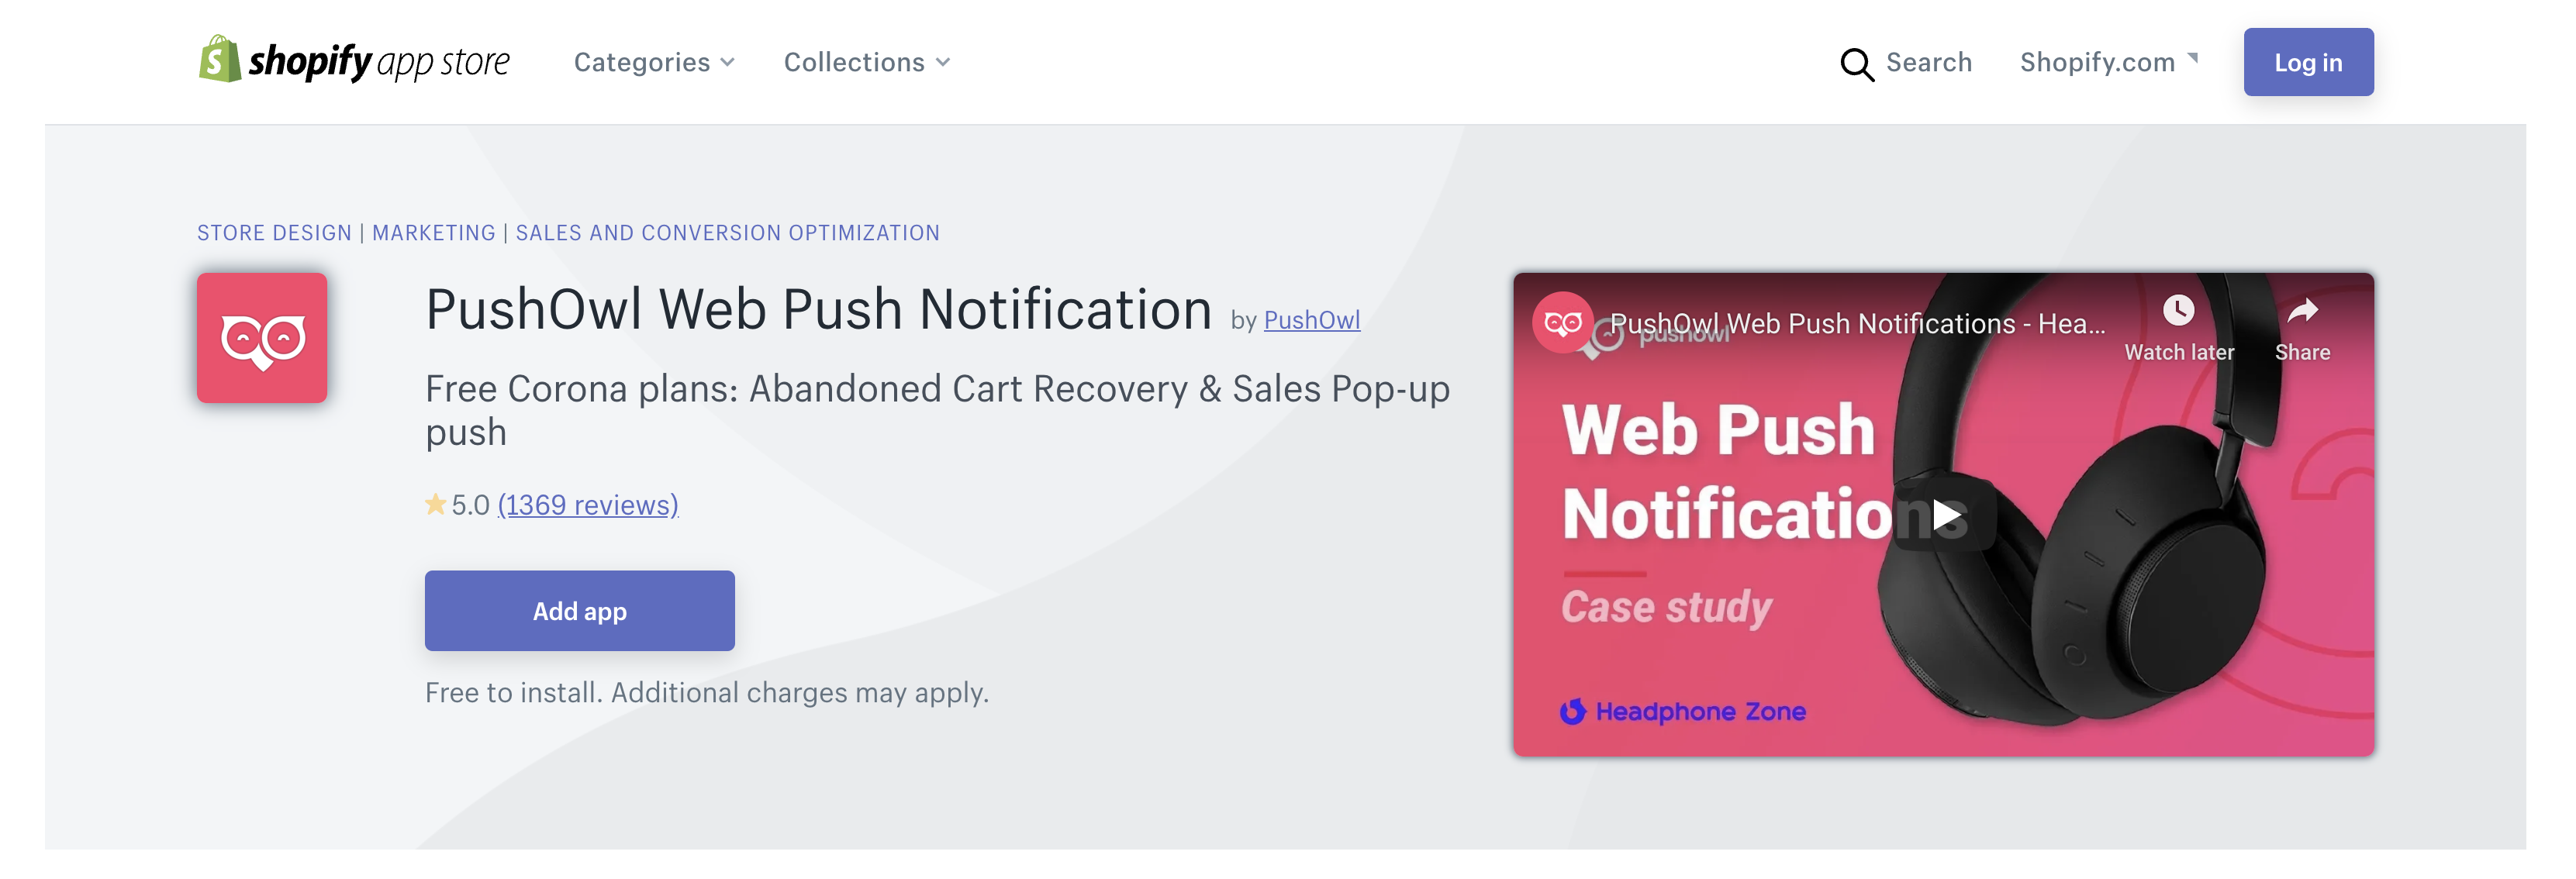
Make sure you've installed **PushOwl** via the Shopify App store before proceeding with this tutorial.
## Setup Instructions
In Alloy, create a new workflow
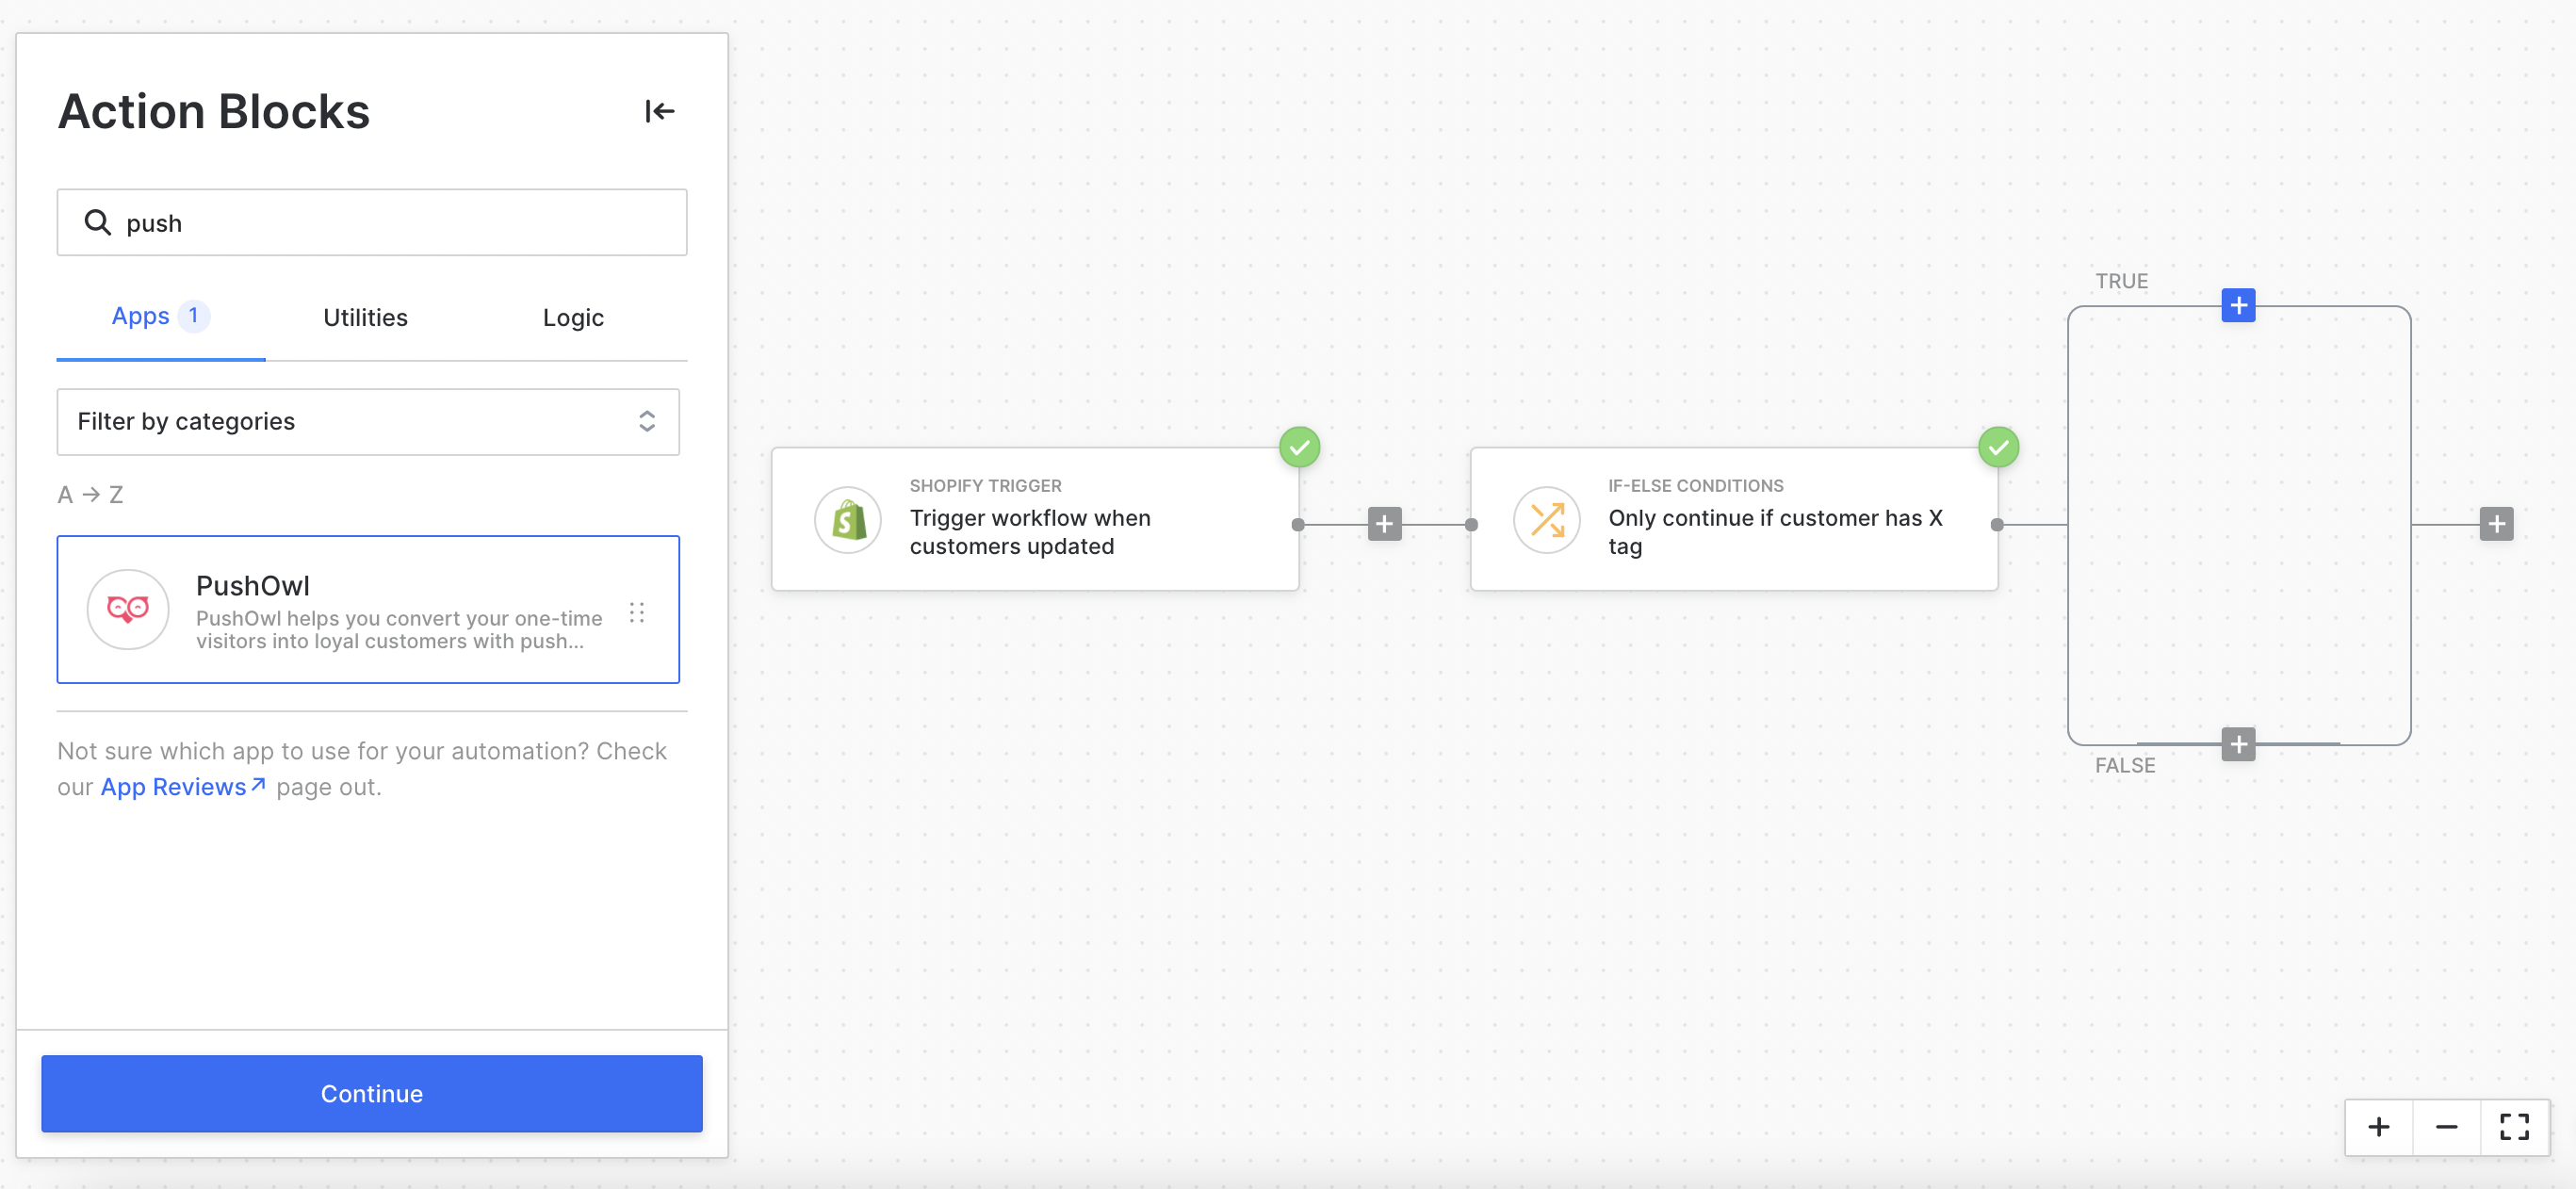
Select any app you'd like to trigger the workflow. If you're a Shopify user, you'll likely want to connect Shopify Trigger and select an action like Customer Updated to trigger this workflow every time a customer is updated
After you choose a trigger for your workflow, you can select a next block to add to your workflow. Here, you may want to add some other functionality, such as checking if the customer updated in Shopify has a specific tag. We can use Alloy's **conditional** block to check **if the customer has a specific tag**. The **conditional** block allows you to perform actions only when specific criteria are met.
Inside the conditional block, let's add the **PushOwl** block. In other words, we're saying **if the Shopify customer that was updated has a tag matching "xxx" >** **then do something in PushOwl.** For this example, we'll choose the "create campaign" action.
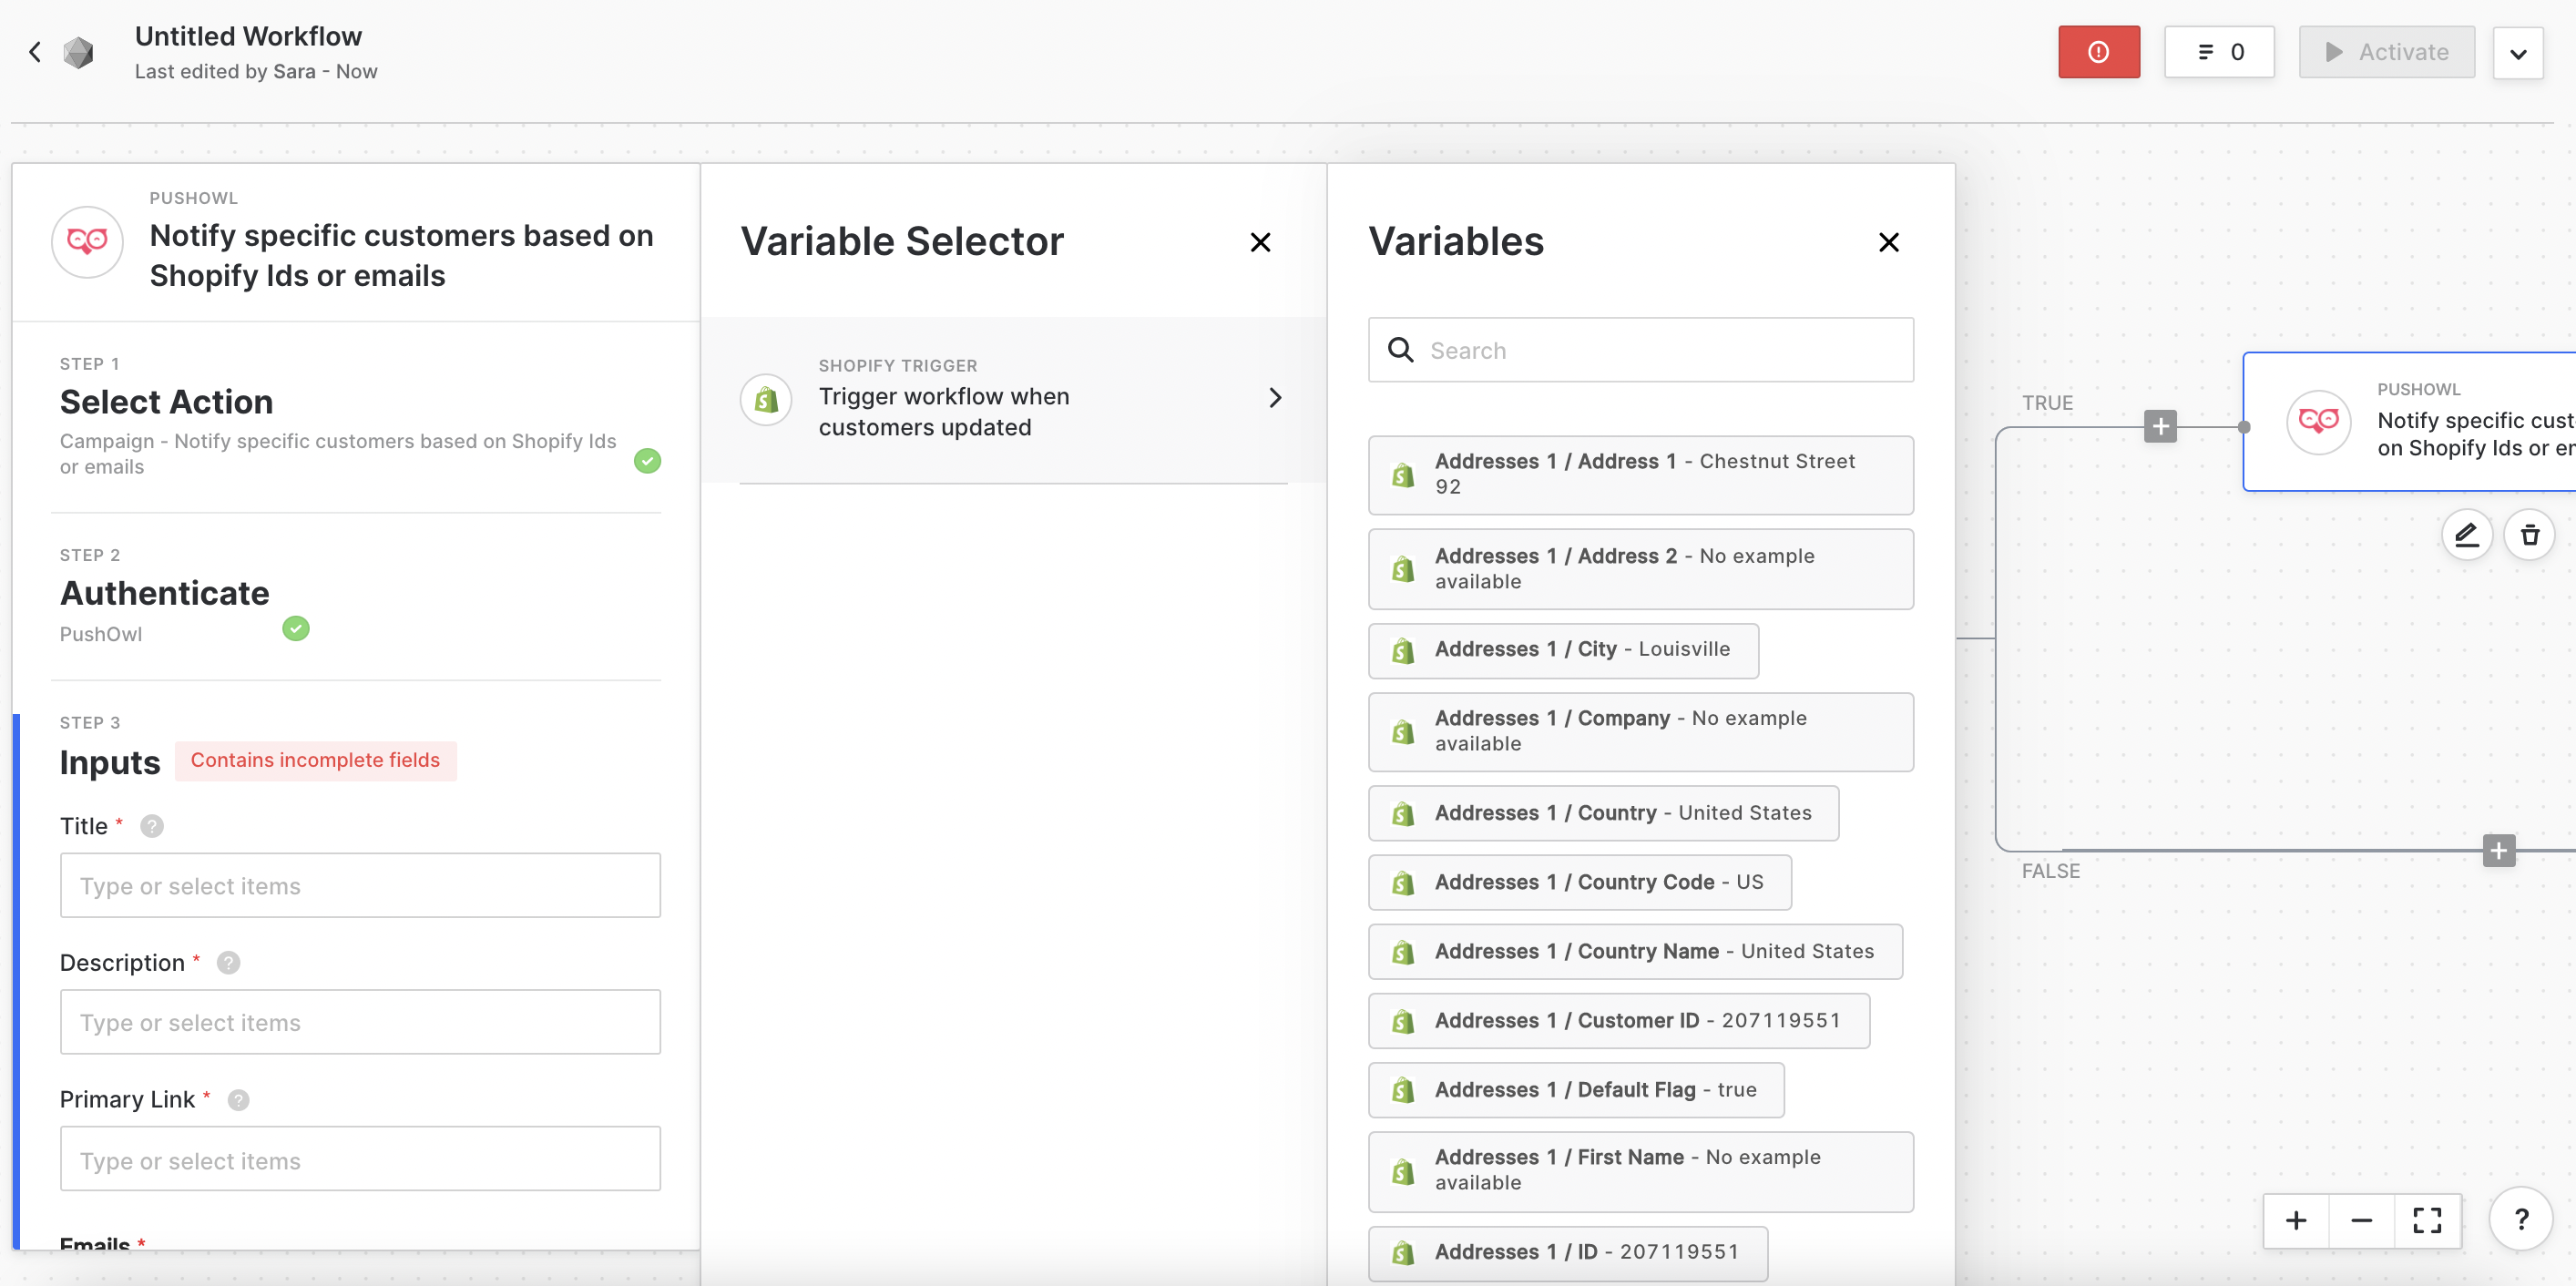
You'll need to configure PushOwl with a campaign title, description, and redirect link which will appear on the push notification. See the below images for reference.
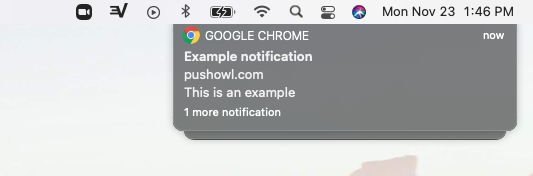
You can configure Alloy to use data from previous blocks, which means you can use the output data from blocks in your workflows. In the below example, we use the customer's email from the Shopify Trigger.
Lastly, press the **Activate** button to turn on your workflow! If you edit a customer in Shopify you'll see the push notification.