Headless Mode
Overview
If your product requirements insist on using your own interface at all times, look no further than Alloy Embedded's Headless Mode. Headless Mode makes it fast and easy to completely own the end to end user interface experience without displaying any Alloy-branded components (i.e. the Alloy Modal, etc).
Custom OAuth
To get started with headless mode, you must first enable Custom OAuth for all OAuth-enabled Third Party Apps (3PA). If the 3PA you're looking to integrate with does not use OAuth, feel free to skip this section.
With Custom OAuth, your end users will see your branding when they connect their integration. Read this tutorial to get started with Custom OAuth and return here when you're done.
Programmatic Credential Creation
Typically, credentials are handled via the Alloy Modal. But if you're looking to leverage a truly headless experience, you'll need to ditch the modal completely. This is where our programmatic credential endpoints come in.
List Apps
First things first, determine what type of credential you're looking to create – we have separate APIs for OAuth and non OAuth credentials.
Invoke the GET List Apps endpoint as seen below:
Sample Request
curl --request GET \
     --url https://embedded.runalloy.com/2023-12/apps \
     --header 'Authorization: YOUR_BEARER_KEY' \
     --header 'accept: application/json'
Sample Response
The data below shows a partial response for two integrations (NetSuite and Quickbooks).
{
  "data": [
    {
      "name": "netsuite",
      "icon": "https://cdn.runalloy.com/icons/netsuite.png",
      "type": [
        "action"
      ]
    },
    {
      "name": "quickbooks",
      "icon": "https://cdn.runalloy.com/icons/quickbooks.png",
      "type": [
        "action"
      ]
    }
    [...]
  ]
}
Credential Metadata
Next, use the GET Credential Metadata API to return relevant metadata about a credential.
Sample Request
curl --request GET \
     --url 'https://embedded.runalloy.com/2023-12/credentials?userId=YOUR_USER_ID' \
     --header 'Authorization: bearer YOUR_API_KEY' \
     --header 'accept: application/json'
Sample Response
This endpoint returns metadata relevant to each app. We've included a snippet for NetSuite and Quickbooks below.
Please note:
- The
isOauthkey indicates if the app in question supports OAuth or not. This is especially important because we support two distinct endpoints for both OAuth and non OAuth credentials. - The
propertiesarray returns any relevant metadata you will need to supply when programmatically creating the credential. In the case of Netsuite, you will need to provide therealm,consumerKey,consumerSecret,tokenId, andtokenSecrets.
{
  "data": [

    {
      "name": "netsuite",
      "icon": "netsuite.png",
      "isOauth": false,
      "properties": [
        {
          "name": "realm",
          "displayName": "Realm",
          "description": "Your NetSuite realm"
        },
        {
          "name": "consumerKey",
          "displayName": "Consumer Key",
          "description": "Your NetSuite consumer key"
        },
        {
          "name": "consumerSecret",
          "displayName": "Consumer Secret",
          "description": "Your NetSuite consumer secret key"
        },
        {
          "name": "tokenId",
          "displayName": "Token Id",
          "description": "Your NetSuite token Id"
        },
        {
          "name": "tokenSecret",
          "displayName": "Token Secret",
          "description": "Your NetSuite token secret"
        }
      ]
    },
    {
      "name": "quickbooks",
      "icon": "quickbooks.png",
      "isOauth": true,
      "properties": []
    },
    {...}
  ]
}
Create a non-OAuth credential
To create a non-OAuth credential, as in the case of NetSuite, use the** POST Create API Key Credential ** endpoint as seen below:
Sample Request
curl --location 'https://embedded.runalloy.com/2023-12/headless/credentials' \
--header 'Content-Type: application/json' \
--header 'Authorization: Bearer YOUR_API_KEY' \
--data '{
    "userId":"YOUR_USER_ID",
    "credential":{
        "type":"netsuite",
        "data":{
            "realm":"123",
            "consumerKey": "4567",
            "consumerSecret": "6789",
            "tokenId": "0000",
            "tokenSecret": "11111"
        }
    }
}'
Sample Response
This endpoint returns a credentialId as seen below.
{
  "success": true,
  "credentialId": "65b6fd48e4142dd86c387f5e"
}
Create an OAuth credential
To create a OAuth credential, as in the case of NetSuite, use the** POST Create OAuth Credential ** endpoint as seen below:
Sample Request
curl --location 'https://embedded.runalloy.com/2023-12/headless/oauthLink?userId=YOUR_USER_ID&app=quickbooks' \
--header 'Authorization: Bearer YOUR_API_KEY'
Sample Response
This endpoint returns a redirectUrl for you to redirect your end users to in order to complete the OAuth flow.
{
  "data": {
    "redirectUrl": "https://api.runalloy.com/api/strategy/quickbooks/authorize?userId=YOUR_USER_ID"
  }
}
With that, you've created your first credential.
User-defined Data Mappings
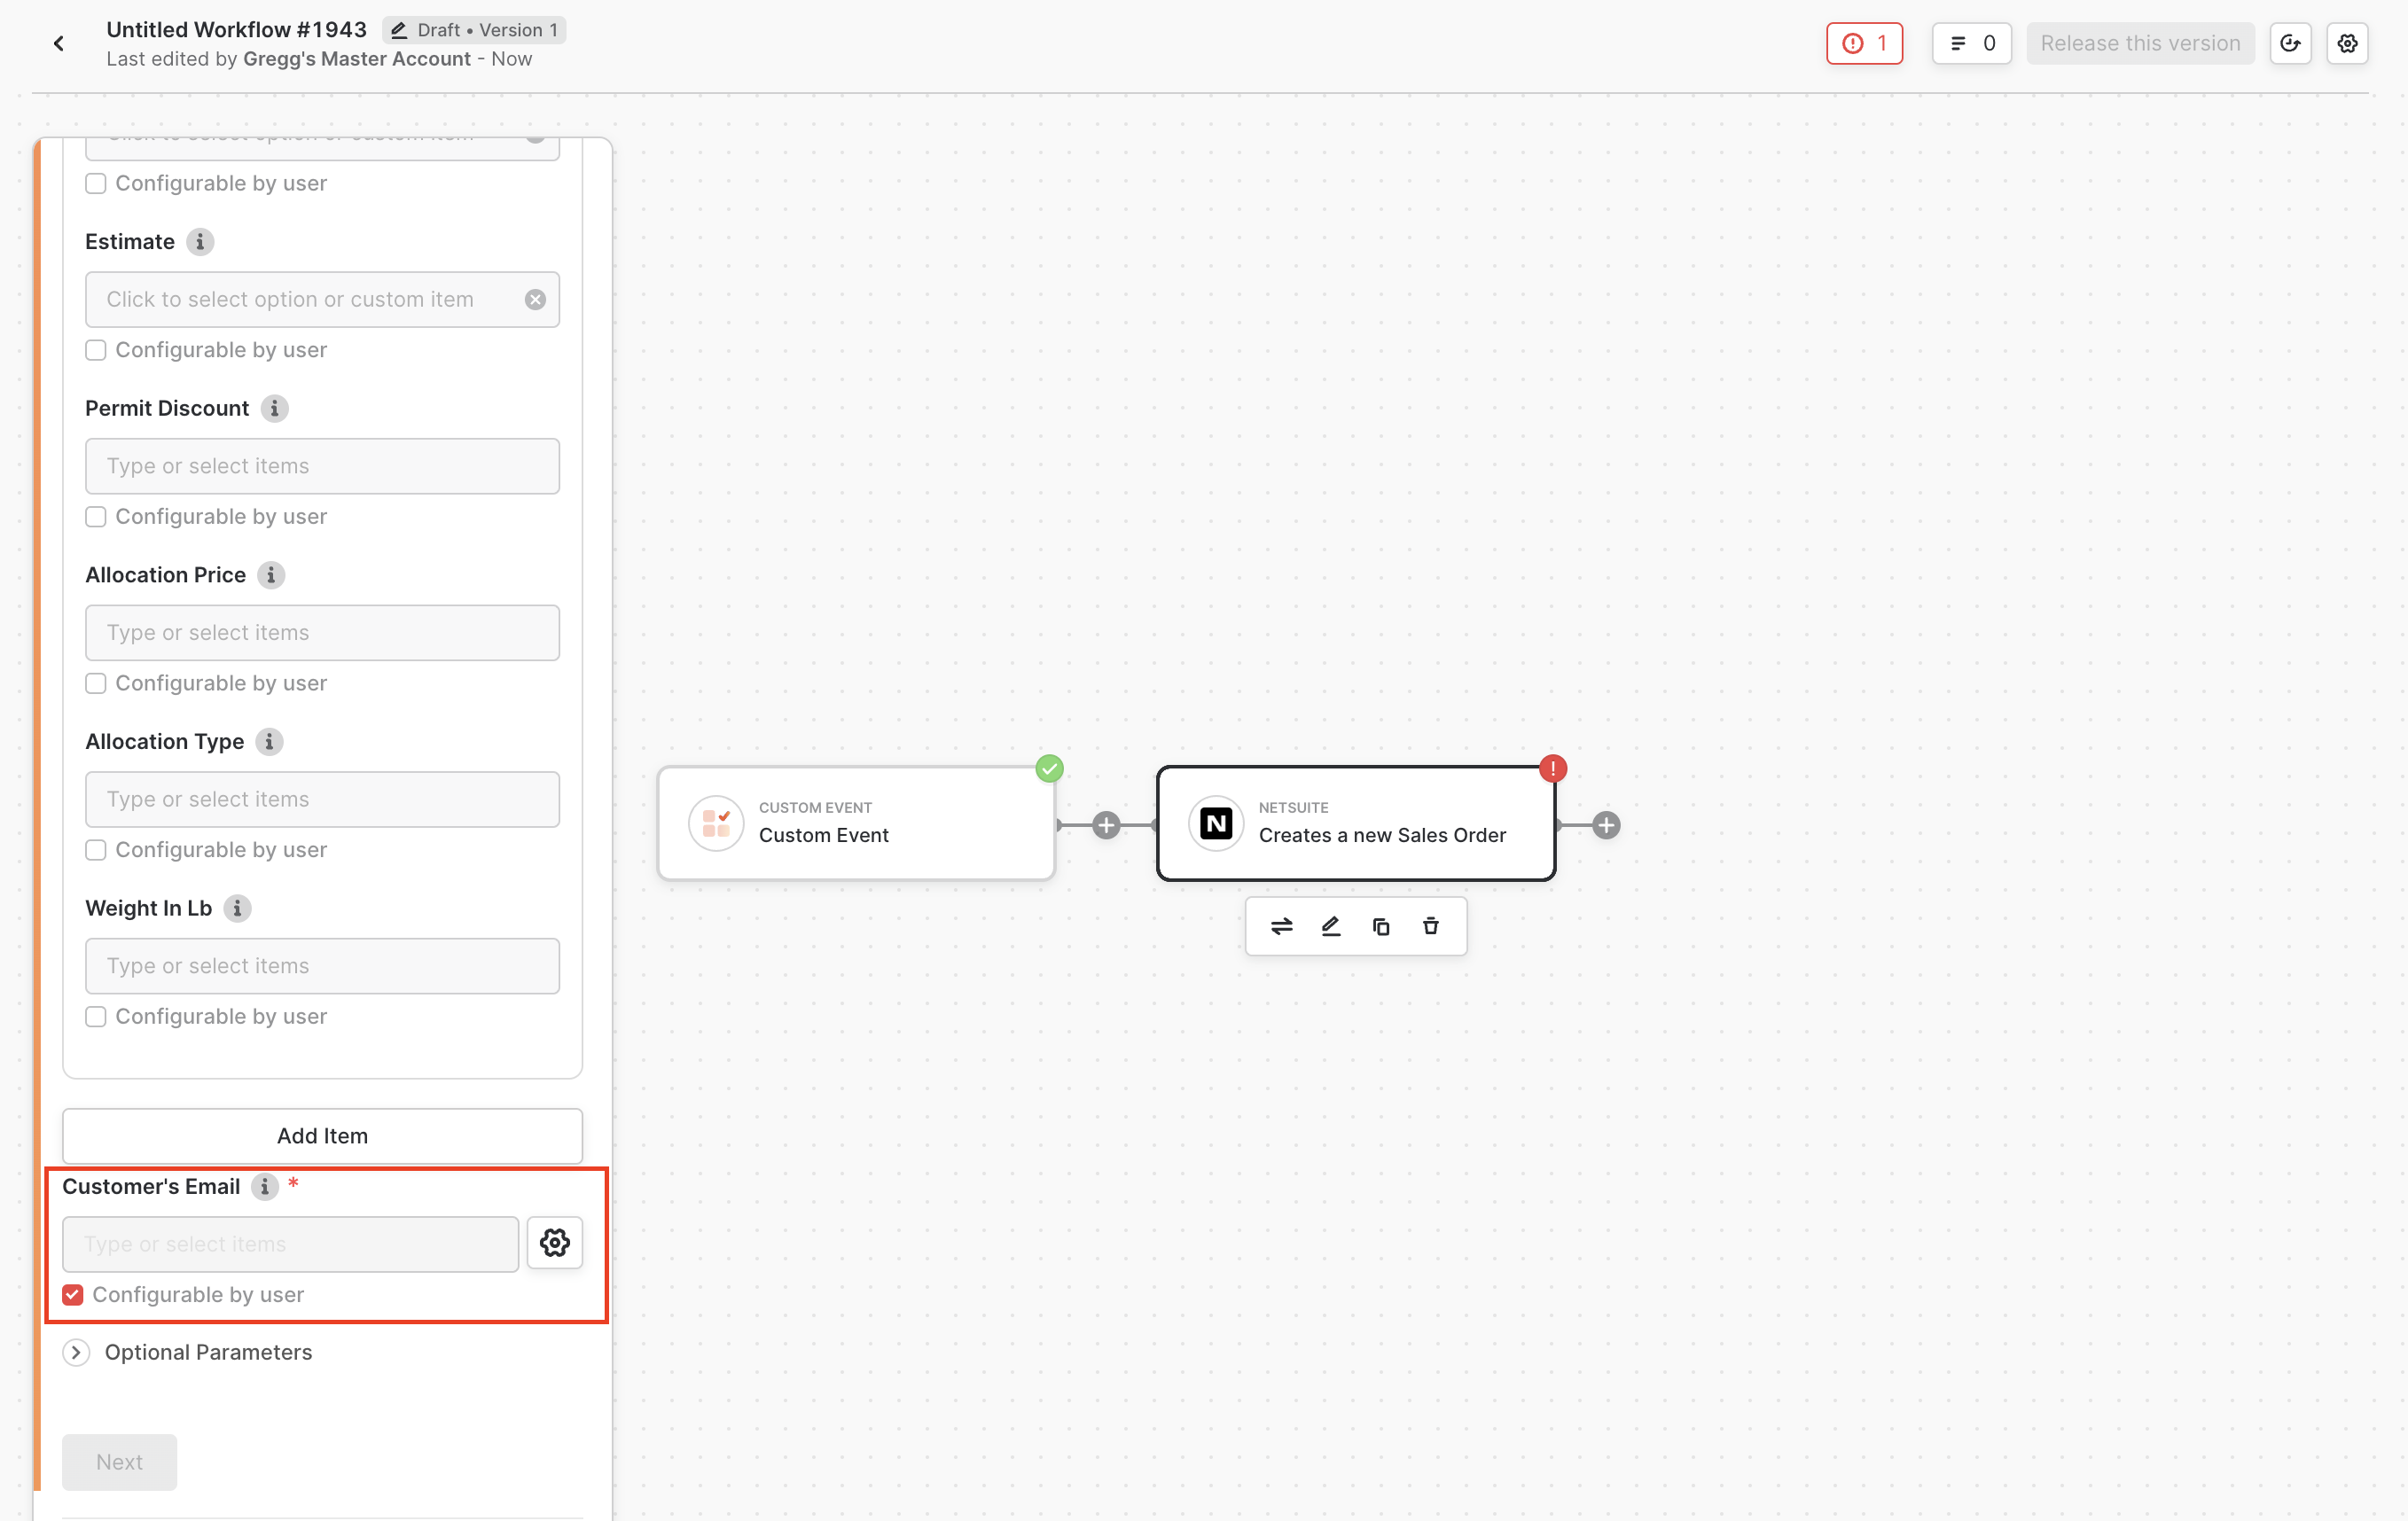
Some integrations may require end users to map values to the 3PA as seen in this article.
Let's assume you need your end user to provide their own value for "Customer's Email" as seen below. To allow them to provide their own value(s), select the Configurable by user checkbox as seen below.
Typically, the end user will provide their own data mappings for the "Customer's Email" within the Alloy Modal. However, if you want a truly headless experience, you'll need to leverage the POST Start Headless Installation endpoint.
Sample Request
This endpoint takes a userId, an array of credentialIds, and the integrationId of the integration to render headlessly.
curl --location 'https://embedded.runalloy.com/2023-12/headless/startInstallation' \
--header 'Content-Type: application/json' \
--header 'Authorization: Bearer YOUR_API_KEY' \
--data '{
    "userId":"YOUR_USER_ID",
    "credentialIds":["YOUR_CREDENTIAL_ID"],
    "integrationId":"YOUR_INTEGRATION_ID"
}'
Sample Response
This endpoint creates an installation which can be referenced by its installationId. The fields array returns the relevant fields you'll want to display to your end user along with the associated data type.
{
  "data": [
    {
      "workflowId": "65b7005ae9761102a64ddd3b",
      "app": "netsuite",
      "blockId": "3a8a8e50-f0e5-488b-9b7b-53656e93d392",
      "fields": [
        {
          "name": "customerEmail",
          "displayName": "Customer's Email",
          "type": "string",
          "required": true
        }
      ]
    }
  ],
  "installationId": "65b701c2f5ba66db3bc53a68"
}
Completing the Installation
Now that you've created the installation and used the POST Start Headless Installation endpoint to return the metadata needed for your end user to map their data, you'll want to actually pass that data back to Alloy Embedded.
To do so, invoke the GET Complete Headless Installation endpoint as seen below:
Sample Request
curl --location 'https://embedded.runalloy.com/2023-12/headless/completeInstallation' \
--header 'Content-Type: application/json' \
--header 'Authorization: Bearer YOUR_API_KEY' \
--data-raw '{
  "installationId": "YOUR_INSTALLATION_ID",
  "data": [
    {
      "workflowId": "YOUR_WORKFLOW_ID",
      "blockId": "YOUR_BLOCK_ID",
      "fields": [
        { "name": "customerEmail", "value": "abc@123.com" }
      ]
    }
  ]
}
'
Sample Response
Assuming you passed in valid information, you will see a success message and associated 200 OK status as seen below.
{
  "message": "Installation completed successfully"
}
Wrapping Up
In this article, we took a look at how to use Alloy Embedded's fully headless mode to provide a completely whitelabeled end user experience. Using Headless Mode, your end users will never even know you're using Alloy Embedded to power integrations!