> ## Documentation Index
> Fetch the complete documentation index at: https://docs.runalloy.com/llms.txt
> Use this file to discover all available pages before exploring further.
# Authentication
> Learn how to connect to Alloy's Embedded iPaaS and make requests. If you've read the Quick Start, you can skip this section.
## Overview
When connecting to Embedded iPaaS, you must authenticate both the frontend and backend:
* **API Key** authenticates outgoing requests from your backend server
* **JWTs** securely render the Hosted Modal from your application's frontend
## Get Your API Keys
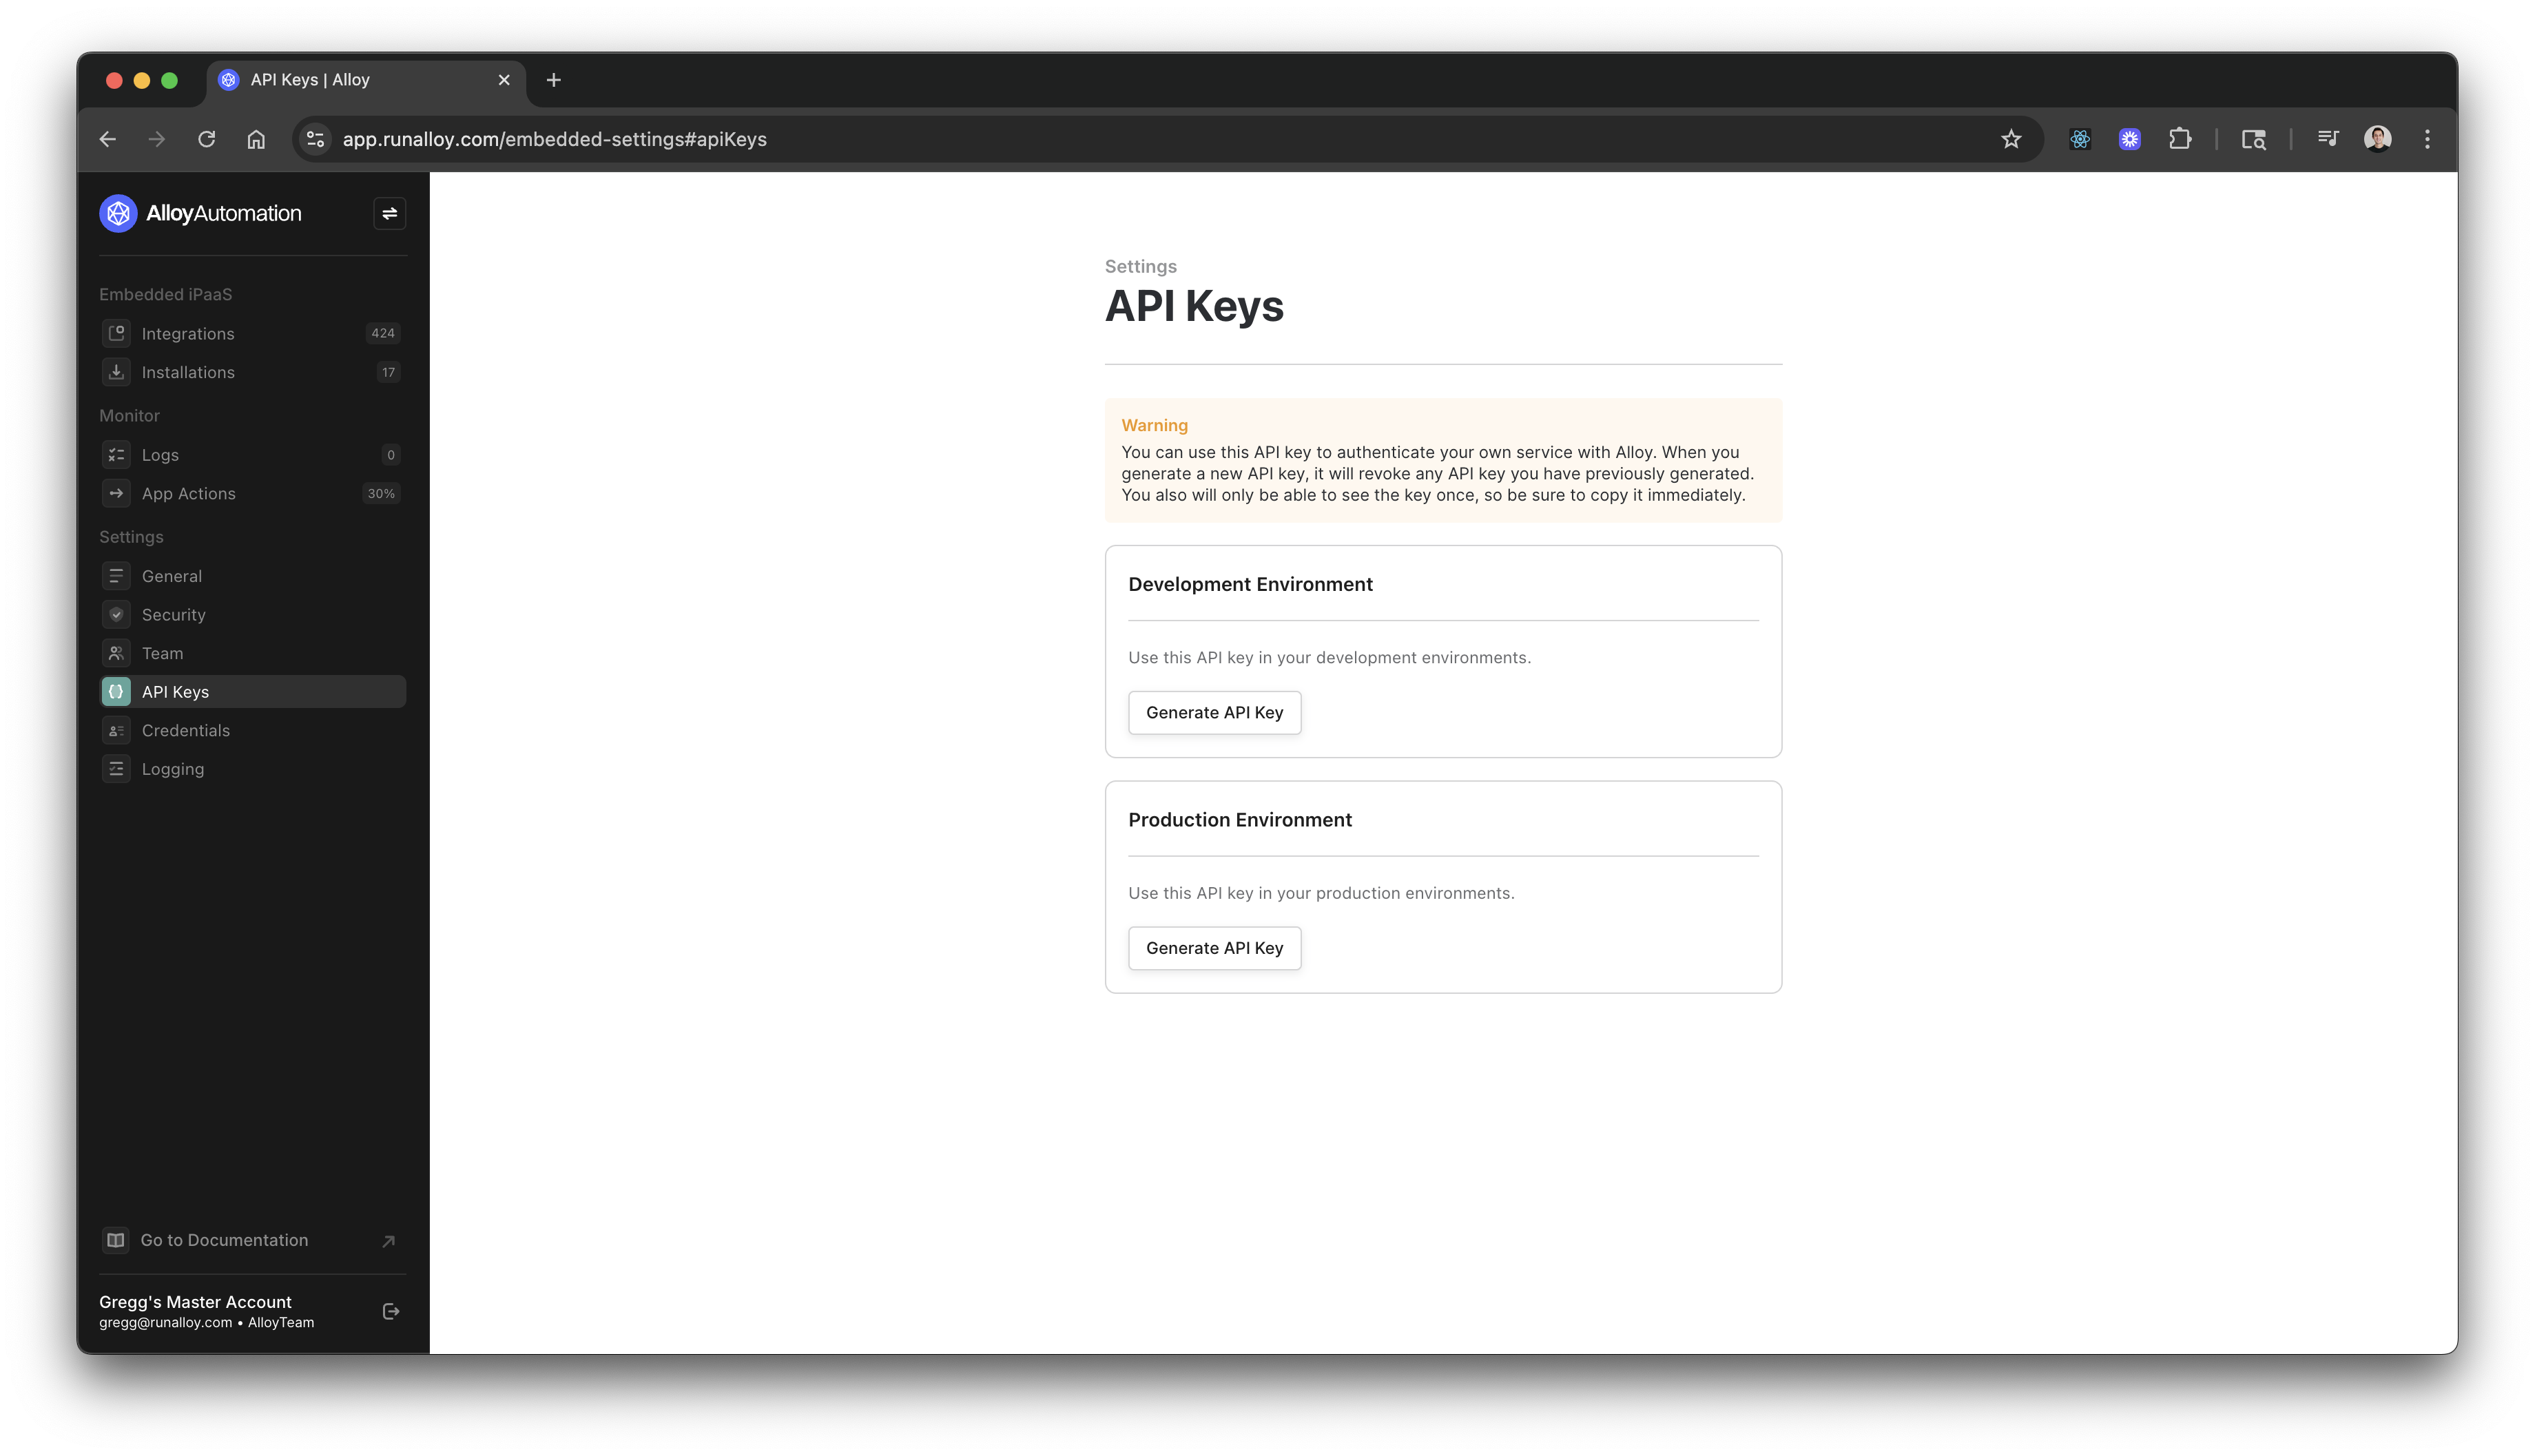
Login to your account and navigate to the **API Keys** tab under **Settings**. There are two types of API Keys to generate:
* Development Key
* Production Key
**Info**:
The development and production keys are effectively identical with one minor caveat: users created using the development key will be isolated in development. Because the platform relies heavily on the concept of users, you can use your development key to generate as many test users as you like without congesting your production environment. When you're ready, you can easily swap keys to production.
These keys are intended for backend use only and should never be exposed to customers on the frontend.
### Bearer Auth
When making a request, include the key in the `Authentication` header as a bearer token:
***Sample Request***
```curl cURL theme={null}
curl https://embedded.runalloy.com/{VERSION}/ENDPOINT_TO_HIT
-H "Accept: application/json"
-H "Authorization: Bearer YOUR_API_KEY"
```
```javascript JavaScript theme={null}
const request = require("request");
request(
{
url: "https://embedded.runalloy.com/{VERSION}/ENDPOINT_TO_HIT",
headers: {
Authorization: "Bearer YOUR_API_KEY",
},
},
function (err, res) {
if (err) {
console.error(err);
} else {
console.log(res.body);
}
}
);
```
## User Management
You must first create a user before making most API calls. On your backend, create an end user. An end user represents a tenant in your system. To get started, invoke the **[POST Create User](/reference/embedded/create-a-user)** endpoint. This endpoint generates a unique `userId` which you'll use later.
Make sure to pass a `username` in the body. This username must be unique for each user you create.
```curl cURL theme={null}
curl --request POST \
--url https://embedded.runalloy.com/{VERSION}/users \
--header 'Authorization: bearer YOUR_API_KEY' \
--header 'accept: application/json' \
--header 'content-type: application/json' \
--data '{ "username": "YOUR_USERNAME" }'
```
This endpoint returns a unique userId:
```json JSON theme={null}
{
"userId": "658c703c524d011f001fe3e4"
}
```
### Installing the Frontend SDK
Now that you've created a user, connect your application's frontend to the API. Use the Frontend SDK to instantiate the modal, which makes it easy for your users to connect to third-party apps and abstracts away complexities like credential management and redirect URLs.
To install the frontend SDK, use npm or add the following snippet to your application's header:
```html JavaScript theme={null}
```
```curl cURL theme={null}
npm install alloy-frontend
```
With the SDK installed, render the modal by triggering the frontend SDK's `authenticate()` method.
**Note**:
If you're interacting with the hosted Frontend SDK from a React app (i.e., you imported the HTML snippet), call these methods by invoking `window.Alloy.authenticate()`.
### Passing the Token to Your Frontend
To securely render the `authenticate()` method on your frontend, you must generate a JSON Web Token. Generate this token by making an API request to the [GET `/user/:userId/token`](/reference/embedded/generate-jwt-token) endpoint. You must pass a `userId` as this JWT is specific to a user.
***Request***
```curl cURL theme={null}
curl --request GET \
--url https://embedded.runalloy.com/{VERSION}/users/:userId/token \
--header 'Accept: application/json' \
--header 'Authorization: bearer YOUR_API_KEY'
```
***Response***
```json JSON theme={null}
{
"token": "XXXXXXXX.YYYYYYYYY.ZZZZZZZZ"
}
```
Call the `setToken()` method and pass the JWT as the argument. This authenticates the frontend SDK and allows you to render the modal.
```javascript JavaScript theme={null}
JavaScriptAlloy.setToken("");
```
Next, call the `install()` method to prompt your end user to install an integration and its workflows. Once the user has installed, this creates an installation.
This method takes the following arguments:
* `integrationId`: the Id of the integration you want to install. A complete list of integrations available for a user can be found by calling the [GET List Integrations](/reference/embedded/list-integrations) API.
The callback returns a `success` message.
***Invocation***
```javascript JavaScript theme={null}
Alloy.install({
integrationId: "YOUR_INTEGRATION_ID",
callback: (data) => {
console.log(data);
},
});
```
***Response***
```json JSON theme={null}
{
"success": true
}
```
## Security
### Revoking Keys
Always closely guard your production key. When you click the **Generate** button, the production API key will be shown once. Securely store this key as it will not be shown again.
If you click the Generate button again, the system will revoke the previous key and generate a new one.
**Info**:
Production keys should be treated with the utmost care. If someone accidentally accesses your production key, they can make requests on behalf of your entire account. That's why we recommend never sharing this key with anyone else (or using it directly in the browser) and storing it in a secrets manager.
### Alloy IP Addresses
Several apps, including many database connectors, require you to access them only via an IP whitelist. If you are planning to [stream data](/connectors/utility/data-streaming) to a data warehouse or database, you may need to whitelist our IP address.
The IPs from which Alloy will make requests are:
* `3.211.13.53`
* `54.160.36.113`
## Summary
This article covered how to authenticate requests to the API and how to securely pass JWTs to the frontend.