
Use Case Overview
Let’s assume you’re building an app that needs to sync catalog data from an e-commerce system such as Shopify into your platform. You need to first obtain a historical listing of all the relevant products and then subscribe to realtime events each and every time an product is created or updated. To do this, we’ll build a few workflows. Our first workflow will grab the historical list of all available products. Our second workflow will set up realtime event forwarding for events you will send to Alloy and pass them along to your commerce system. Lastly, our third and final workflow will subscribe to all catalog updates so you can be alerted each and every time an update occurs on a product. Time to dive in!Syncing Historical Catalog
Create a new workflow. For the trigger, we’ll select “On Installation” as our trigger. This trigger tells Alloy to only run this workflow once, upon the user’s initial install. Next, add a e-commerce connector. For our demo, we’ll use Shopify but you can easily use others like BigCommerce, Adobe Magento, WooCommerce, etc. Select the list all products action. Lastly, add a Stream Data connector. This connector will tell Alloy where to send all the catalog records to. Specify a destination URL of your choosing. You can see an example of this workflow below.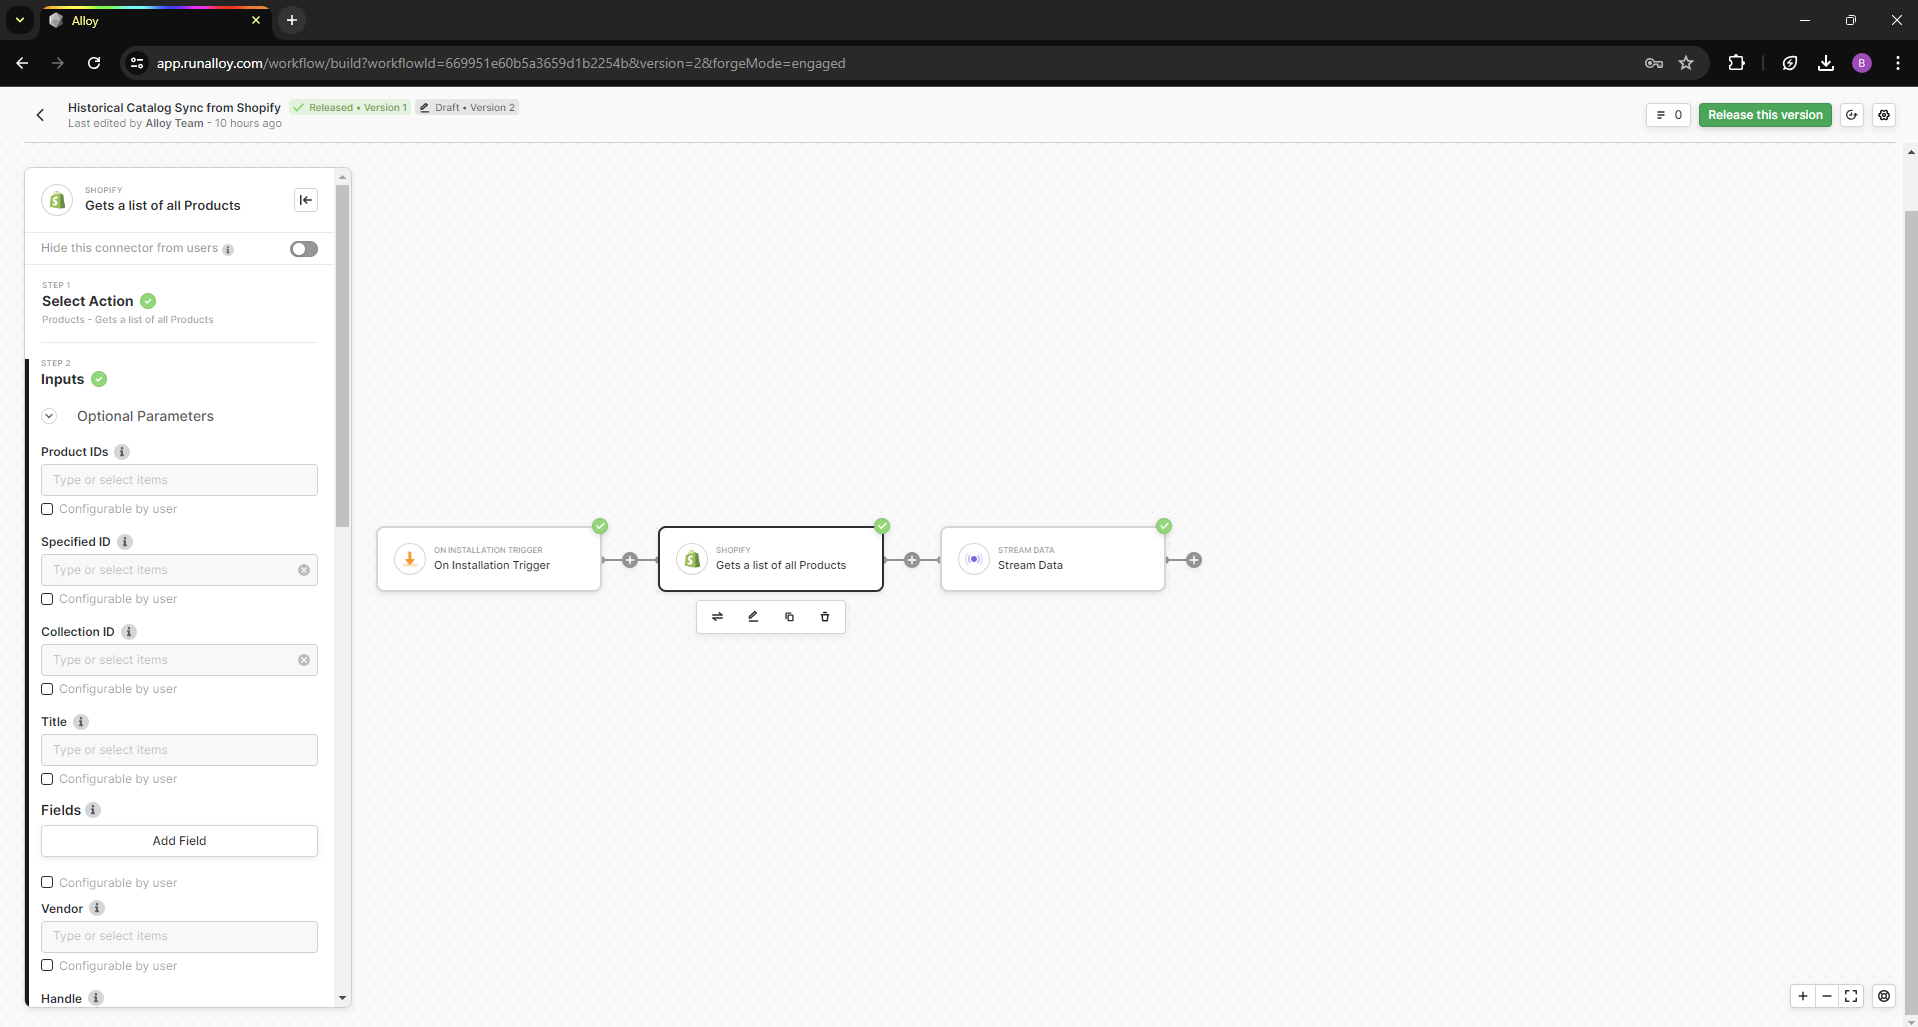
Realtime Catalog Alerts
Next, let’s build another workflow that allows us to create a product in our e-commerce system. For this workflow, we’ll choose a Custom Event Trigger as our starting point. This will allow Alloy to map the data and take action in our commerce system. Next, add a e-commerce connector. Select the create a product action. This is where we will map our dynamic values from the event we will send to Alloy into the Shopify inputs.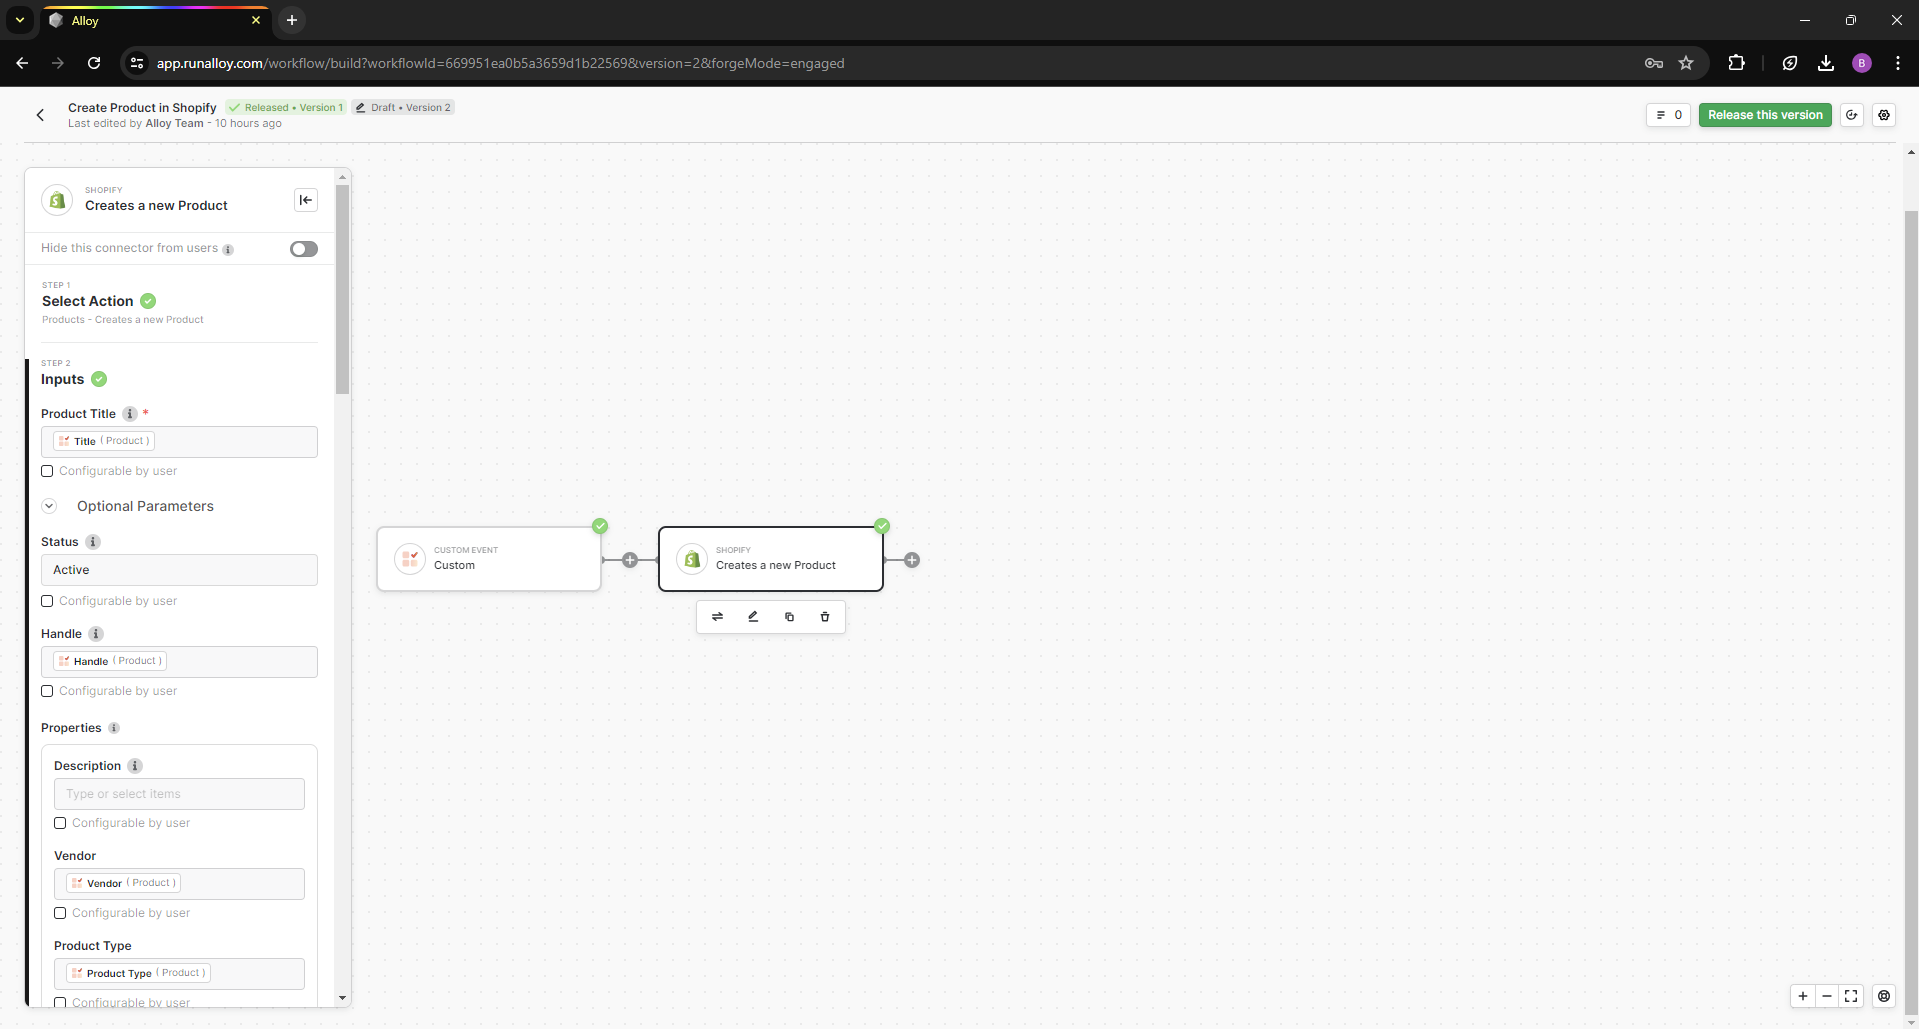
Realtime Catalog Updates
Lastly, let’s create a workflow that alerts us each time a product is updated in our e=commerce system. For this workflow, we’ll choose the Shopify Trigger as our starting point and subscribe to the Product Updated event. Add a Stream Data connector to send over the product payload in real time to your application. You can see an example of this workflow below.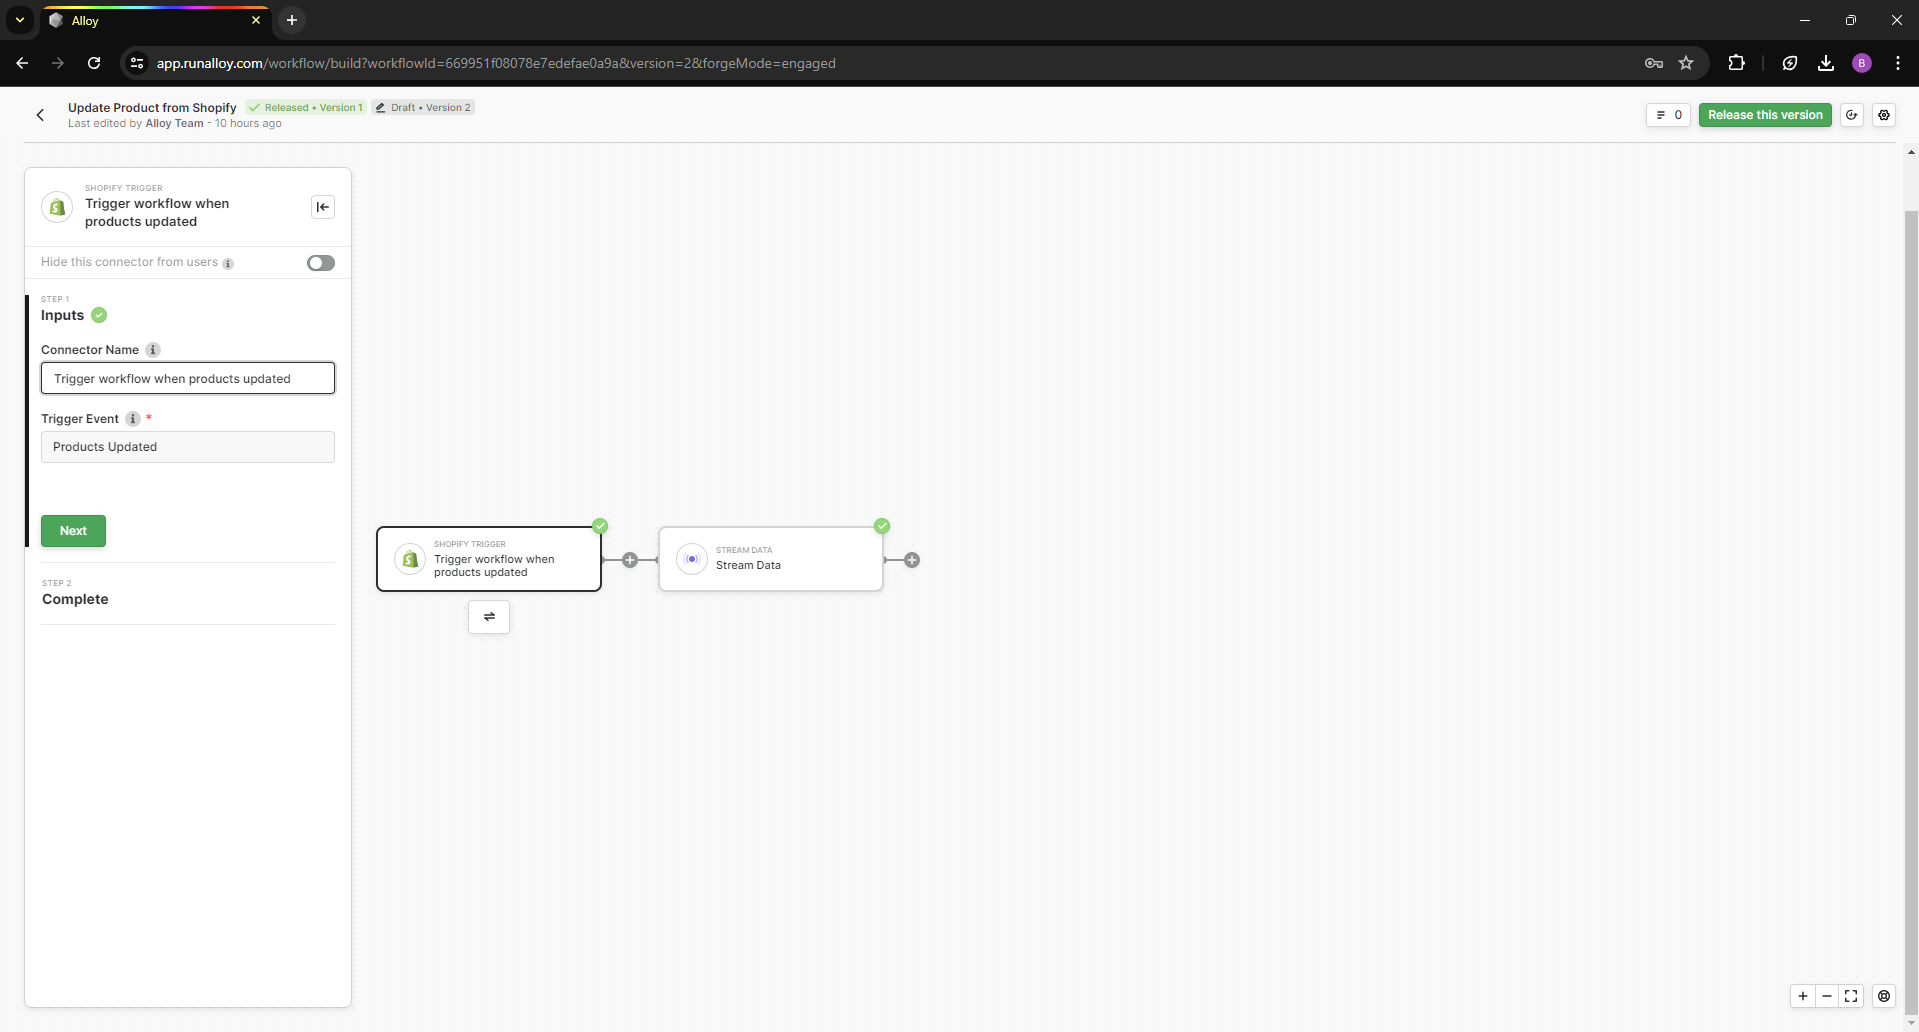
Wrapping Up
As you can see, it’s easy to create workflows that subscribe to both historical and realtime catalog data in e-commerce systems. Let’s take a look at what we covered in this tutorial:We used the On Installation connector to run a historical sync to fetch all historical Catalog records and send it back to your application.
Next, we set up a workflow to push Product created events to Alloy and create that product inside of your e-commerce system.