Headless
Reader Alert
This tutorial assumes you have read our Quick Start guide. General Alloy Embedded concepts will not be re-explained in this article.
As you've seen, it's easy to get started with Alloy Embedded. Out of the box, we provide the Embedded Modal which allows you to easily use our frontend SDK to handle authentication and configuration. If you need to refresh yourself on how the Embedded Modal works with our SDK, read this section of the quick start.
That being said, you may want to expose additional customization to your end users. To handle this, we allow ISVs to create credentials programmatically. If the integration you've built does not require the end user to customize anything (as seen in this tutorial), you can use our APIs to create the credential programmatically and bypass the modal entirely.
We integrate with hundreds of different apps and every authentication is unique. Some apps use the OAuth standard which involves redirecting a user to a single sign-on page and then back to your application while others use API keys. Luckily, Alloy Embedded takes the headache out of authentication via our easy-to-use modal. As you'll see in this section, using the Embedded Modal for authentication is simple and efficient. In addition, we also provide a set of credential management APIs, allowing you to create and delete credentials with ease.
This guide covers:
- Credential handling via Embedded Modal
- Manually adding API Key Credentials
- How to handle OAuth credentials
- Handling credential expiration
Adding Credentials via Embedded Modal
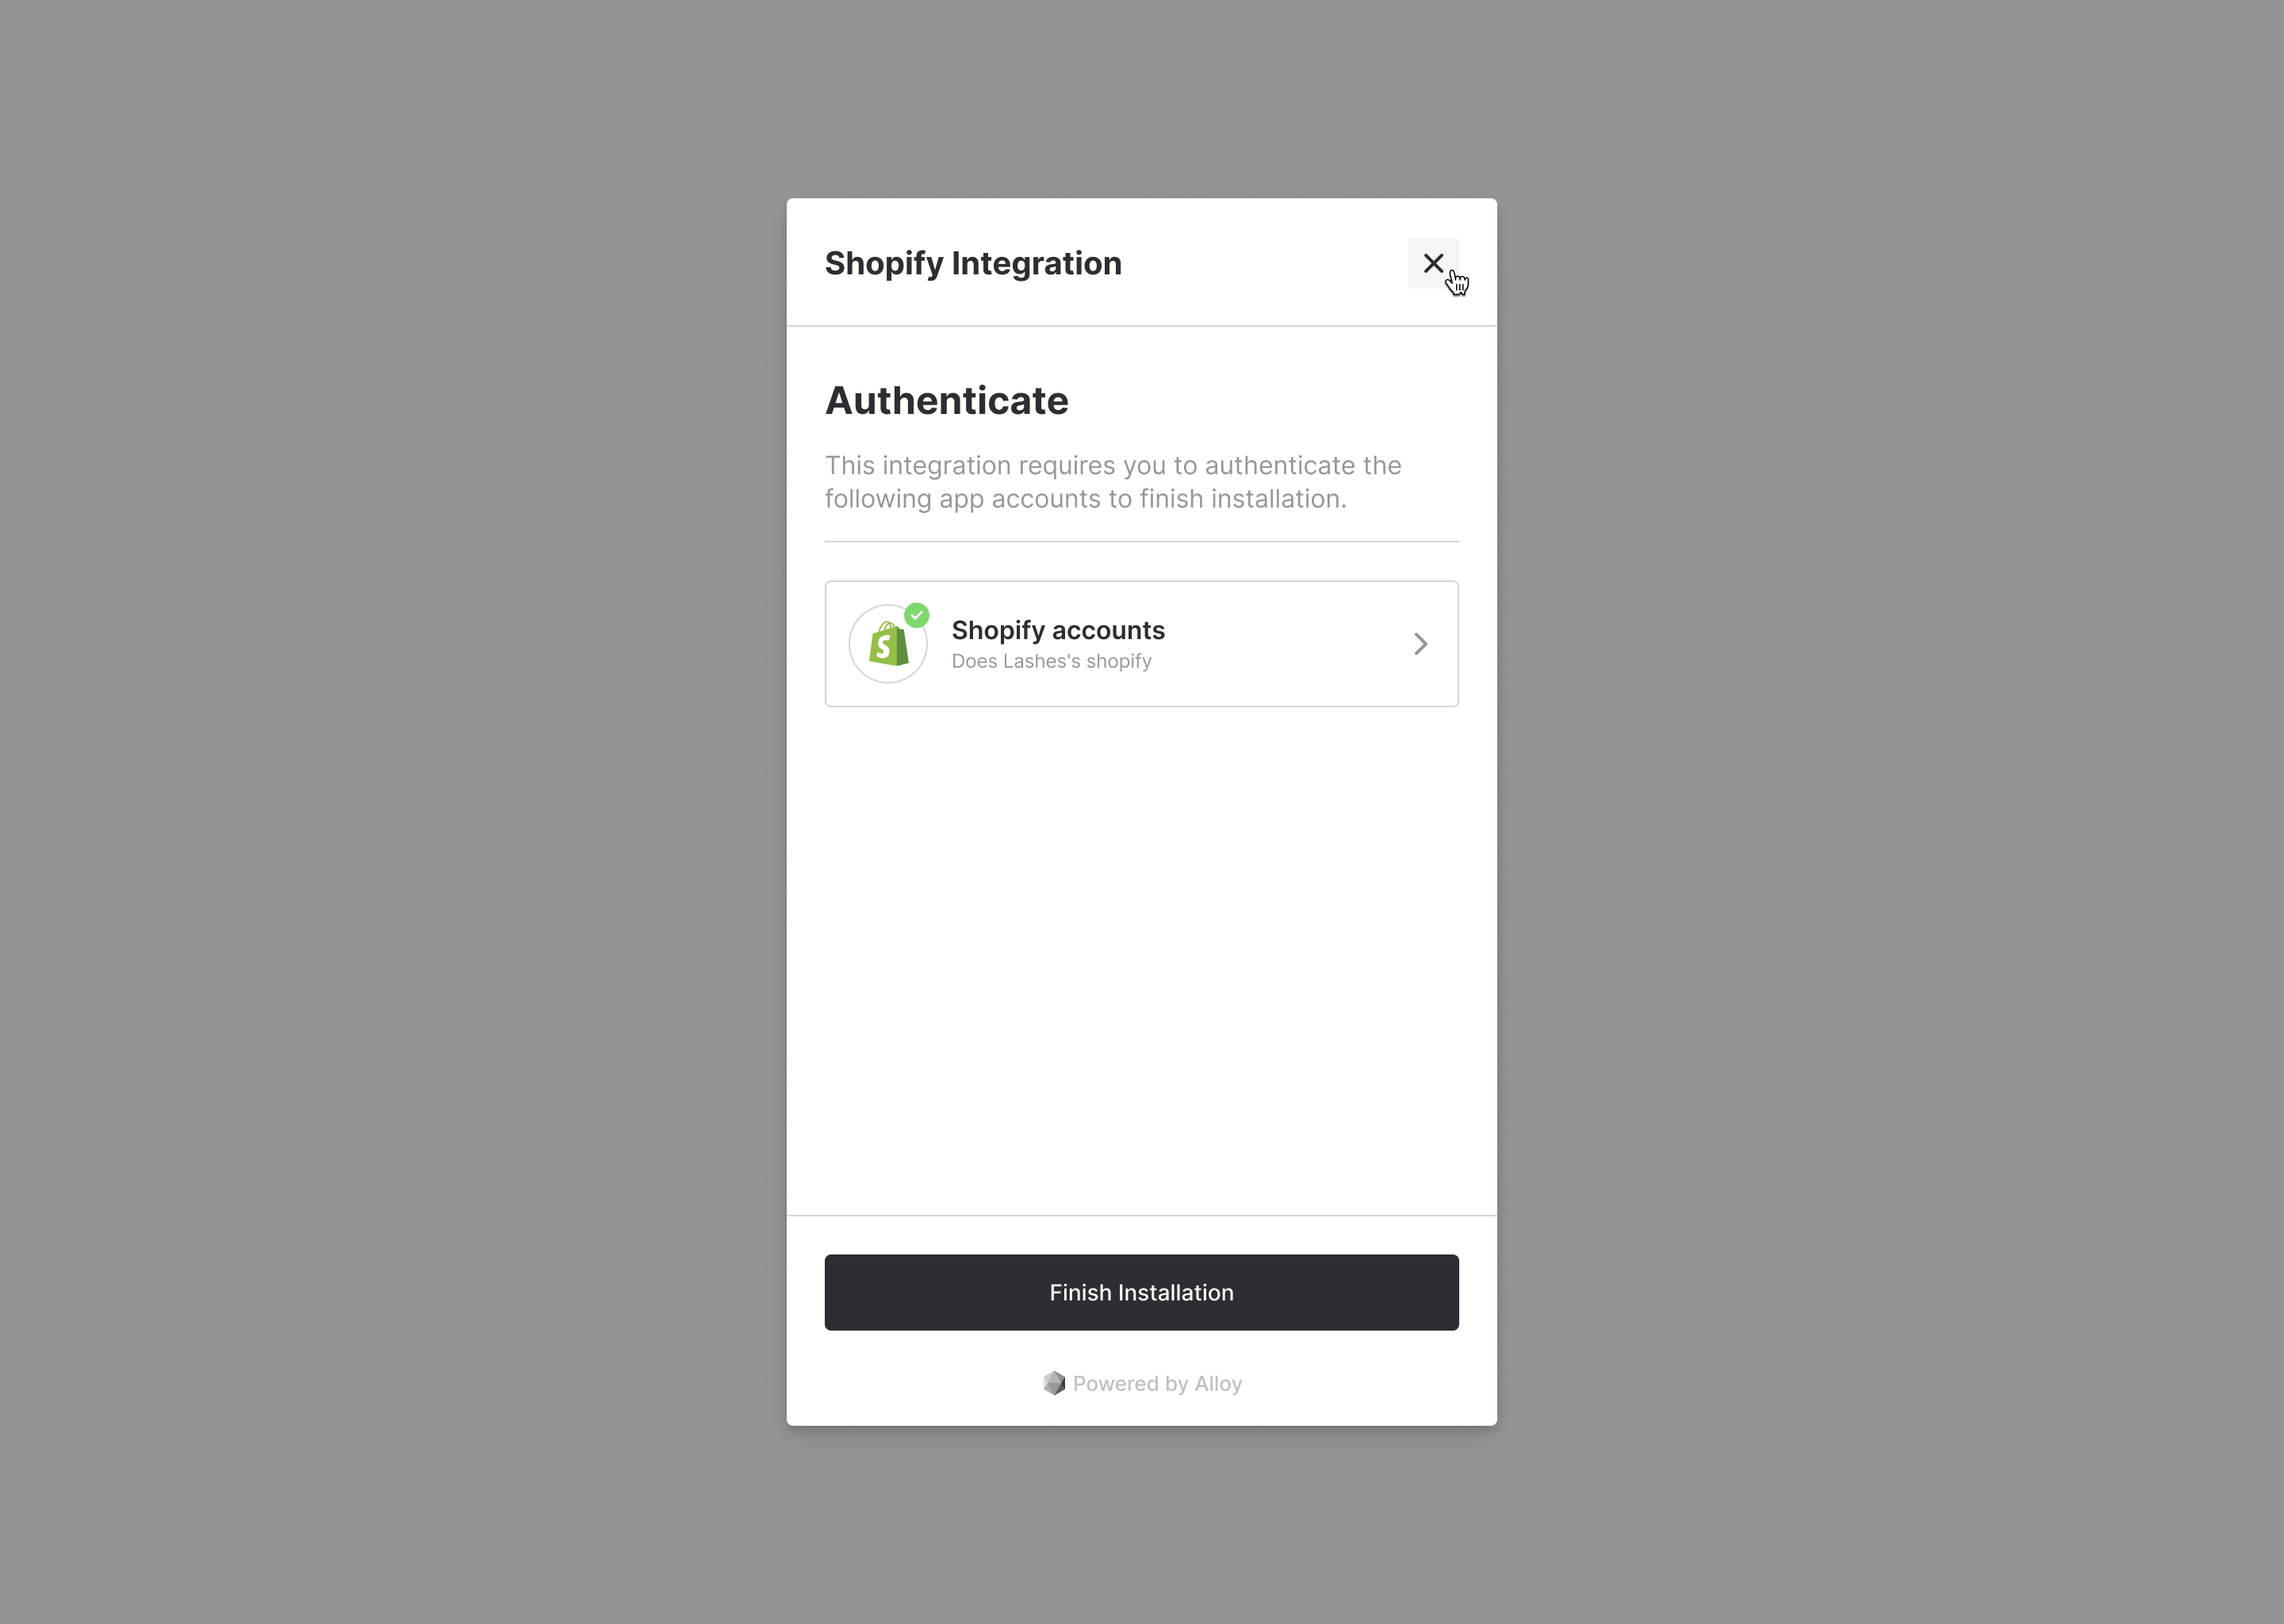
As you are undoubtably already familiar, when a user first instantiates the Embedded Modal, the first thing they'll see is an authentication step prompting them to connect their app to Alloy Embedded.
Once a merchant adds their credential(s) via API Key or OAuth, Embedded encrypts the credential using AES-256 encryption and then links this credential to the specified user. If they were ever to install a subsequent integration or workflow that uses the same app, they would not have to authenticate that app again.
Manually Adding Credentials
In almost all use cases, adding a credential via the Embedded Modal is the best (and fastest) route. However, let's assume you want to build your own interface and hide the Embedded Modal all together. In this example, you might have a native input field on your own application where you collect the user's API key. In this example, you'd want to pass in the credential to our API so the user is not prompted to enter it again.
Enter Headless Embedded.
To handle this, we provide the POST /credentials endpoint to allow you to create a credential programmatically.
Credential Metadata
In order to know what (and which format) to securely pass credentials to Alloy Embedded, you'll need to make a call to our GET Credential Metadata API. This endpoint returns the schema for every single app supported by Alloy Embedded. Let's take a look at the response returned by this endpoint now.
The below response is intentionally redacted and only includes two apps: Netsuite and Shopify. We chose these because Netsuite uses an API key authentication mechanism and Shopify uses OAuth.
Note that each object inside the array includes an isOauthkey which indicates if the app requires OAuth or not. We can tell that Netsuite does not as seen below. The properties array includes all the required parameters we need to pass over to create a credential.
{
  "data": [
    {
      "name": "netsuite",
      "icon": "netsuite.png",
      "isOauth": false,
      "properties": [
        {
          "name": "realm",
          "displayName": "Realm",
          "description": "Your NetSuite realm"
        },
        {
          "name": "consumerKey",
          "displayName": "Consumer Key",
          "description": "Your NetSuite consumer key"
        },
        {
          "name": "consumerSecret",
          "displayName": "Consumer Secret",
          "description": "Your NetSuite consumer secret key"
        },
        {
          "name": "tokenId",
          "displayName": "Token Id",
          "description": "Your NetSuite token Id"
        },
        {
          "name": "tokenSecret",
          "displayName": "Token Secret",
          "description": "Your NetSuite token secret"
        }
      ]
    },
    {
      "name": "shopify",
      "icon": "shopify.png",
      "isOauth": true,
      "properties": [
        {
          "name": "shopSubdomain",
          "displayName": "Shop Subdomain",
          "description": "Enter your store subdomain. If your store domain is example.myshopify.com, the subdomain would be example."
        }
      ]
    }
  ]
}
Non-OAuth Apps
Now that you've learned how to identify the credential schema using our metadata API, let's create a credential programmatically. Creating credentials for OAuth and Non-OAuth apps is handled differently in Alloy Embedded so it's critical you are conscious if the credential you are creating is an OAuth app or not.
To start, let's see how to create a non OAuth credential for Netsuite. As you can see from our Credential Metadata API, Netsuite requires the following values be passed over:
realmconsumerKeyconsumerSecrettokenIdtokenSecret
To create a Netsuite credential, make a call to our POST Create Credential endpoint and pass over the above properties. Your API call should look like this.
Note the API version: this endpoint is available on version 2.0 (2022-09) and higher.
curl --location --request POST 'https://embedded.runalloy.com/2023-01/users/{userId}/credentials' \
--header 'Authorization: Bearer {YOUR_API_KEY}' \
--header 'Content-Type: application/json' \
--data-raw '{
    "credential":{
        "type":"netsuite",
        "data":{
            "realm":"XXX",
            "consumerKey":"XXX",
            "tokenId": "XXX",
            "tokenSecret": "XXX"
        }
    }
}'
Boom! You've just created a non OAuth credential programmatically. You can use the Credentials API to list, add, and delete credentials for a user.
OAuth Apps
To create a credential for an app that uses OAuth, you'll need to use a different API. First things first, you'll need to check the Credential Metadata API like we did earlier to see if the credential you're looking to add uses OAuth or not.
In this example, we'll use Shopify. Shopify requires OAuth. With this in mind, to add a credential for an OAuth app, we'll need to use the GET Generate OAuth Redirect Link endpoint.
This endpoint accepts a userId,integrationId and credentialName. The userId represents the user you want to generate the OAuth link for. You'll also need to specify the integrationIdfor the integration you want. And finally, you'll need to pass the name of the OAuth app as the credentialName. You can find the name in the output of the Get Credential Metadata API. For example, if you want to specify Shopify, you'll pass shopify.
Not so fast! We're almost done but there's one last important part. If we take a look at the data returned from the Credential Metadata endpoint, you'll notice shopify has something included in its properties array as seen below:
{
      "name": "shopify",
      "icon": "shopify.png",
      "isOauth": true,
      "properties": [
        {
          "name": "shopSubdomain",
          "displayName": "Shop Subdomain",
          "description": "Enter your store subdomain. If your store domain is example.myshopify.com, the subdomain would be example."
        }
      ]
}
Notice that not all credentials have properties. The properties indicates special parameters you need to pass along to make the OAuth request work. For example, Shopify requires you pass over a shopSubdomain.
With this in mind, append the shopSubdomain to your request as a query string parameter.
The final request should look something like:
curl --location --request GET 'https://embedded.runalloy.com/2023-01/users/{userId}/credentials/shopify?integrationId={integrationId}&shopSubdomain={your_shopify_subdomain}' \
--header 'Authorization: Bearer YOUR_API_KEY'
Making a request to this endpoint will return a link. You can pass this link to your frontend and redirect the user to it. When combined with our Secrets Manager, your users can enjoy a completely whitelabeled experience with zero Alloy branding.
Pretty cool, huh?!
Expiration Handling
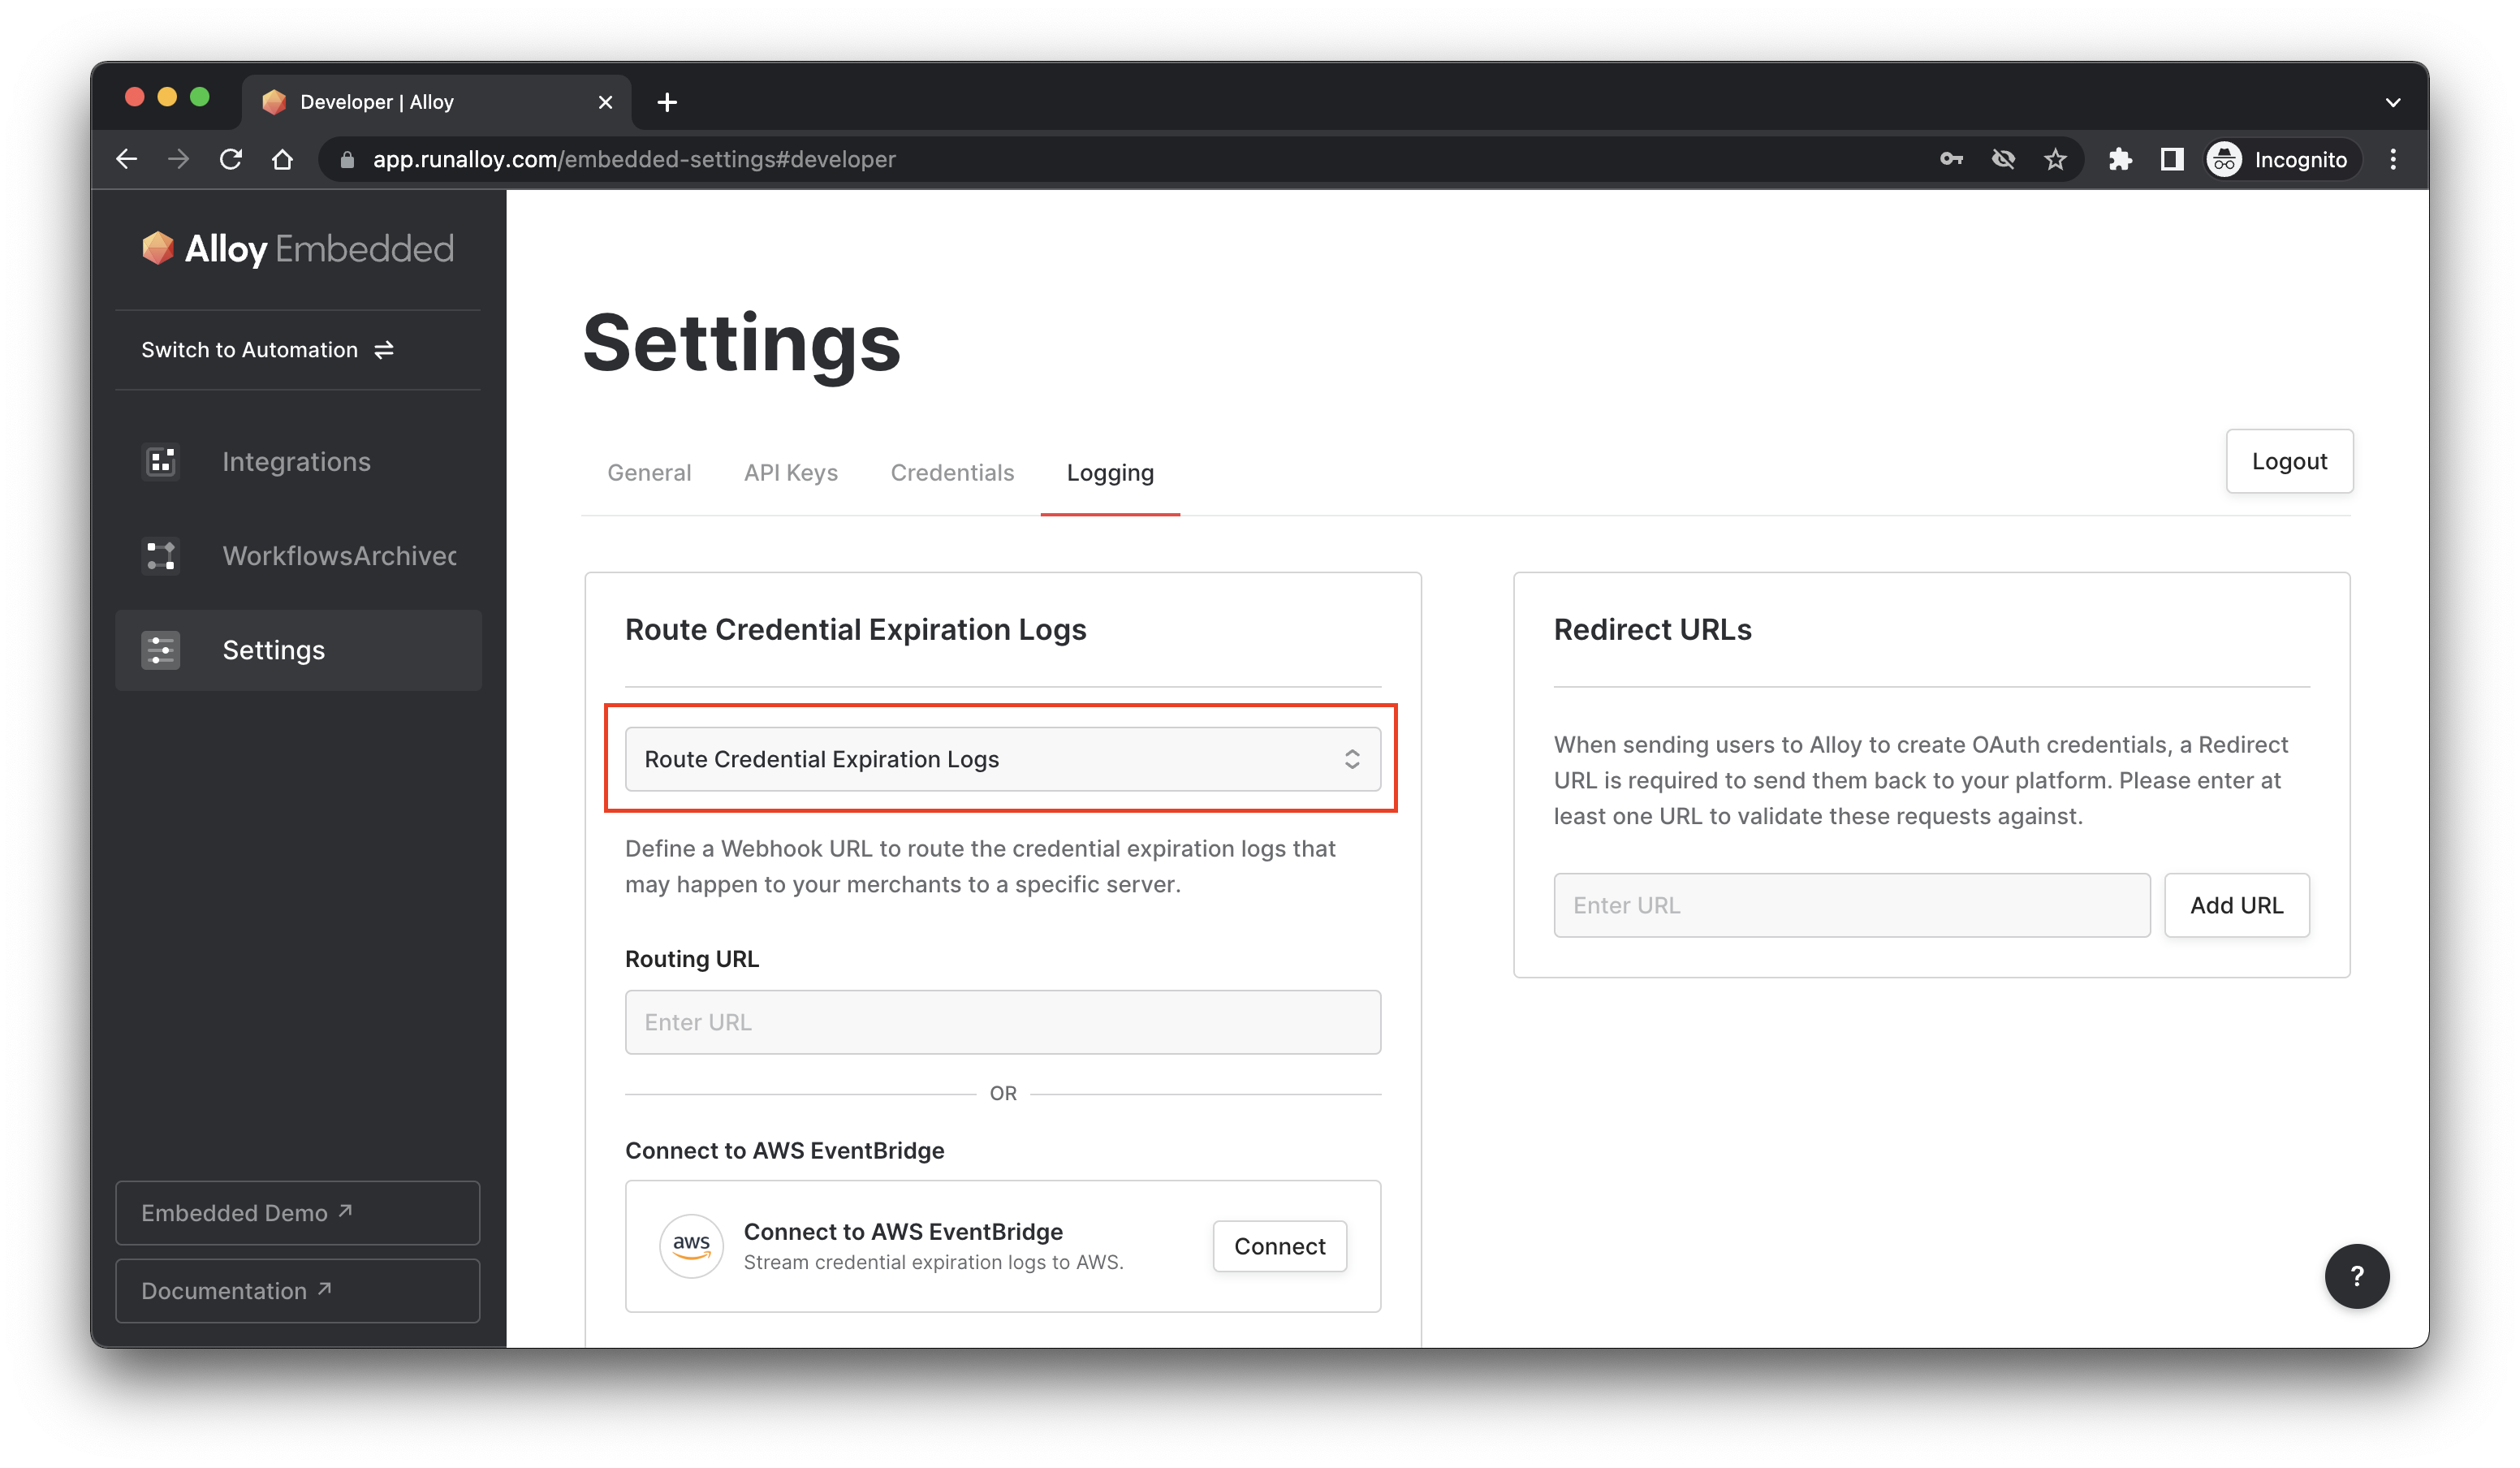
The vast majority of credentials that your merchants will integrate are evergreen – meaning unless intentionally removed by the user (i.e. the user intentionally revokes access to the credential), they'll stay active in Embedded.
However, unforeseen issues may arise. To solve this, Embedded allows you to register a webhook where you can receive merchant expiration notifications. The webhook will return the userId, userEmail, credentialId, and credentialName associated with the expired credential.
Wrapping Up
In this tutorial, we took a look at how to manage credentials in Alloy Embedded. Alloy Embedded offers several custom ways to manage and create credentials outside of our default Embedded Modal.
While the Embedded Modal is recommended in most use cases, there are situations where ISVs may want additional customization. We allow ISVs to programmatically create credentials using our POST Create a Credential endpoint for non-OAuth apps and our GET Create OAuth Credential Link endpoint for OAuth apps.
Updated 10 months ago