> ## Documentation Index
> Fetch the complete documentation index at: https://docs.runalloy.com/llms.txt
> Use this file to discover all available pages before exploring further.
# Integration Guide

Connect your Amazon Business purchases with Xero accounting software to automatically sync transactions, track expenses, and streamline your business operations.
**Requirements:**
* Active Xero subscription
* Amazon Business account with admin access
* Supported regions: United States, United Kingdom
* You can only connect a single Xero tenant to a single Amazon Business account currently.
## Installation Steps
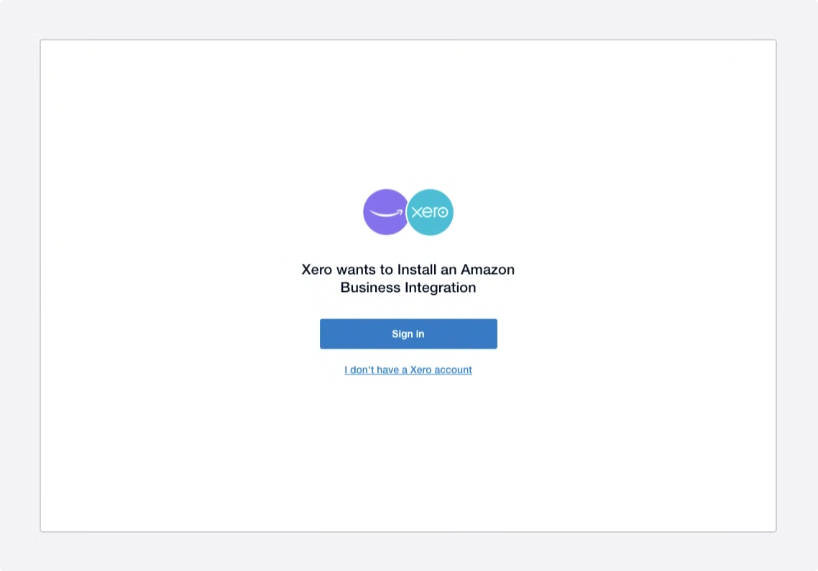
1. Go to the Xero App Store and search for the Amazon Business integration.
2. Click the Install button.
1. After clicking Install, you'll be redirected to the Xero sign-in page.
2. Log in with your Xero credentials.
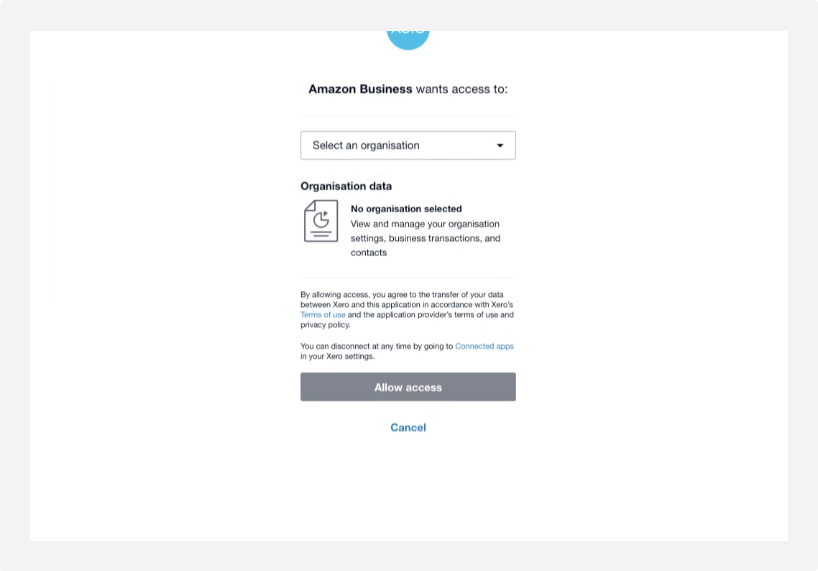
1. Select the Xero organization you want to connect (e.g., US or UK tenant).
2. Click Allow access to proceed.
🔒 This step initiates the Xero consent flow.
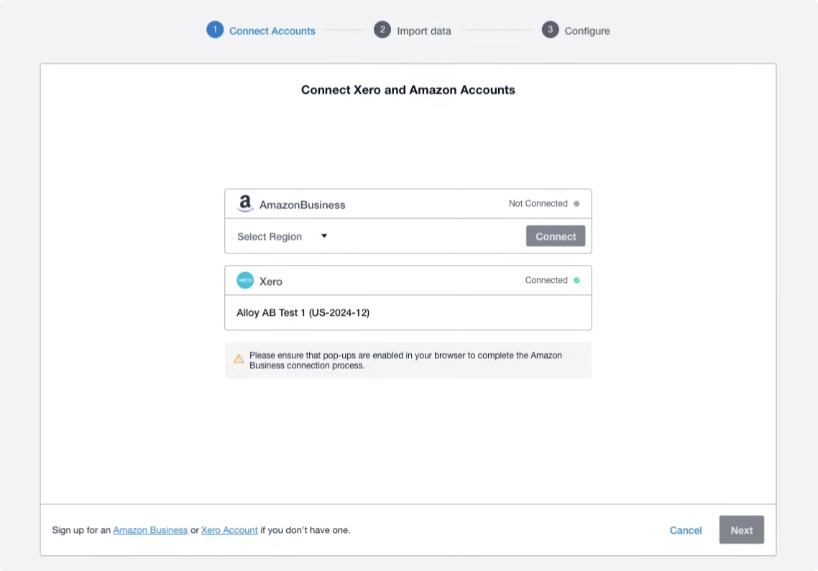
1. You'll be redirected to the Amazon Business authentication screen.
2. Select your region (e.g., United States).
3. Click Connect to your Amazon Business account.
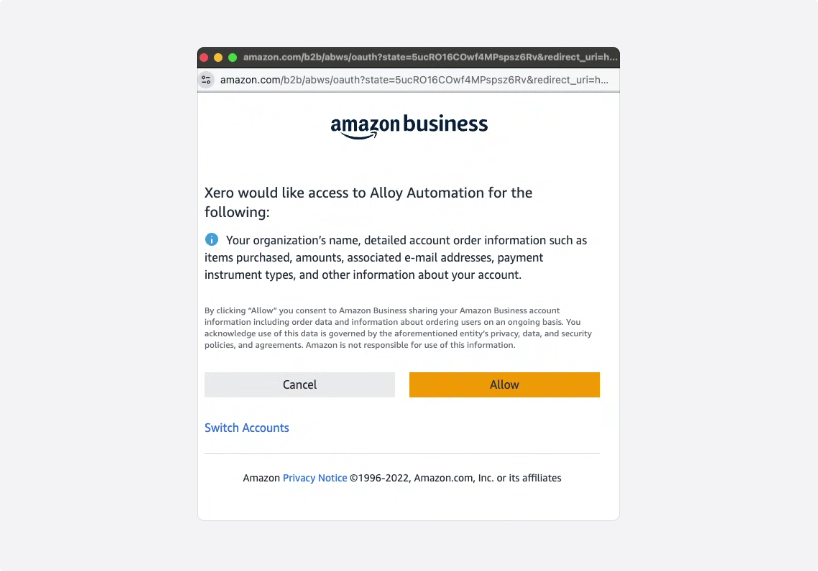
4. A pop-up will appear prompting you to authorize access for Xero.
The user account must be the admin for all legal entities under the Amazon Business account.
5. Click Allow to complete the connection.
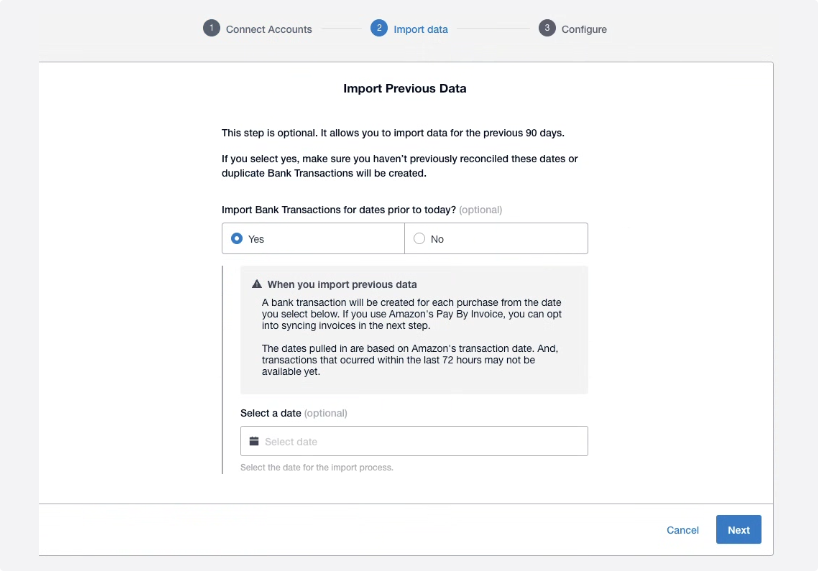
1. Click Next after authorization.
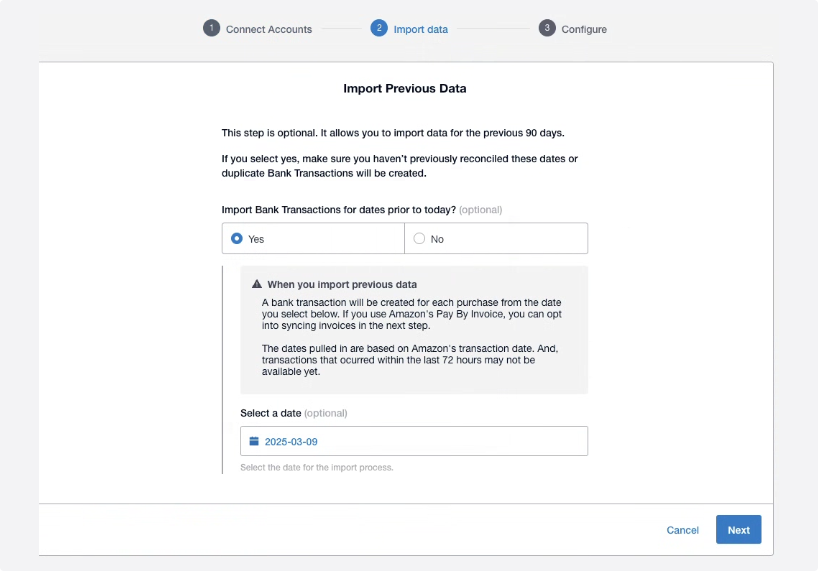
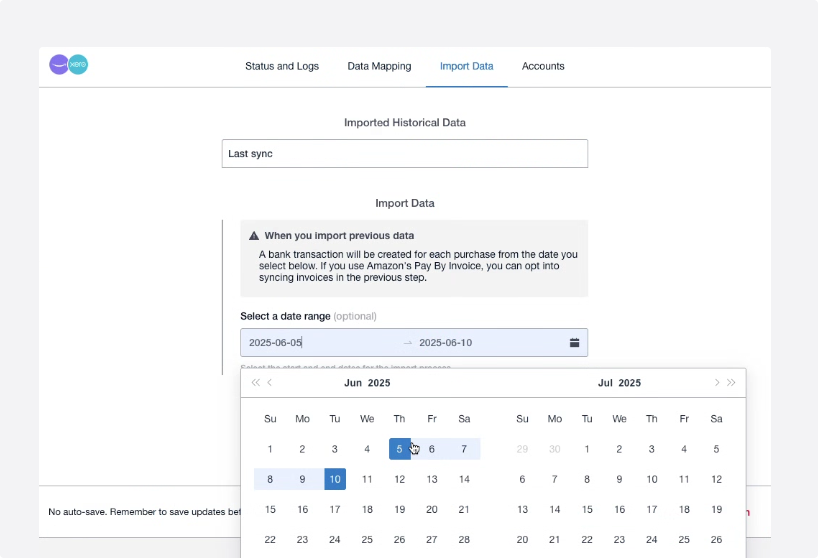
2. Choose the date range for historical data import.
You can import up to the past 90 days of Amazon Business data.
3. Click Next to start the import.
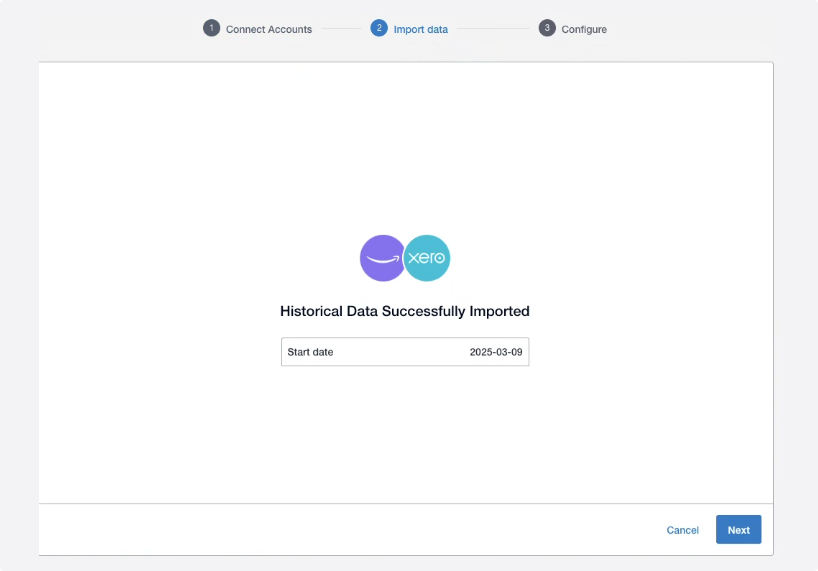
4. Once the data is successfully imported, proceed by clicking Next again.
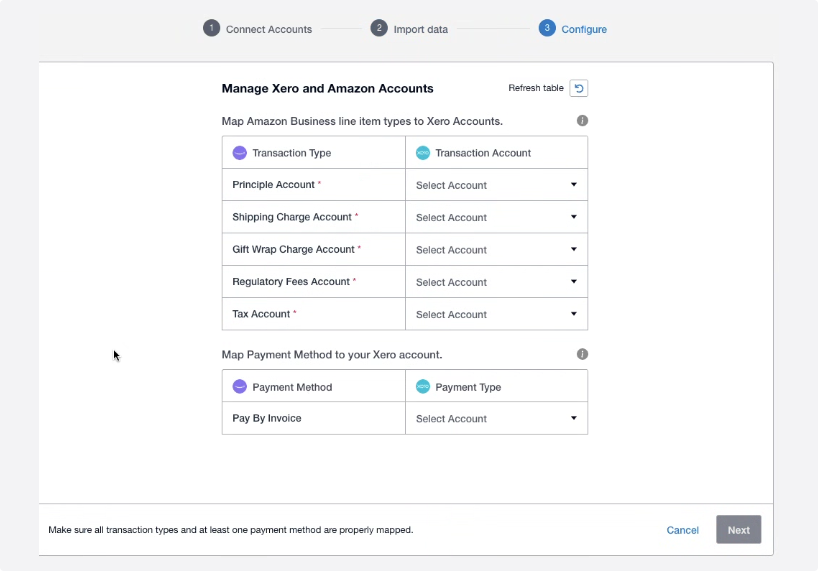
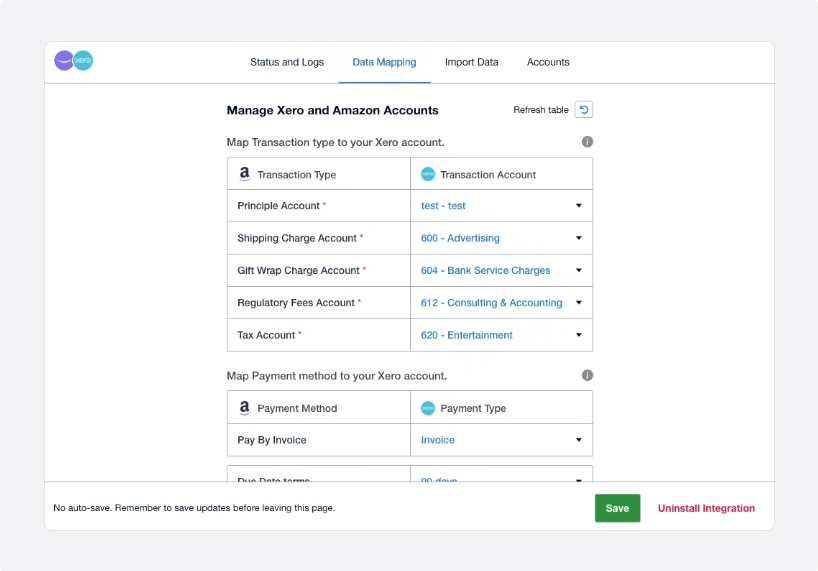
1. Map your Xero accounts to the corresponding Amazon Business fields:
* Expenses
* Taxes
* Payment Methods
* Line Item Types (e.g., "Pay by Invoice" if available)
2. Click Next once mapping is complete.
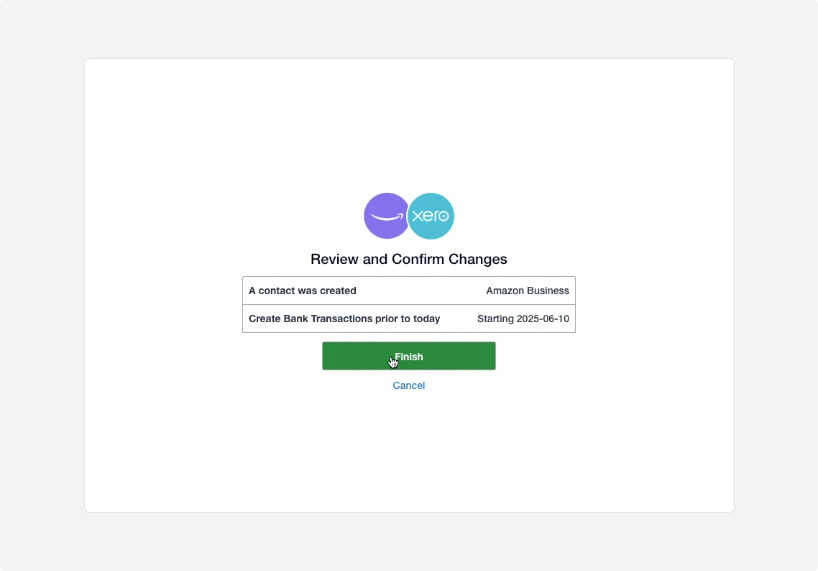
3. Review the configuration and click Finish.
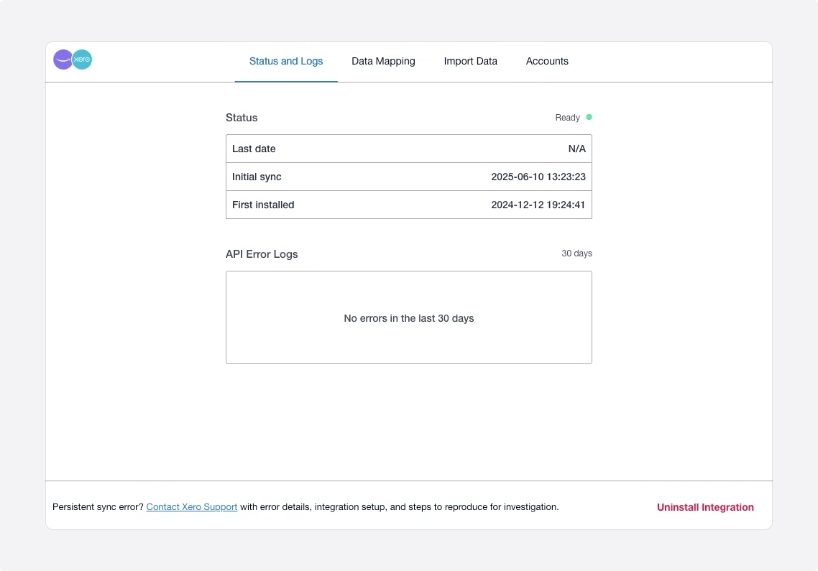
1. Go to the Manage Integrations section to:
* View the current status and errors
* Payment methods remapping if needed
* If you start using a new credit card or payment method in Amazon Business, you will need to map it to a corresponding account in Xero for those transactions to sync.
* Remap accounts if needed
* Manually import data
Manually importing previously imported data may create duplicates
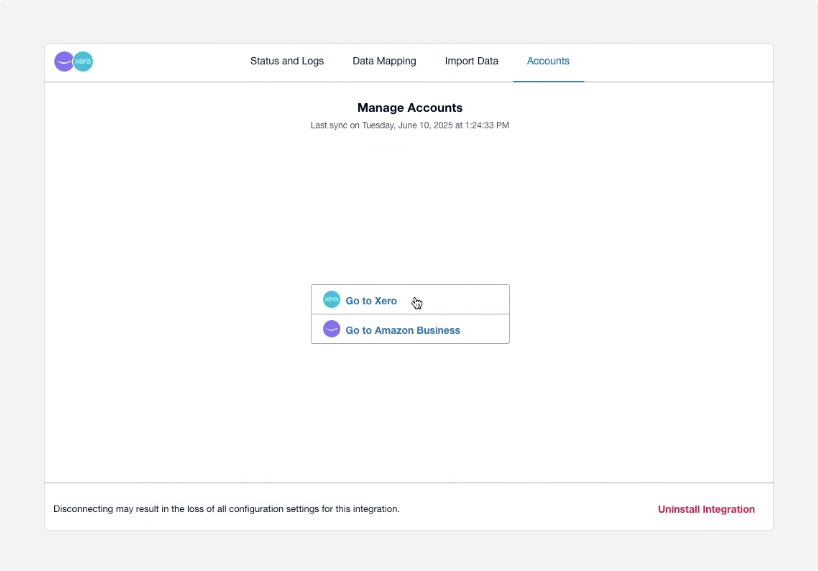
If you are facing issues and want to uninstall, please click the uninstall button at the bottom right corner of the App.
## You're Done!
The integration is now complete.
**Important Notes**
* Avoid re-importing the same date range to prevent duplicate transactions.
* Do not modify the Amazon Business contact created in Xero by this app. If you change the name or delete it, the sync will stop working.
* Payment methods might differ from the above screenshot. They might appear different depending on your account transactions.
* If you start using a new credit card or payment method in Amazon Business, you will need to revisit this app and map the new payment method to a corresponding account in Xero for those transactions to sync.
* **If you have any questions or facing any errors, please reach out to Alloy support [here](https://servicedesk.support.runalloy.com/servicedesk/customer/portal/9).**