Overview
Headless Mode allows you to build a fully custom interface without displaying any Alloy-branded components. This gives you complete control over the end-to-end user experience while leveraging our integration infrastructure behind the scenes.Getting Started
A typical Headless Mode user flow looks like this: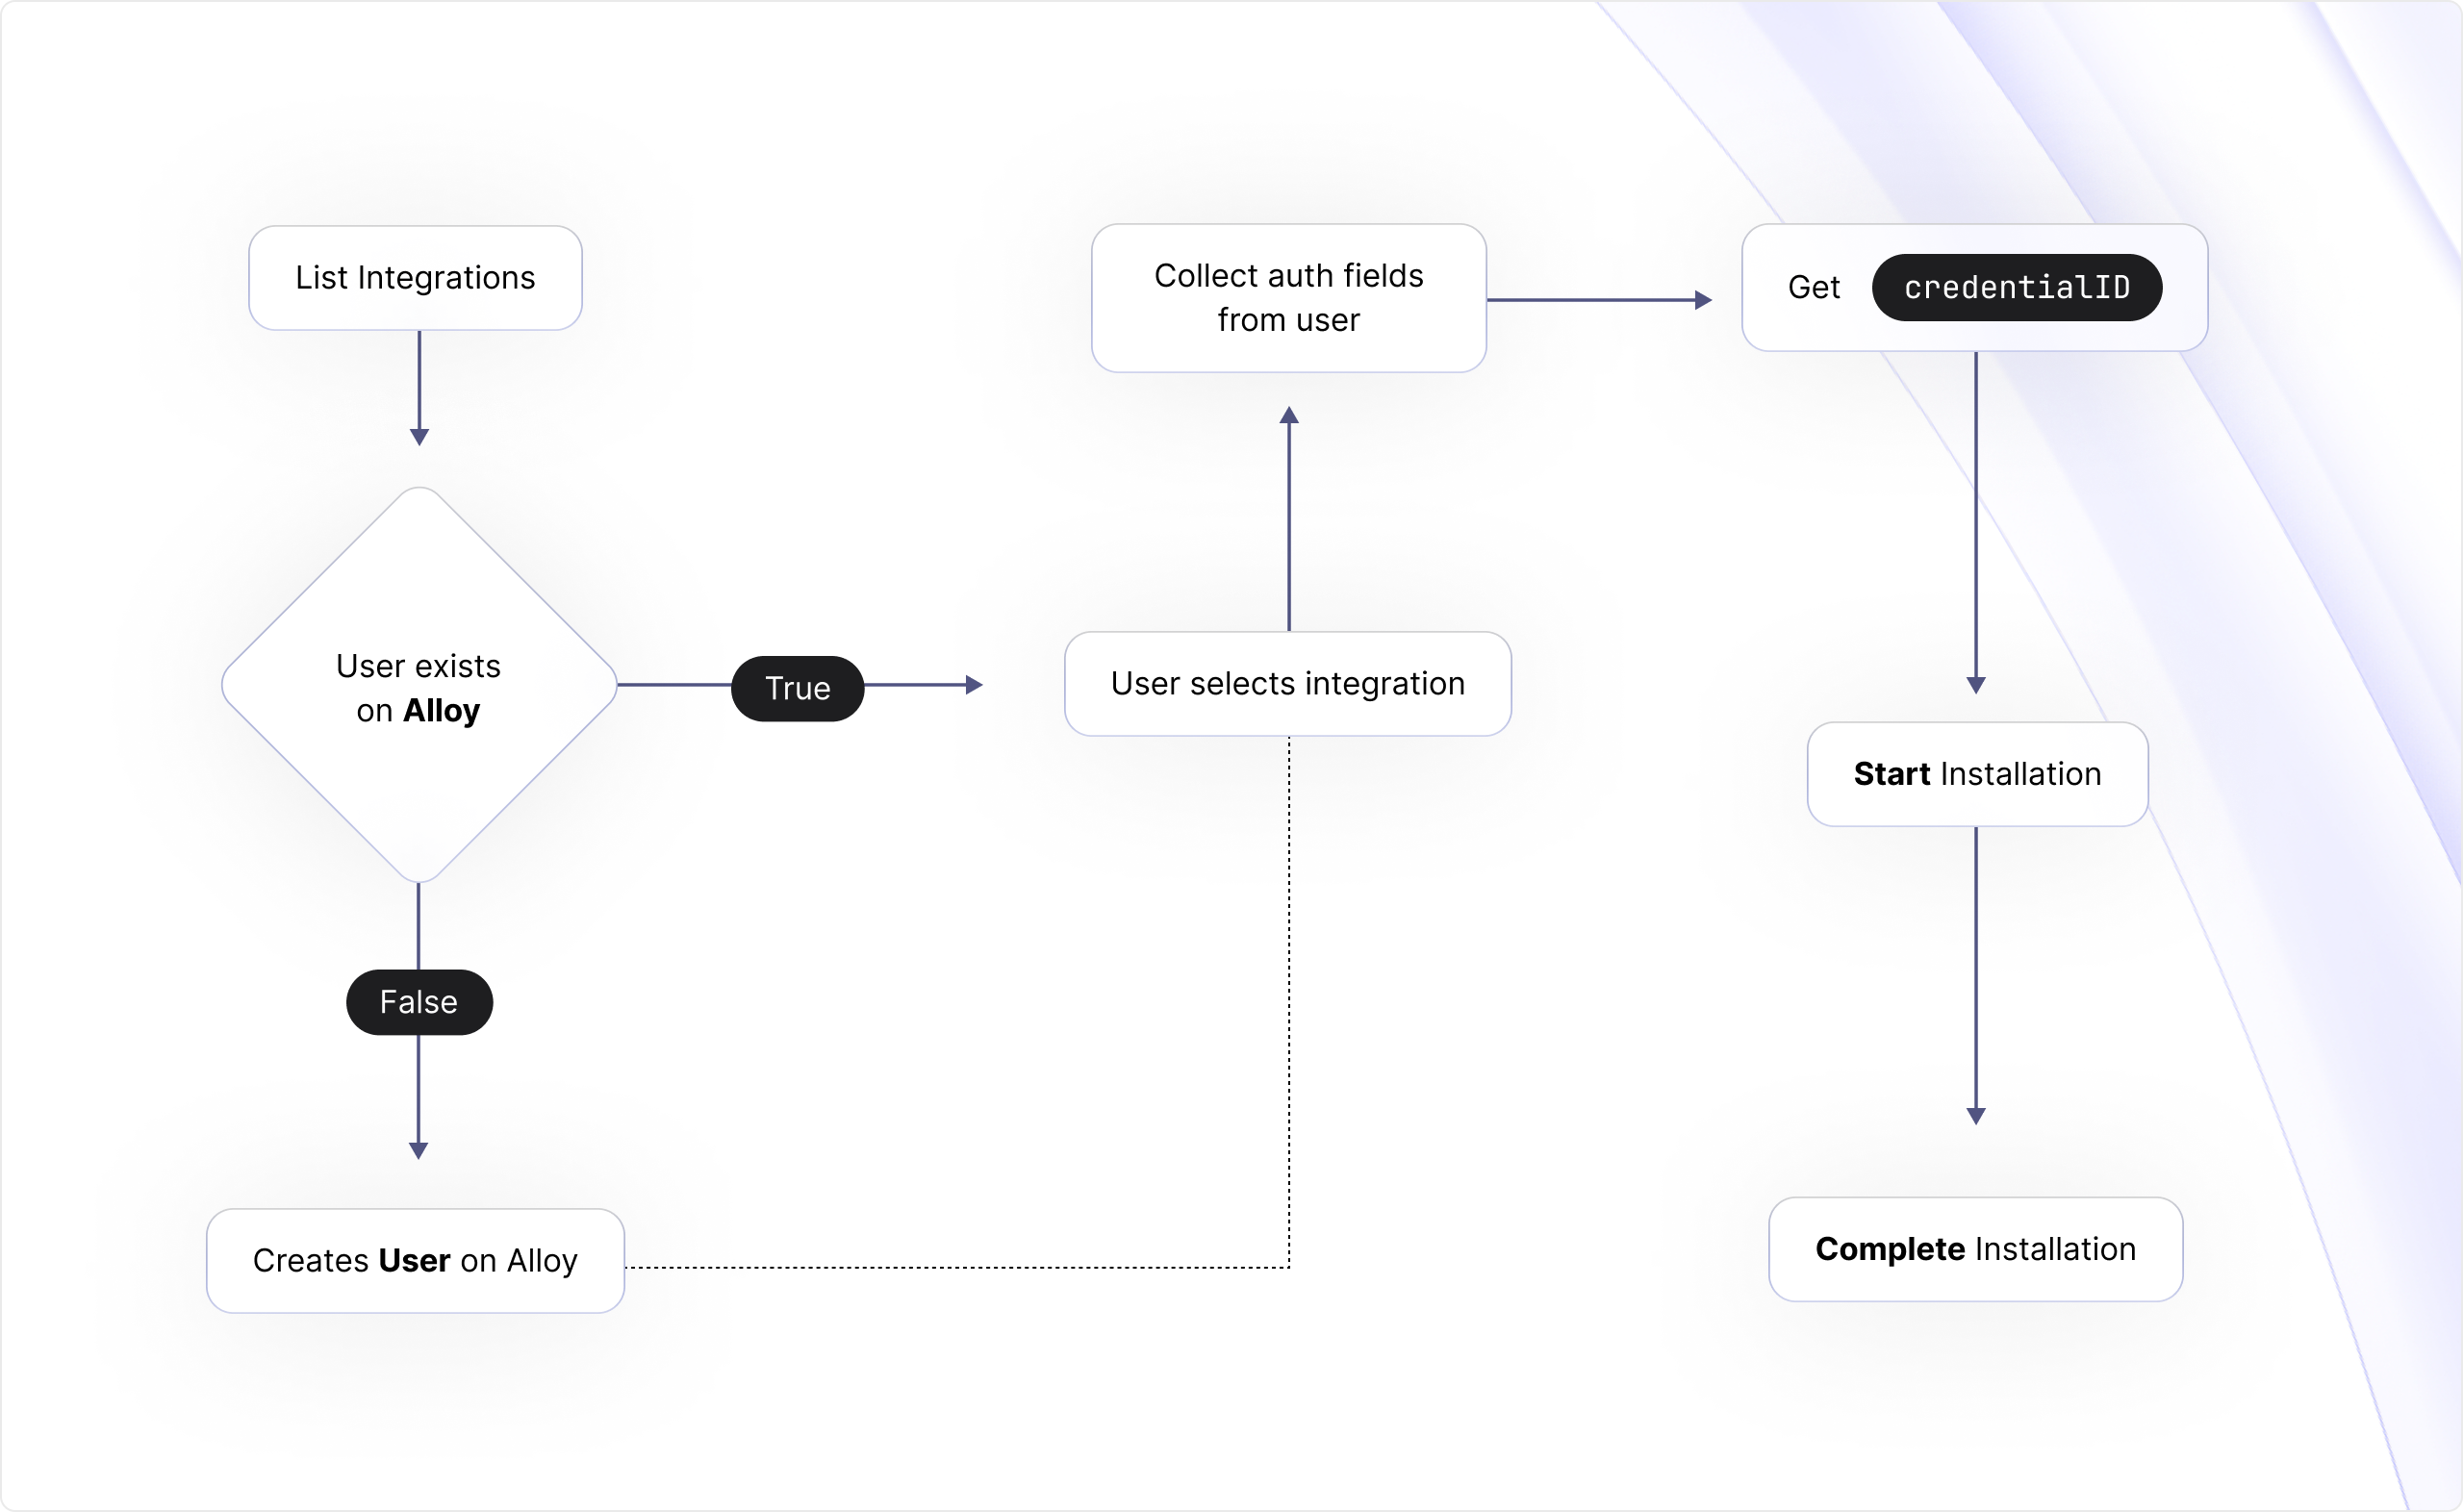
Create a User
First, create a user by calling the/users endpoint:
cURL
JSON
userId for the newly created user.
List Integrations
To list your available integrations, use anyuserId or username you’ve previously created:
cURL
Display and Collect Auth Fields
Once your user selects an integration to connect, you’ll need to display the authentication fields required by that third-party app. To determine which fields to show, make a request to themetadata/credentials endpoint. Replace APP_NAME with the name of the selected integration (e.g., Shopify):
cURL"
APP_NAME can be found in the response from the List integrations endpoint.
Sample Response
Here’s a sample response for Shopify:
JSON"
isOauth: true) and requires one auth field: Shop subdomain. Display this field in your interface:
credentialId.
Getting a CredentialId
AcredentialId allows your app to perform actions like reading and writing data on behalf of the end-user once authenticated.
Typically, authentication is handled via the Alloy Modal. But to leverage a truly headless experience, you can ditch the modal completely. This is where our programmatic credential endpoints come in.
First, you’ll need to determine if the third-party app uses OAuth or non-OAuth for authentication. See the Display and Collect Auth fields section for more.
Custom OAuth (Optional)
When using Headless Mode, users will see the Alloy Automation is requesting access to… screen on the third-party app. To display your branding instead, you’ll need approval from the third-party app. Read this tutorial to learn more about using Custom OAuth with Headless Mode.Getting a CredentialId for OAuth Apps
If the third-party app uses OAuth, follow these steps:1
Collect the required auth fields from the user.
2
Obtain an Sample Response
oauthURL by calling the GET headless/oauthUrl endpoint, passing the values from Step 1 as parameters. This endpoint always requires userId and app as the first two parameters, with additional auth fields appended as needed.Here’s an example using Shopify:Sample RequestcURL
JSON
3
Redirect the user to the third-party app using the
oauthURL from Step 2. This allows them to grant permissions to your app via OAuth.4
Once the user grants permission, a
credentialId is created. You’ll use this to make future requests on behalf of the user.To retrieve a user’s credentialId, make a request to the List User Credentials endpoint:cURL
Getting a CredentialId for non-OAuth Apps
To create a non-OAuth credential (such as NetSuite), use the POST Create API Key Credential endpoint: Sample RequestcURL
realm, consumerKey, consumerSecret, tokenId, and tokenSecret with the user’s input values.
Sample Response
JSON
Start Installation
Now you can create an installation, which establishes a connection instance between your app and the third-party app. Make a request to the POST headless/startinstallation endpoint:cURL
installationId that you’ll need to store for completing the installation.
How to find your integrationId
Navigate to Alloy > Integrations > SELECT INTEGRATION (e.g., NetSuite). In your browser’s address bar, you’ll see a URL like …/integrations/661e92e38eb4d42f032be2d0. Copy the string starting with 66—this is yourintegrationId for that integration.
User-defined Data Mappings
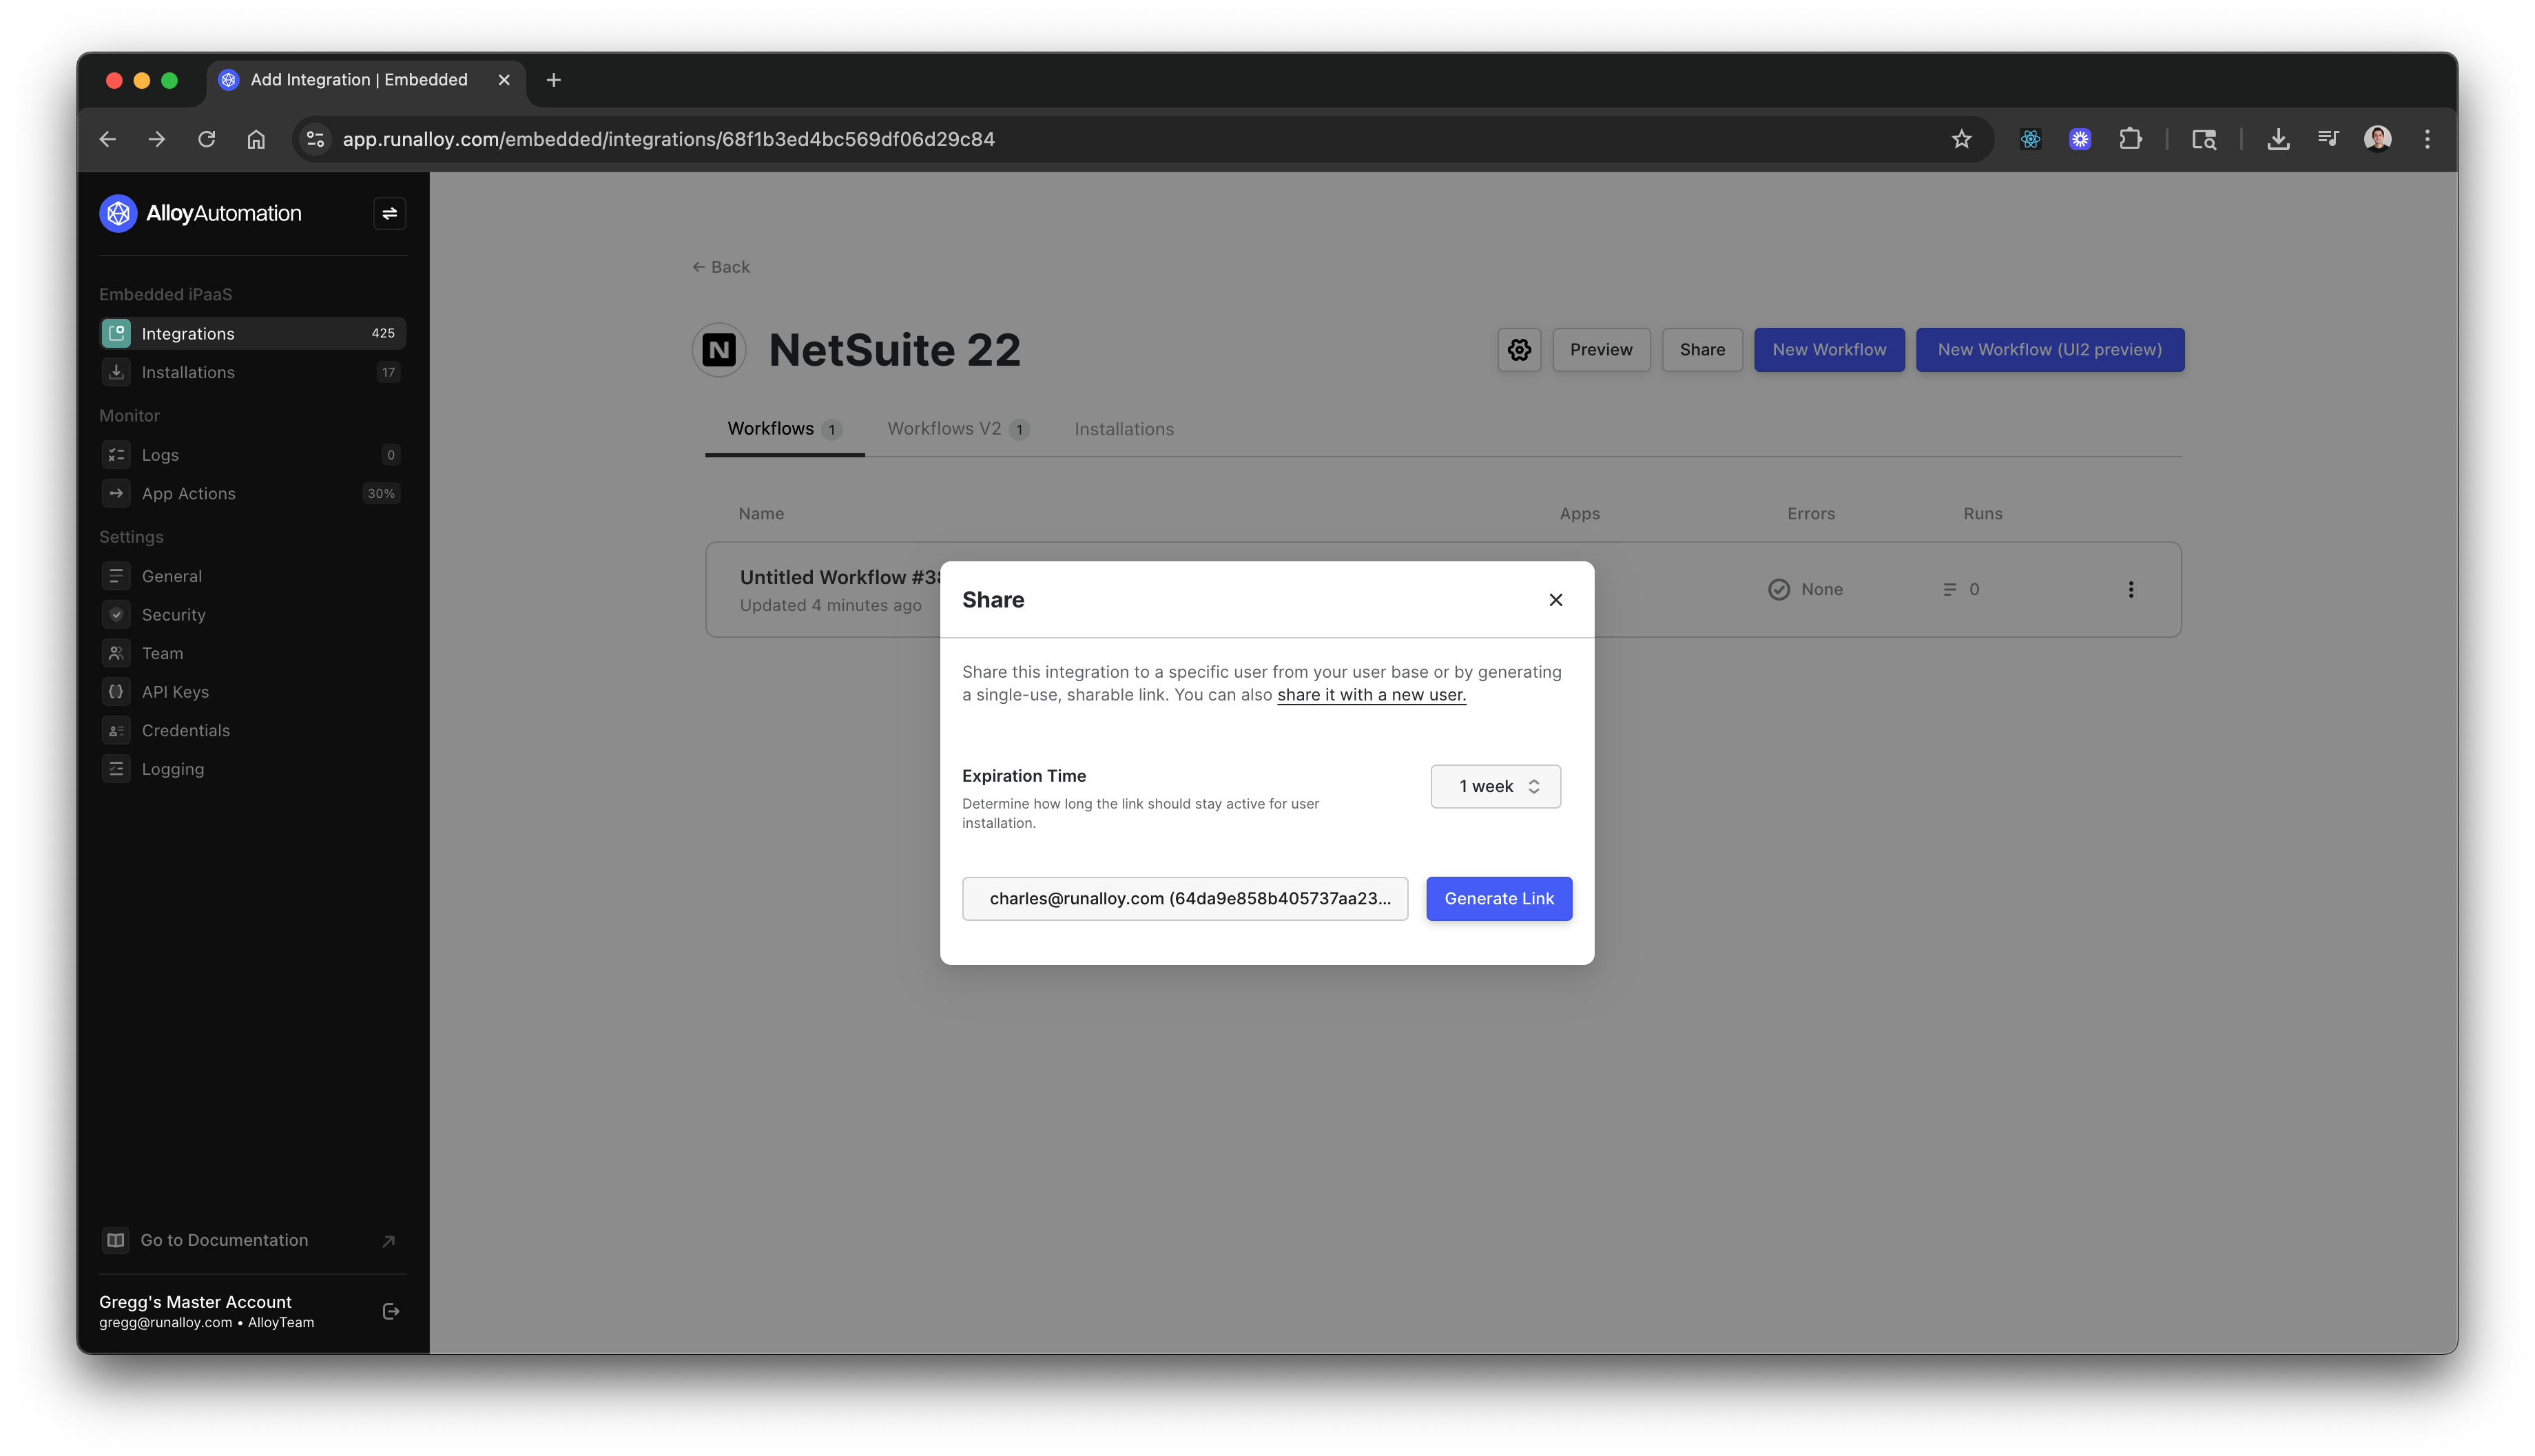
Skip to Completing the installation if your integration doesn’t require user-defined data mappings. Some integrations may require end users to map values to the third-party app, as explained in this article. For example, if your integration sends messages to a Slack channel, end users need to specify the channel and message content. You can mark these fields as Configurable by user in the workflow builder: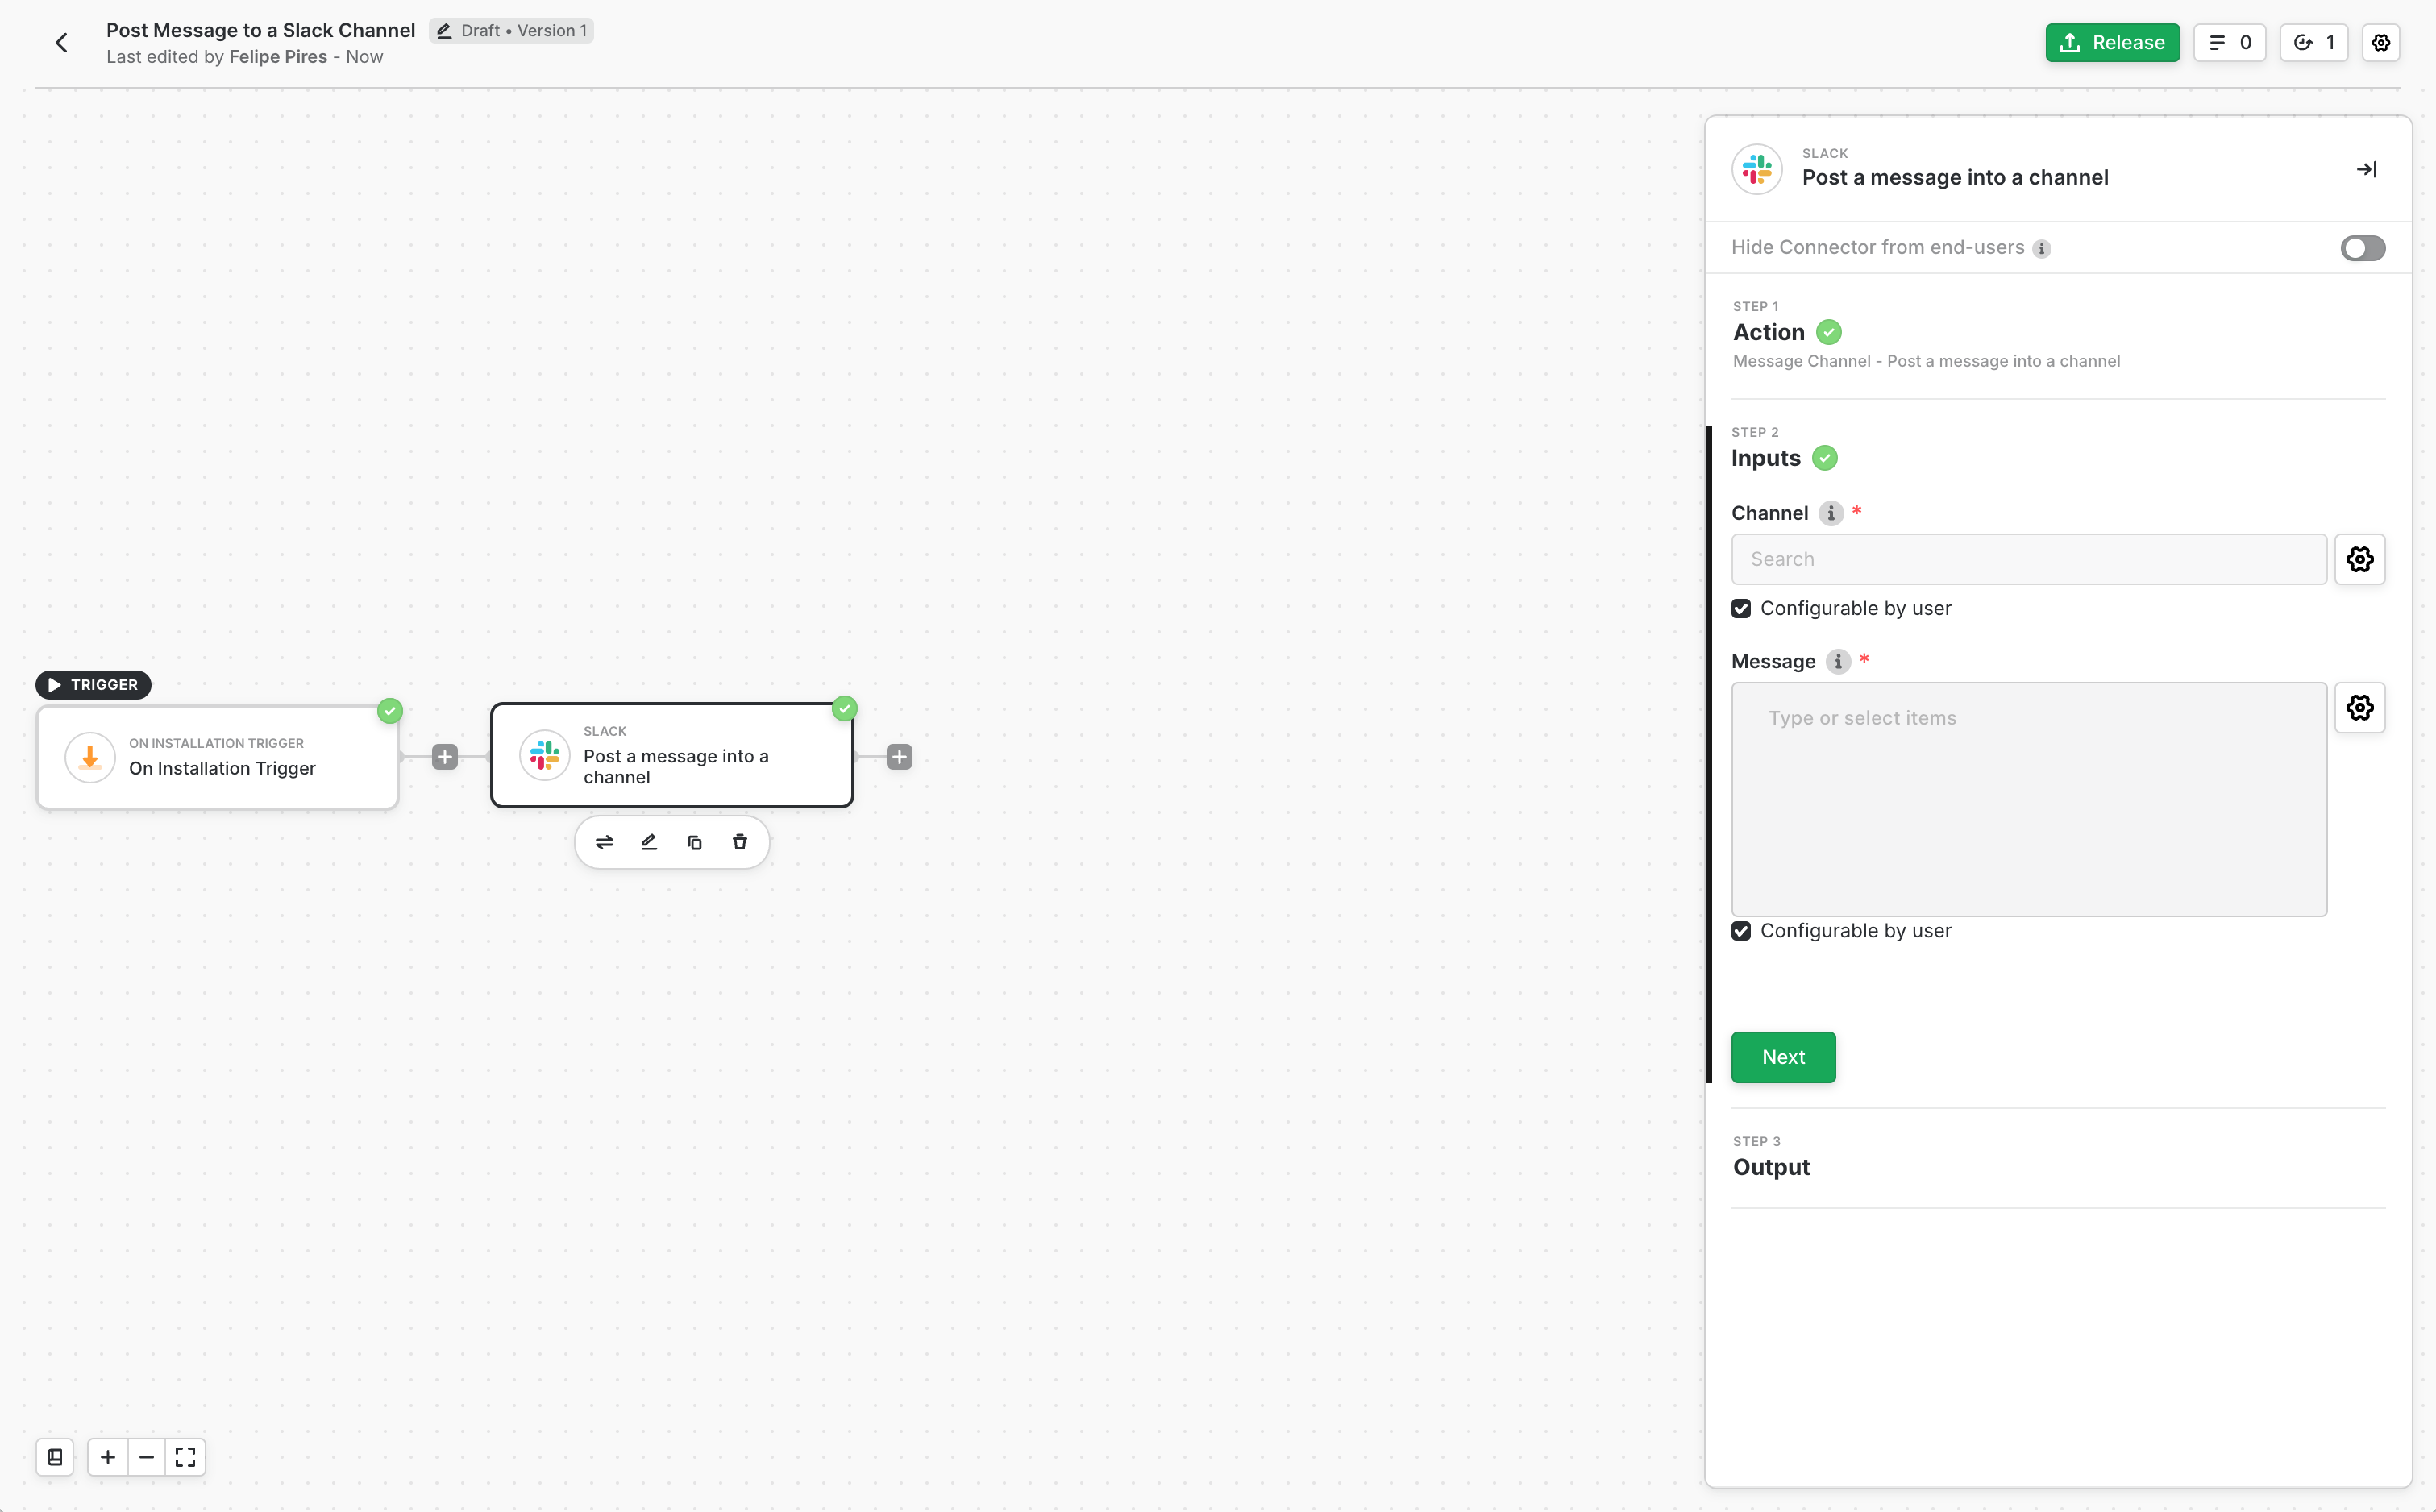
cURL
installationId. The fields array returns the fields to display to your end user along with their data types:
JSON
Completing the Installation
After creating the installation and collecting user data mappings, pass that data back to the system using the POST Complete Headless Installation endpoint. If your integration doesn’t require user input, leave thedata field empty.
Sample Request
cURL
JSON