Overview
Invoices itemize transactions between buyers and sellers, serving as formal payment requests. Sales invoices track amounts owed to your business, while purchase invoices record amounts you owe to suppliers. They detail products or services, quantities, prices, payment terms, and amounts due. Invoices create legal payment obligations, provide audit trails for accounting records, and enable businesses to track both receivables and payables, manage cash flow, and maintain tax compliance.Components of Sales Invoices
- Invoice Header containing basic invoice information like invoice number, date, due date, customer reference, and payment terms
- Customer Information including billing address, shipping address, contact details, and customer ID/reference number
- Line Items which capture individual products/services sold, including item description, quantity, unit price, tax rates, and line totals
- Tax Calculations for each line item and invoice totals, including tax rates, tax amounts, and tax-exempt items where applicable
- Totals Section showing subtotal, total tax amount, discounts applied, shipping costs, and final invoice total
- Payment Information including accepted payment methods, bank details, and payment terms (Net 30, etc.)
Components of Purchase Invoices
- Invoice Header with supplier invoice number, purchase order reference, invoice date, and due date
- Supplier/Vendor Information including vendor details, billing address, contact information, and vendor ID
- Line Items capturing purchased goods/services with item codes, descriptions, quantities, unit costs, and line totals
- Tax Handling for input tax/VAT that can be claimed back, including tax codes and reclaimable amounts
- Cost Centers or Projects for expense allocation and budget tracking purposes
- Approval Workflow data showing who approved the purchase and any authorization codes
- Totals Section with subtotal, tax amounts, shipping/handling fees, and total amount due
Key Differences from Journal Entries
Unlike journal entries which require manual debit/credit balancing, invoices automatically generate the underlying accounting entries (Accounts Receivable/Revenue for sales, Expense/Accounts Payable for purchases) based on the invoice data and your chart of accounts configuration.Building Your First Integration
Select the appropriate drop-down below based on which Alloy Automation product you’ll be building with.Embedded iPaaS
Embedded iPaaS
1. Choose a Platform to Integrate with
Popular accounting and enterprise resource planning (ERP) tools include SAP S/4HANA, Oracle NetSuite, Xero, Intuit Quickbooks, and Microsoft Dynamics Business Central. You can either create an integration purely for purchase and sales invoices or add these workflows to your existing integration.2. Capture Global Account Values With On-Installation Workflows
Account Variables are global variables, accessible to all Workflows within an integration, but specific to a user installation. We recommend using Account Variables to collect account-level information that will be used when creating new invoices. For example, you may want to use Account Variables to capture Account IDs, default currency codes, invoice ID prefixes, and default payment terms, among others.When deciding what values to save as Account Variables, ask yourself, “What values to I want to hardcode to all Sales and/or Purchase invoices as default values?” We always recommend creating a dedicated workflow that captures these Account Variables, using the On Installation Trigger to ensure that these values are set immediately upon installation.3. Send New Sales & Purchase Invoices to Alloy in Real-Time
New sales and purchase invoices can be retrieved from either a Custom Event or Polling Endpoint. We typically recommend invoking an Alloy Custom Event to send real-time invoices to Alloy as they’re created in your platform.Below are two examples of Customer Events – one sales invoice, one purchase invoice – that you can use to trigger real-time Workflow that sends new invoices to an ERP of your choice.Sales Invoice Sample Payload
Sales Invoice Sample Payload
Purchase Invoice Sample Payload
Purchase Invoice Sample Payload
4. Read/Create Customers & Vendors
One critical step that differentiates Invoices from Journal Entries is the need to associate Sales Invoices with customers and Purchase invoices with Vendors. As part of the Invoice creation workflow we recommend first, using an email or other identifying information in the originating Invoice payload to attempt to lookup an existing customer or vendor from the ERP connector. If one exists, you can use the returned ID in the Customer ID or Vendor ID field in the ERP connector action where you’re creating the Invoice. ERP connectors like Business Central, Quickbooks and others expect internal IDs to be used in these fields.You can use an if-else block to determine if a valid customer or vendor is returned and create a new one if not.5. Add Sales & Purchase Order Line Items
Once the invoice is created you’ll need to also add line items. Some connectors like Microsoft Dynamics Business Central will provide a separate action to add line items while other connectors will nest line items within the Create Purchase Order or Create Sales Order action.If line items are created in separate step you’ll can first create the parent invoice with a dedicated connector action. From there you can use an iterate node to loop through the line items from the originating invoice payload and create individual line items associated with the parent invoice. Check out one of the video walkthroughs below to see how to accomplish this.In some cases your invoice line items will need to reference actual internal Item IDs in your ERP instance. In some platforms like Microsoft Dynamics Business Central you can, instead, reference G/L accounts instead of Items if you do not need to do physical inventory tracking.
6. Map Fields from the Custom Event to ERP Connector Fields
The last step in the configuration process is to map the fields from the invoice Custom Event payload to the input fields in the Connector Action. This can be accomplished easily by selecting the relevant action (e.g. Create New Sales Invoice) and using the point-and-click interface to add the relevant values to each input field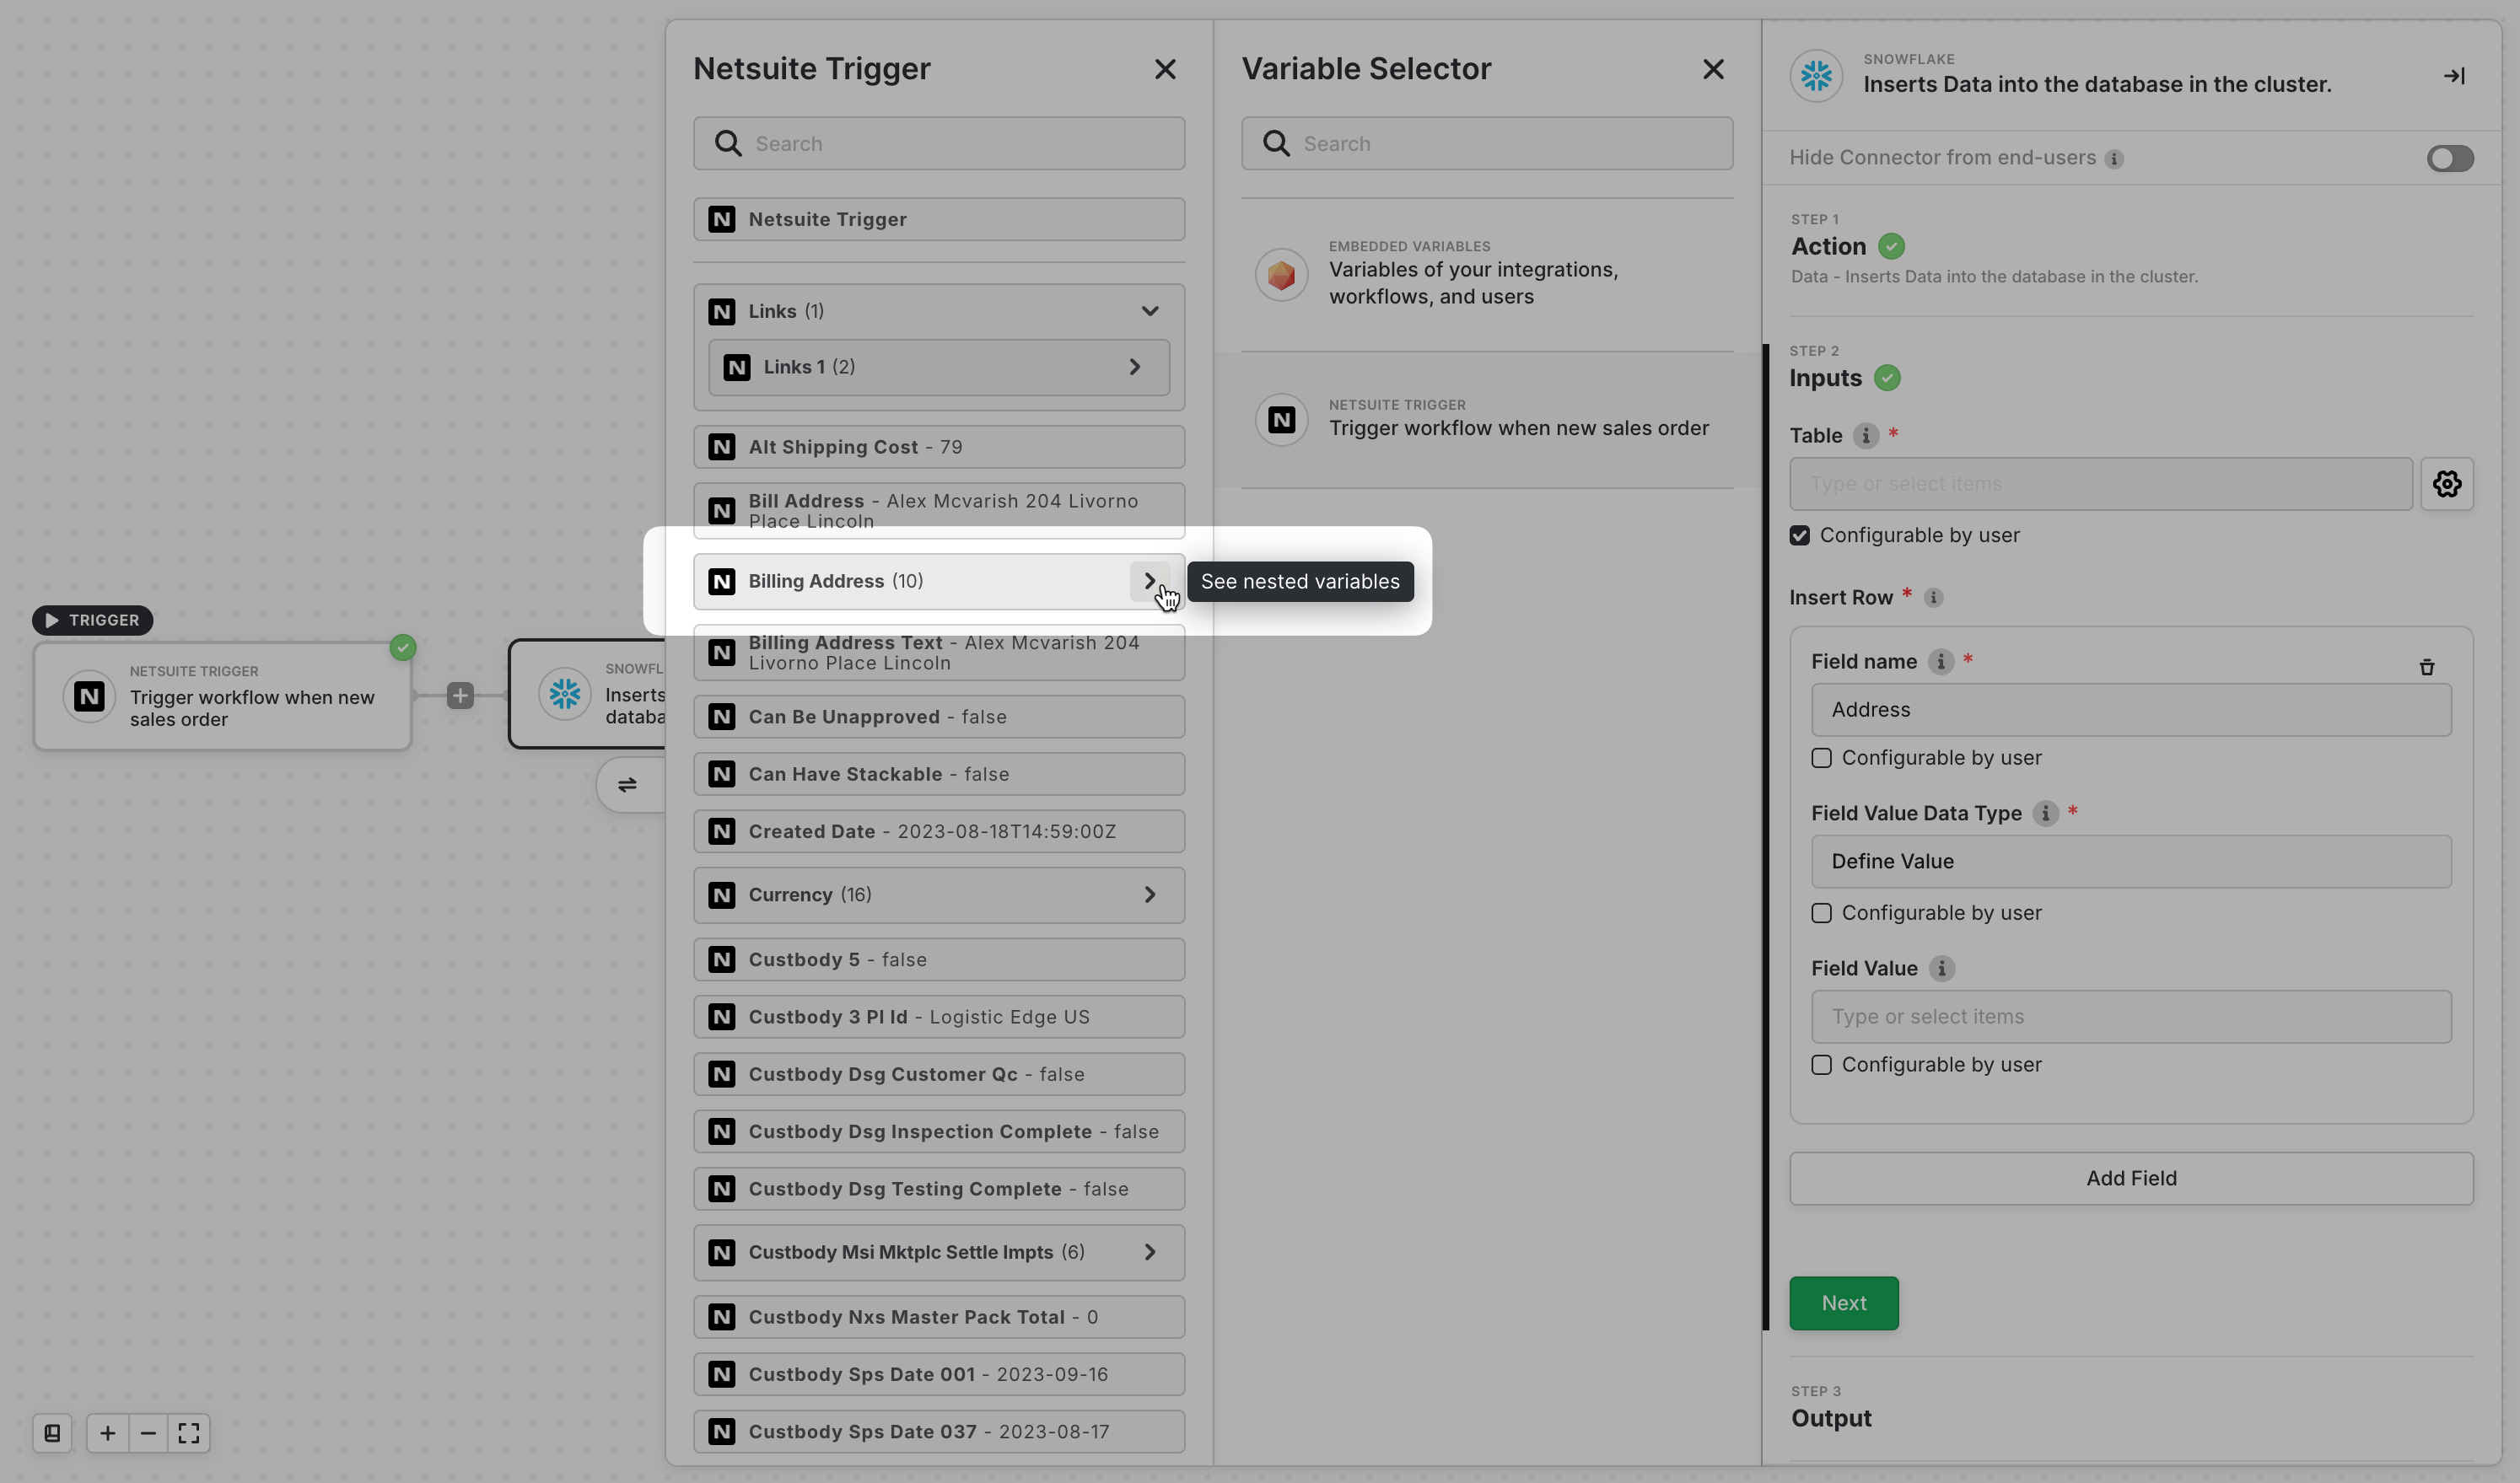
7. Deploy the Integration
Once your integration is built and tested you can begin sharing it with your end-users. We have several methods for deploying and sharing your integrations, which you can read more about in our documentation.Video Walkthrough Library
We’ve created video walkthroughs for the most common and complex integration scenarios. Choose a walkthrough below to build alongside our experts. We regularly add new videos, so check back for updates!Creating Purchase Invoices in Business Central (Coming Soon)
Creating Purchase Invoices in Business Central (Coming Soon)
Connectivity API (Coming Soon)
Connectivity API (Coming Soon)
MCP Gateway (Coming Soon)
MCP Gateway (Coming Soon)